Bling! Adding shine, shimmer and bling to cards.
My last blog entry was about simplifying my cards, and I was curious how my sister and I would both approach a simpler style of card making. That last about a week. Shortly after that post, I received some exciting news! I have been accepted into the Altenew Educator Certification Program! I am really looking forward to this journey! The focus of my blog posts will frequently describe my learnings and inspiration takeaways from my AECP journey. To new adventures!
The first official class I tackled was Let It Shine, taught by Carissa Wiley. The takeaway was adding shine to your cards through the use of embellishments, glitter, embossing powder, shimmer pens, metallic paper and foils. While I created six cards, I will focus today on only two, and briefly mention a third.
One of my favorite techniques is to use embossing powder. I love the magic that happens when heat is applied to the powder! Briefly, I used Altenew’s Night Before Christmas stamp set for this card. I used tumbled glass distress ink to create a central focus point, fading away to the edges. After it was thoroughly dry, I then stamped the tree that has “Its the Most wonderful time of the year” inside it in versamark ink, coated it with silver embossing powder and heat set it. I topped it with a red star from the same set. I quickly embossed the edge of an A 2 size piece of card stock. I mounted the focal piece on Gina K’s Sea Glass card stock, and trimmed the focal point piece to 4″ wide. I then layered the focal point on top of the embossed piece, mounted it on an A2 card base and I was done. 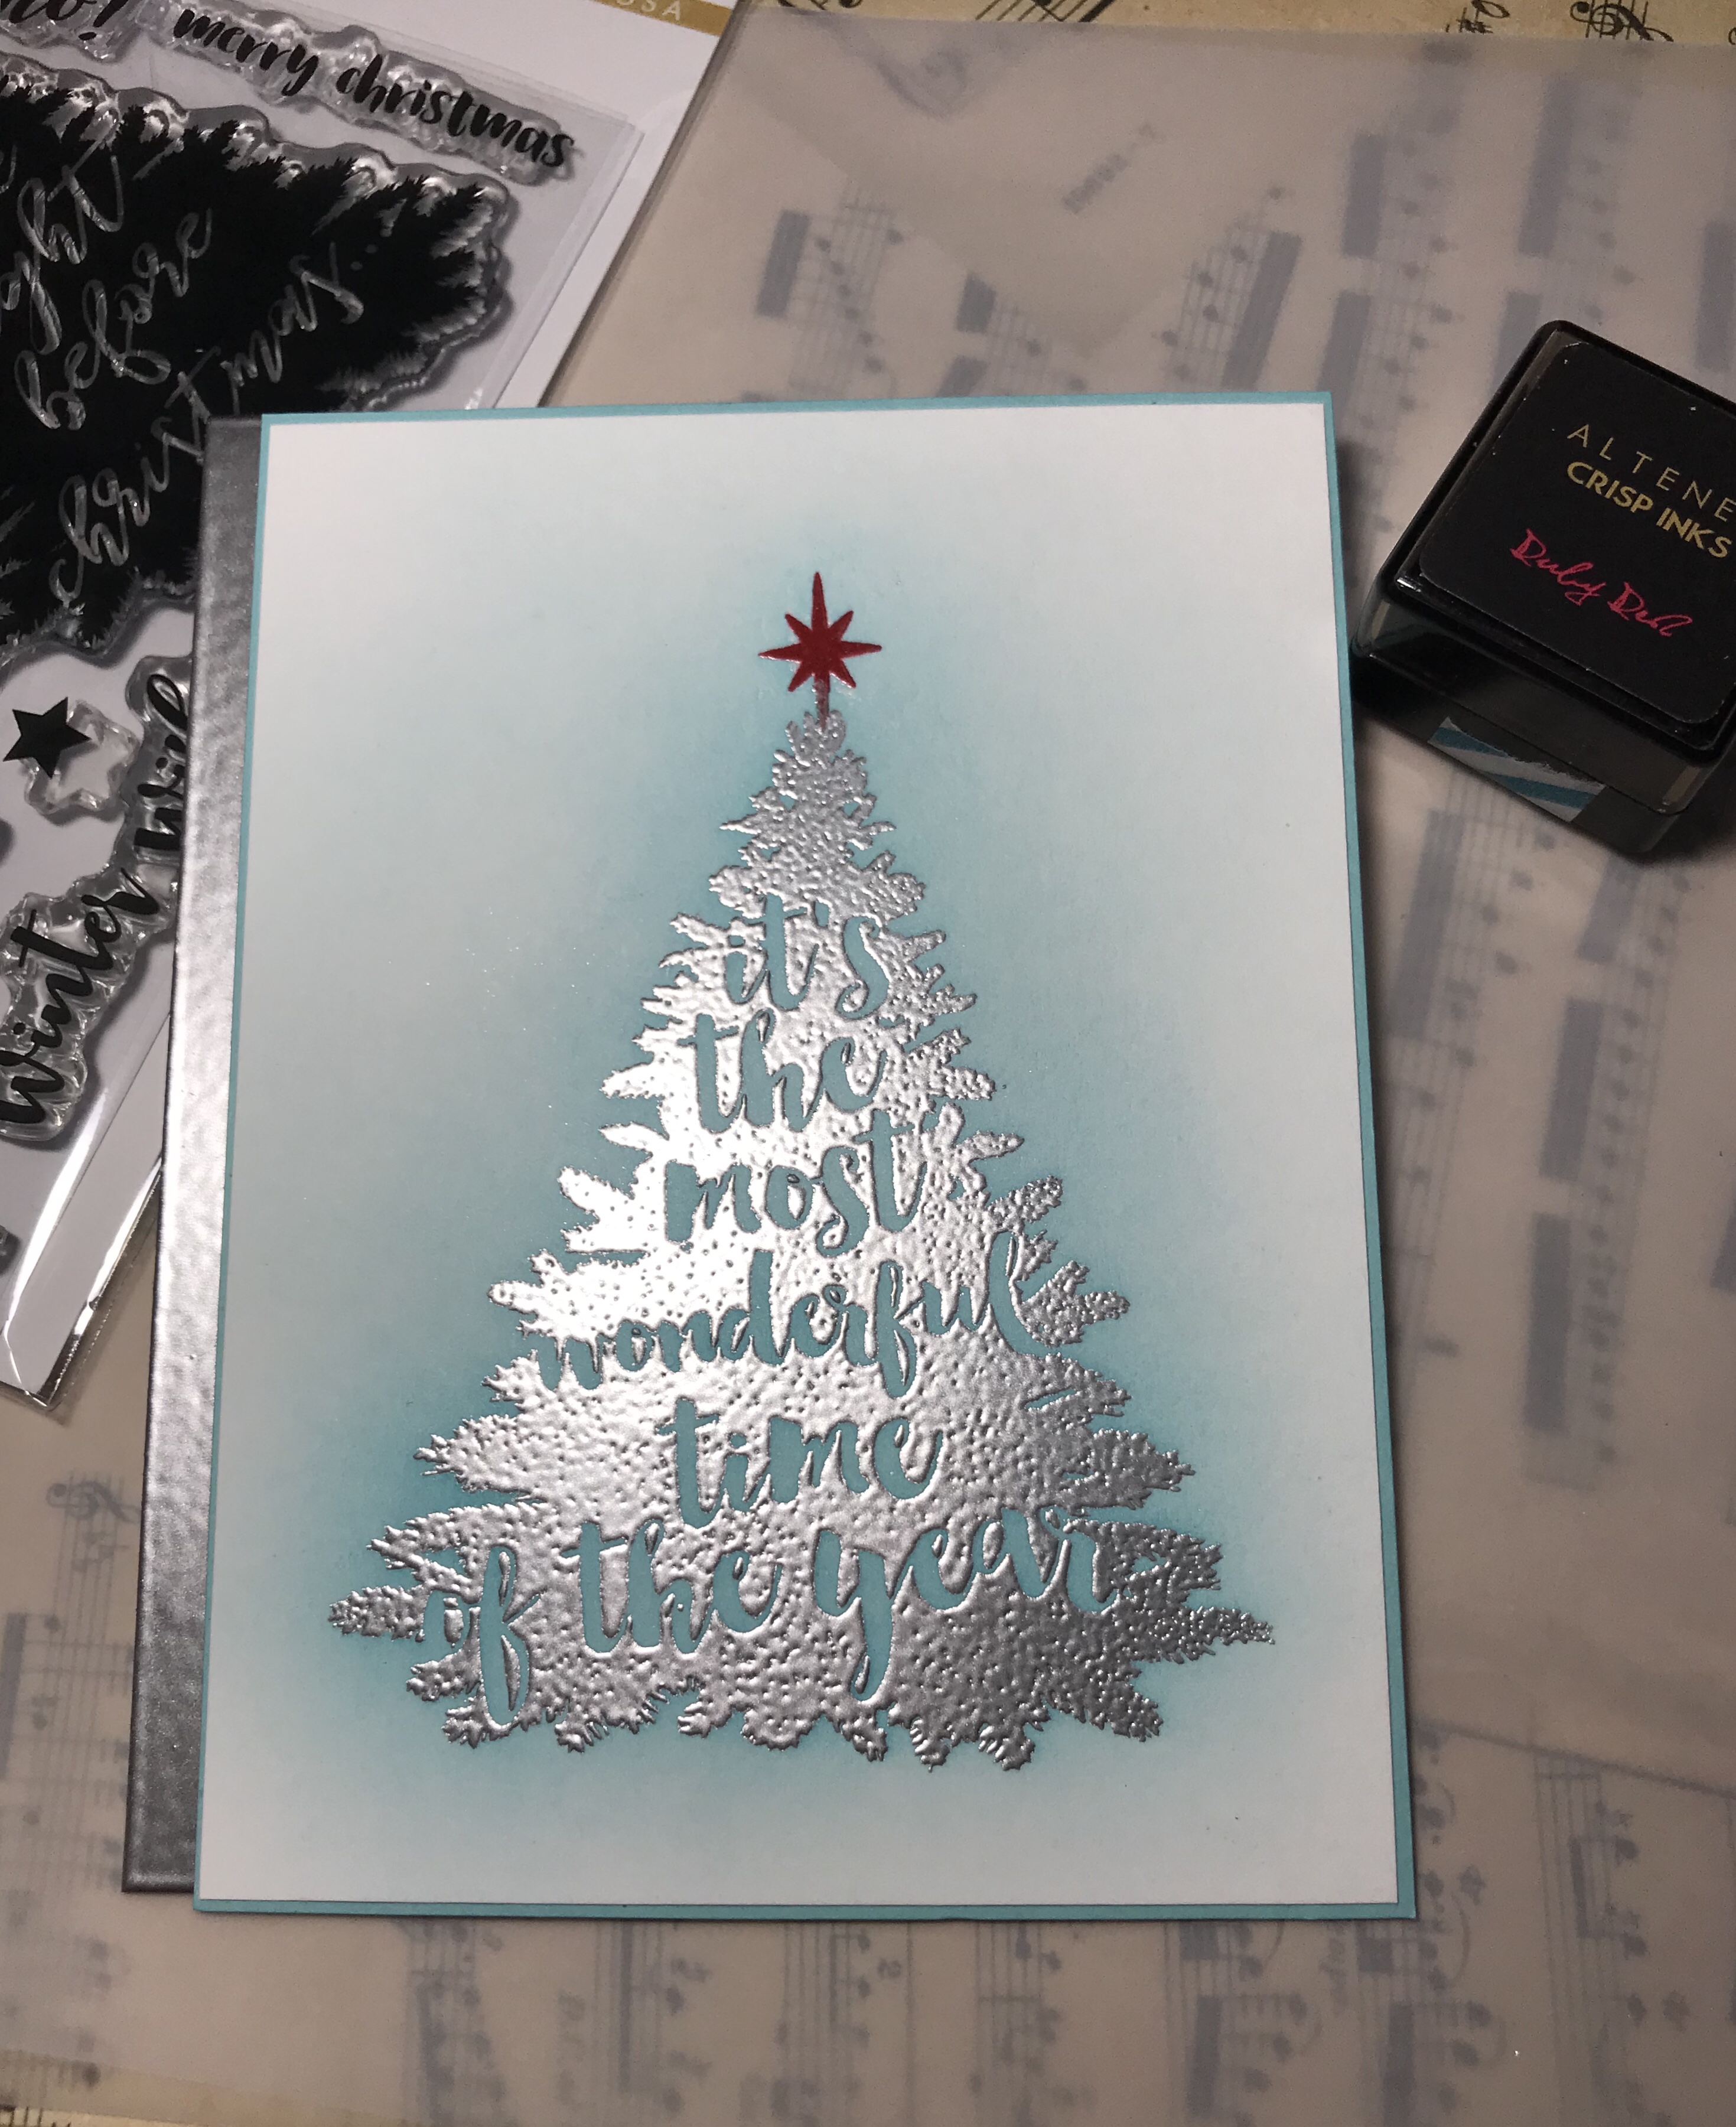
The next two cards took a little more thought and effort.
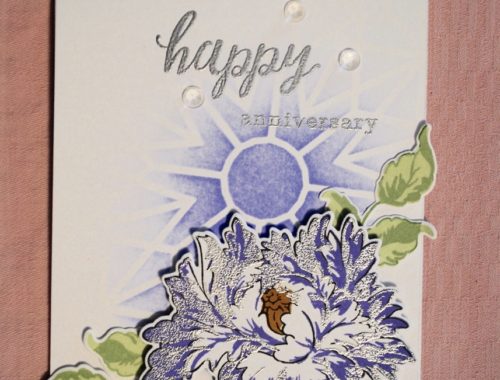
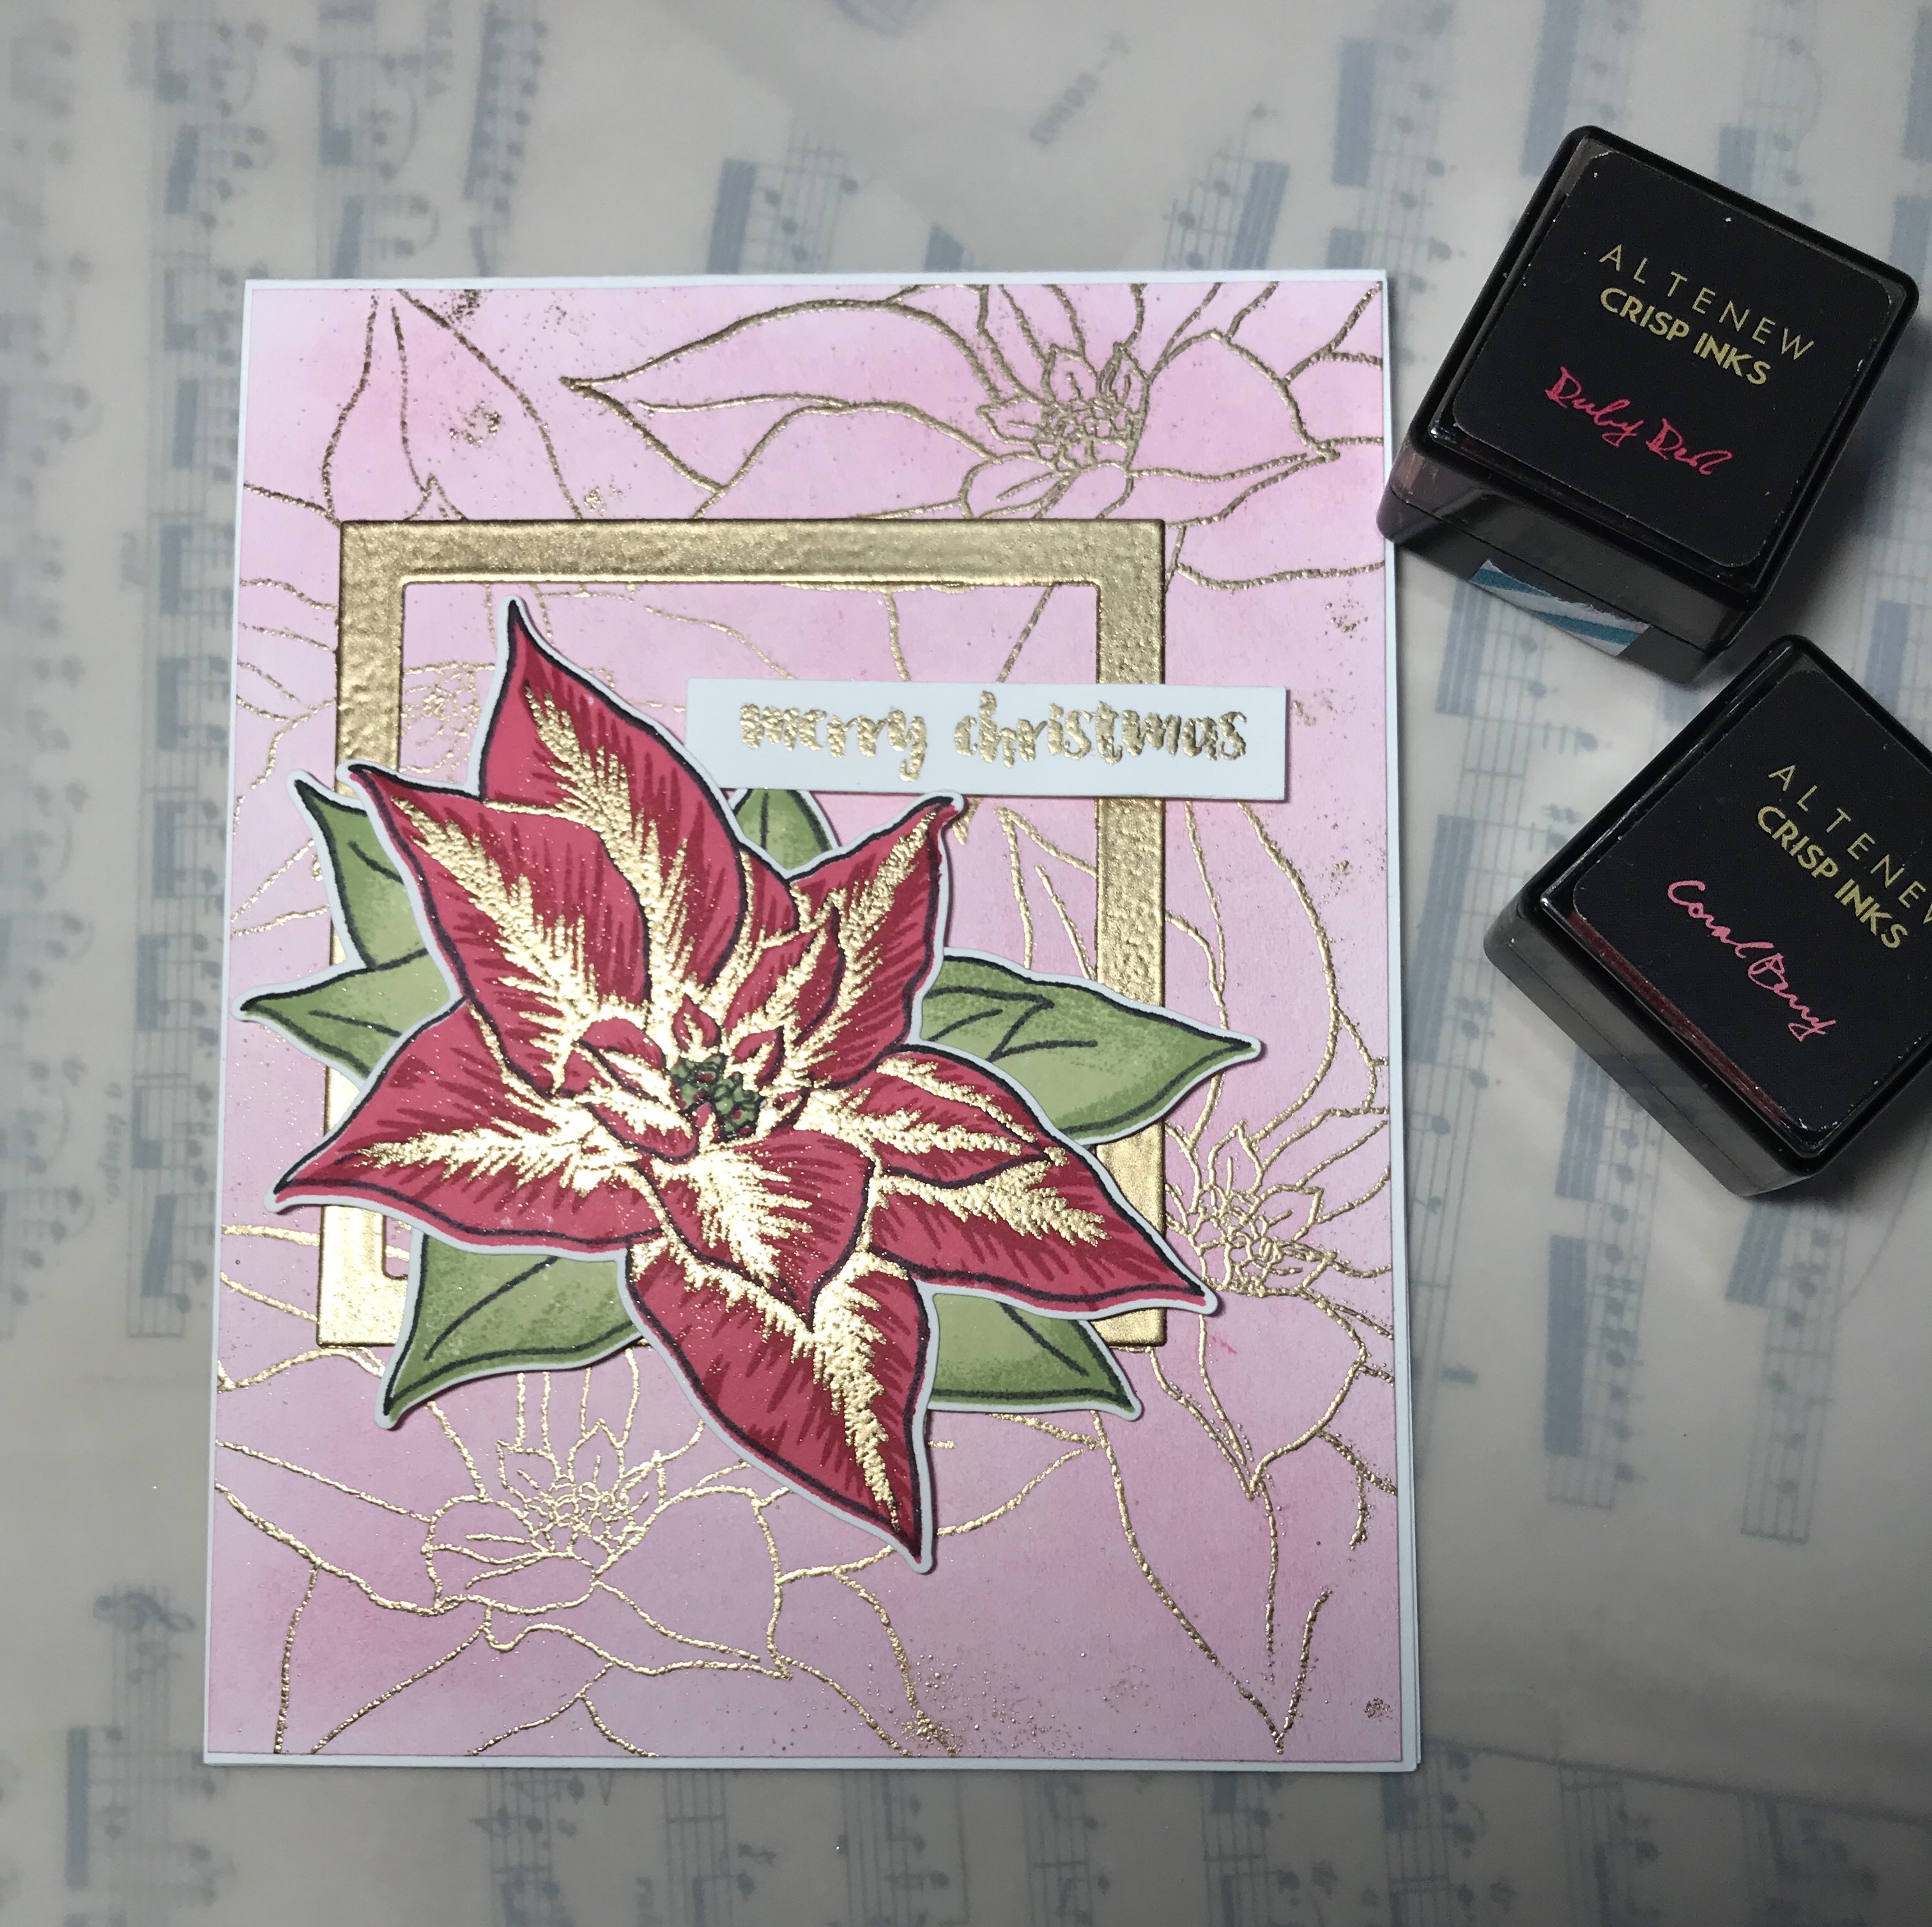
I really wanted to use my Altenew Build-a-Flower poinsettia set. My inspiration piece came from the Let It Shine class. Carissa used an ornate frame from her stash, and decorated it with a few die cut flowers. I really liked the look of that, so I wanted to try and do something similar. I used two dies from a set of Nestabilities nesting square dies to create a square frame, and embossed that using multiple layers of Altenew Rose Gold Embossing powder. I inked a piece of Neenah Classic Crest card stock in Altenew’s frosty pink, not worrying about making it super even and smooth. I wanted to go with a slightly uneven look. I then stamped the poinsettia in Jet Black for the outline layer and Coral Berry and Rocket Red inks for the first two layers. The third detailed layer, I stamped using Versa Mark ink and coated with rose gold embossing powder, then heat set the embossing powder. I loved how this came out! I stamped a second poinsettia using jet black for the outline, frayed leaf and forest green for the detail layer to act as leaves. As I started to assemble the card, I decided the background needed a little more. After all, this class was all about adding some shine! Using only the outline stamp, I stamped the poinsettia several times on the pink in Versa Mark ink, then coated it with the same rose gold embossing powder. I intentionally left some of the extra bits of embossing powder to add a little more glitter to the card, then heat set it. I embossed the Merry Christmas sentiment from the ‘Twas the night before Christmas set in rose gold again, tucking it slightly under part of the poinsettia. I ended up really loving this card and the whole process. Something with this much shine is not usually in my comfort zone.
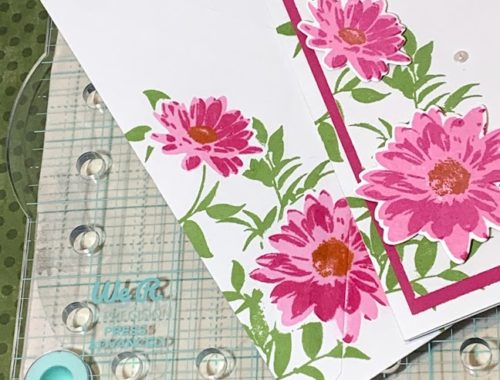
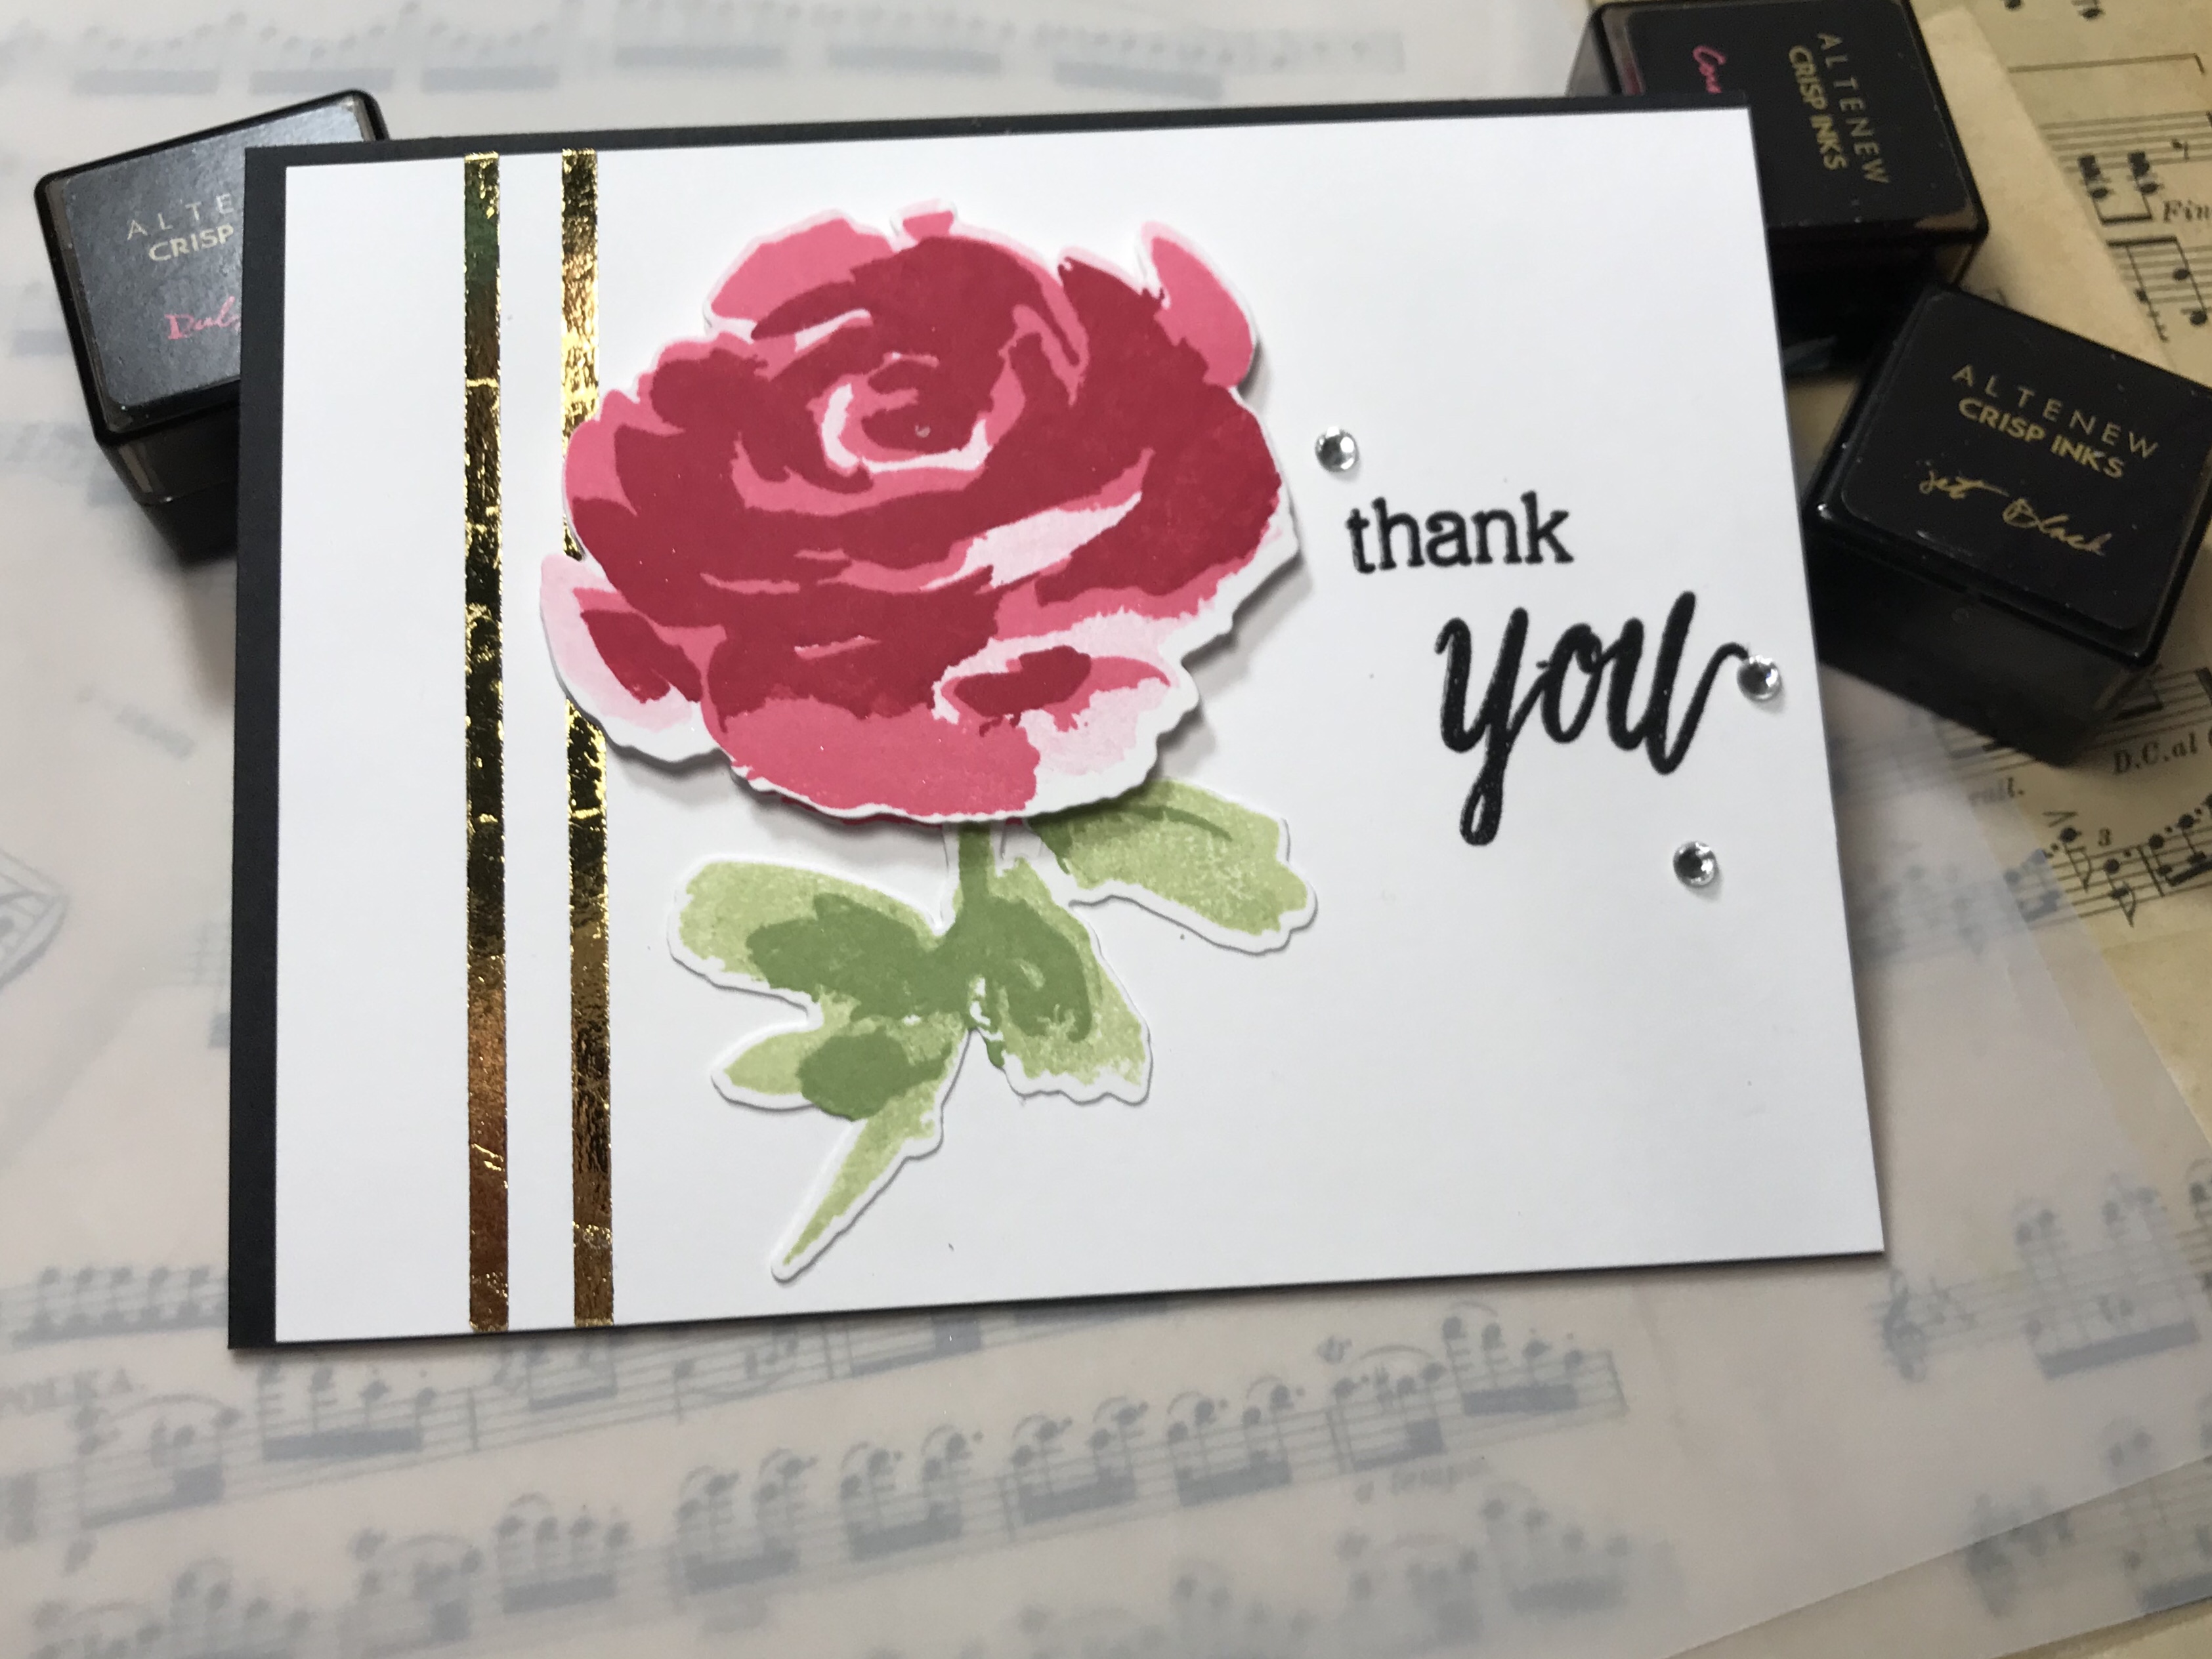
The last card I created for this series focused on using foils. I have used foils In the last with both my laminator and my double sided tape, but hadn’t used this them in a long time. I was excited to pull out my foils and try them again! I am aware of, and often heed, the fact that odd numbers are generally a more pleasing arrangement than even numbers, but I went with two gold foiled stripes instead of three. I laid out my card and checked the placement with two stripes, and was happy with that. I used the painted rose layering stamp and matching die from Altenew to create two roses and a stem. I layered the two roses using foam tape for dimension, adhering the stem and leaves flush with the bottom layer. I stamped the sentiment “thank you” from the painted rose stamp set in jet black Altenew crisp dye ink, and then embossed it with clear embossing powder (after all, the class is titled let it shine…..). I adhered the rose and stem using using double sided adhesive. I am never comfortable using sequins or gems. I always struggle with them. Probably my biggest takeaway from this class was learning placement of gems/sequins. I used a few gems from Close to my heart to add a little extra bling to this card, and was actually happy to see I liked their placement and what they added to my card this time.
Overall, I was really inspired by the spectrum of possibilities in this class: from a whole lot of sparkle, shimmer and shine, to a more simple and subtle amount of shine, one can find something to appeal to their own style and sense of balance. Carissa inspired me to continue to explore adding embellishments to my cards, and I will continue to work on adding shine to my repertoire of card making.
I loved this class and would encourage anyone to take this course from Altenew! I also hope my blog encourages you to go out and create something!