AECP: Let it shine
I was accepted as a member of the Altenew Educator Certification Program, and have been working hard at completing several of the classes. The first class I took was “Let It Shine”. This was a great class for me as I tend to shy away from too much bling, and I also struggle with the placement of embellishments. I really enjoyed pushing myself to add more shine to my cards in this class, and that impact is evident in many of the cards I have created since I have taken this class. Today’s card really takes the shine to an extreme level for me.
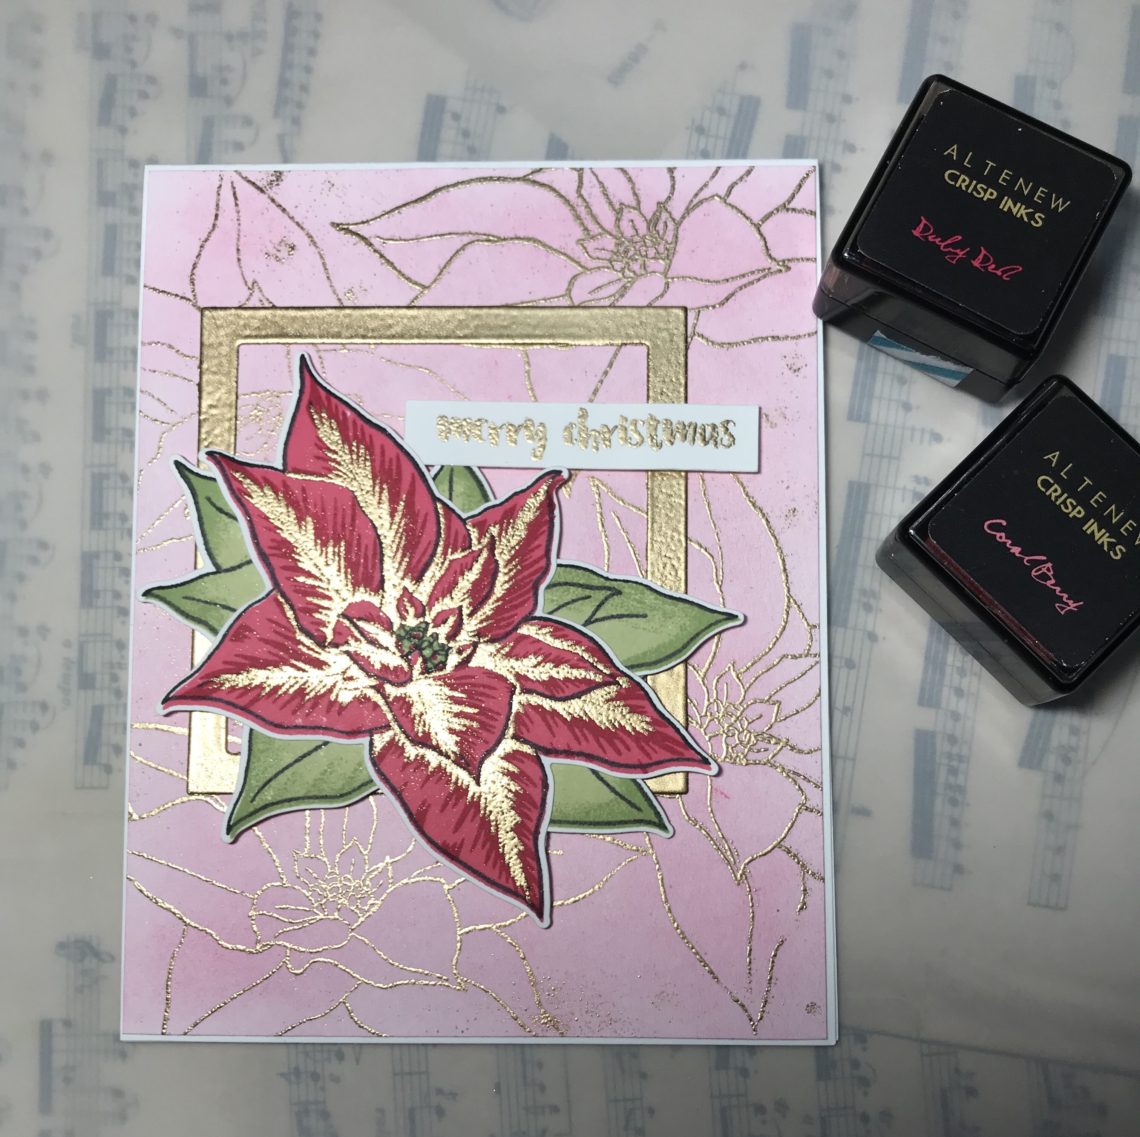
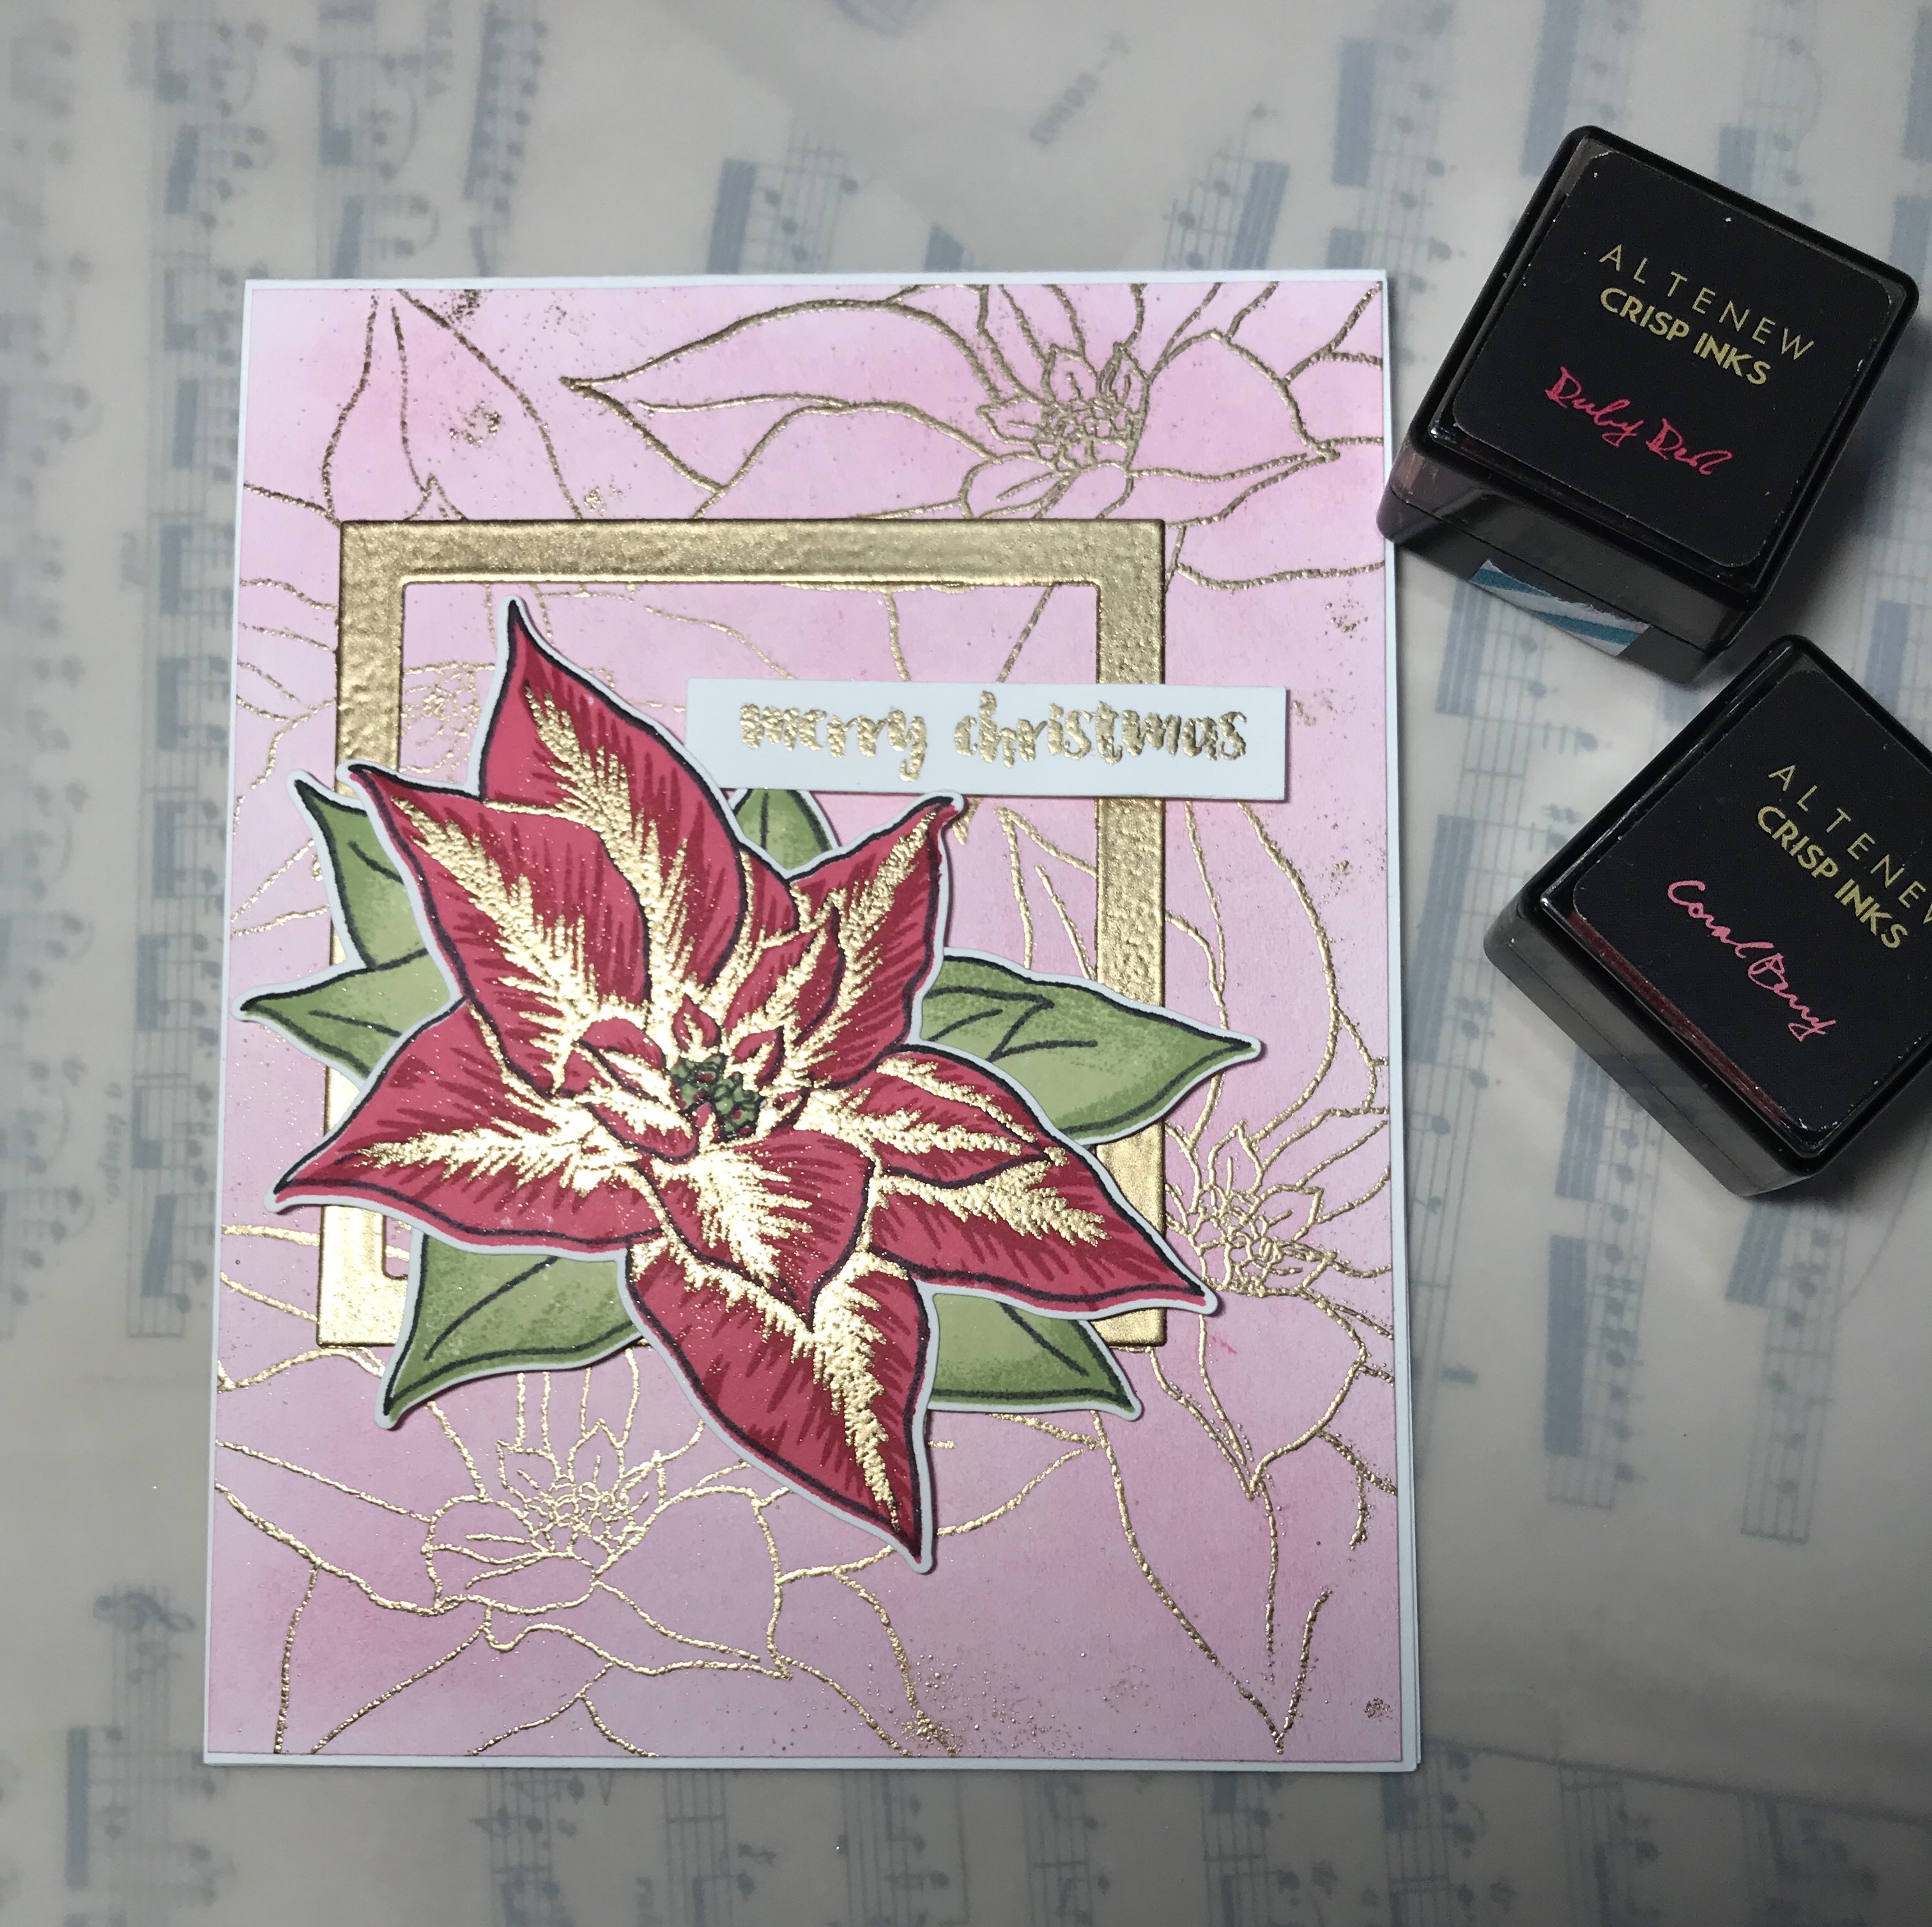
I was inspired by the instructor’s use of a frame and some die cut flowers for her card. I did not have any frames in my stash, so I made my own. I used two nesting square dies from a Nestabilities by Spellbinders set I own to create a square frame. I embossed that with several layers of Altenew’s rose gold embossing powder. Using several layers smooths out the finish, plus gives the embellishment some extra substance and dimension. I set that aside and ink-blended a 4×6″ piece of Neenah Classic Crest Solar White card stock using Altenew Frosty Pink Crisp Dye ink. I wasn’t very concerned with making sure the color was completely even and smooth as I wanted some subtle variations in intensity.
I really wanted to use my Altenew Build-a-Flower Poinsettia stamp and die set I had just ordered. I stamped the outline in Altenew’s Jet Black crisp dye ink, then Coral Berry for the first layer, and Ruby Red for the second layer. The detail layer I stamped with Versamark ink, then coated with rose gold embossing powder and heat set that. I absolutely LOVED how this came out. I stamped a second poinsettia using jet black for the outline again, and frayed leaf for the first layer and forest green for the second layer, planning to use this as leaves for my flower. As I set about assembling the card, I decided the background needed a little more, especially since the class was called Let it shine! I decided to stamp the inked background with several poinsettias in Versamark ink, and embossed them in rose gold embossing powder. I intentionally left stray pieces of embossing powder, and actually used a brush to randomly add more blobs (for lack of a better word!) of powder before I heat set it. I embossed the sentiment “Merry Christmas” from the “‘Twas the Night Before Christmas” stamp set in rose gold on a strip of Neenah solar white card stock, tucking the sentiment strip slightly under one of the poinsettia petals. In spite of not usually liking this level of shine, I ended up really loving this card and how it stretched me to use even more shine.
Two take aways from this class were stretching myself to add even more shine, as in this card, and learning to be more confident in my placement of embellishments. Overall, I was really inspired by the spectrum of possibilities in this class: from an overload of Sparkle and shine to a more subtle card. Carissa inspired me to not be afraid of shimmer and shine!
I loved this class and would encourage everyone to take this class from Altenew!
As always, thank you for reading my blog, and I hope this inspires you to go out and create something!
Colette


4 Comments
Amanda Laine
Beautiful card! I love the glitz and glam. The gold embossed frame is a great touch!
Erum Tasneem
Pretty card Colette! You seem to have added this to the wrong AECP gallery. You are supposed to upload in Group 7 gallery. Kindly correct the error.
I am so glad that you entered your beautiful work in the Altenew AECP assignment Gallery. Thank you for sharing your creative process! Fabulous job!
admin
All set! Thanks for pointing that out!
Virginia Lu
Absolutely gorgeous! Love your layering and use of gold-embossing! Love the frame background with all the embossing! Thanks so much for entering your beautiful work in Altenew AECP assignment Gallery. Beautiful colors and design. Well done on your first project!