Finally…Back at it (also known as Magical Marker Techniques!)
It’s been a while, and we will just chalk it up to the fact that sometimes life is challenging, and we need to meet it head on. So after 8 months or so, in spite of the current challenges, I am again working on my Altenew Academy Classes.
The next class I tackled was “Magical Marker Techniques”, by Sara Naumann. I enjoyed the fact that Sara uses her markers for more than just coloring in stamped images, in fact, I liked that a lot. I would recommend this class to anyone who is looking for ideas on how to stretch their supplies (and let’s face it, who isn’t?).
I had so much fun with this class that I created 3 cards for this class, two of which are very similar in technique and process, and one that is quite different. I will start with the two that are similar.
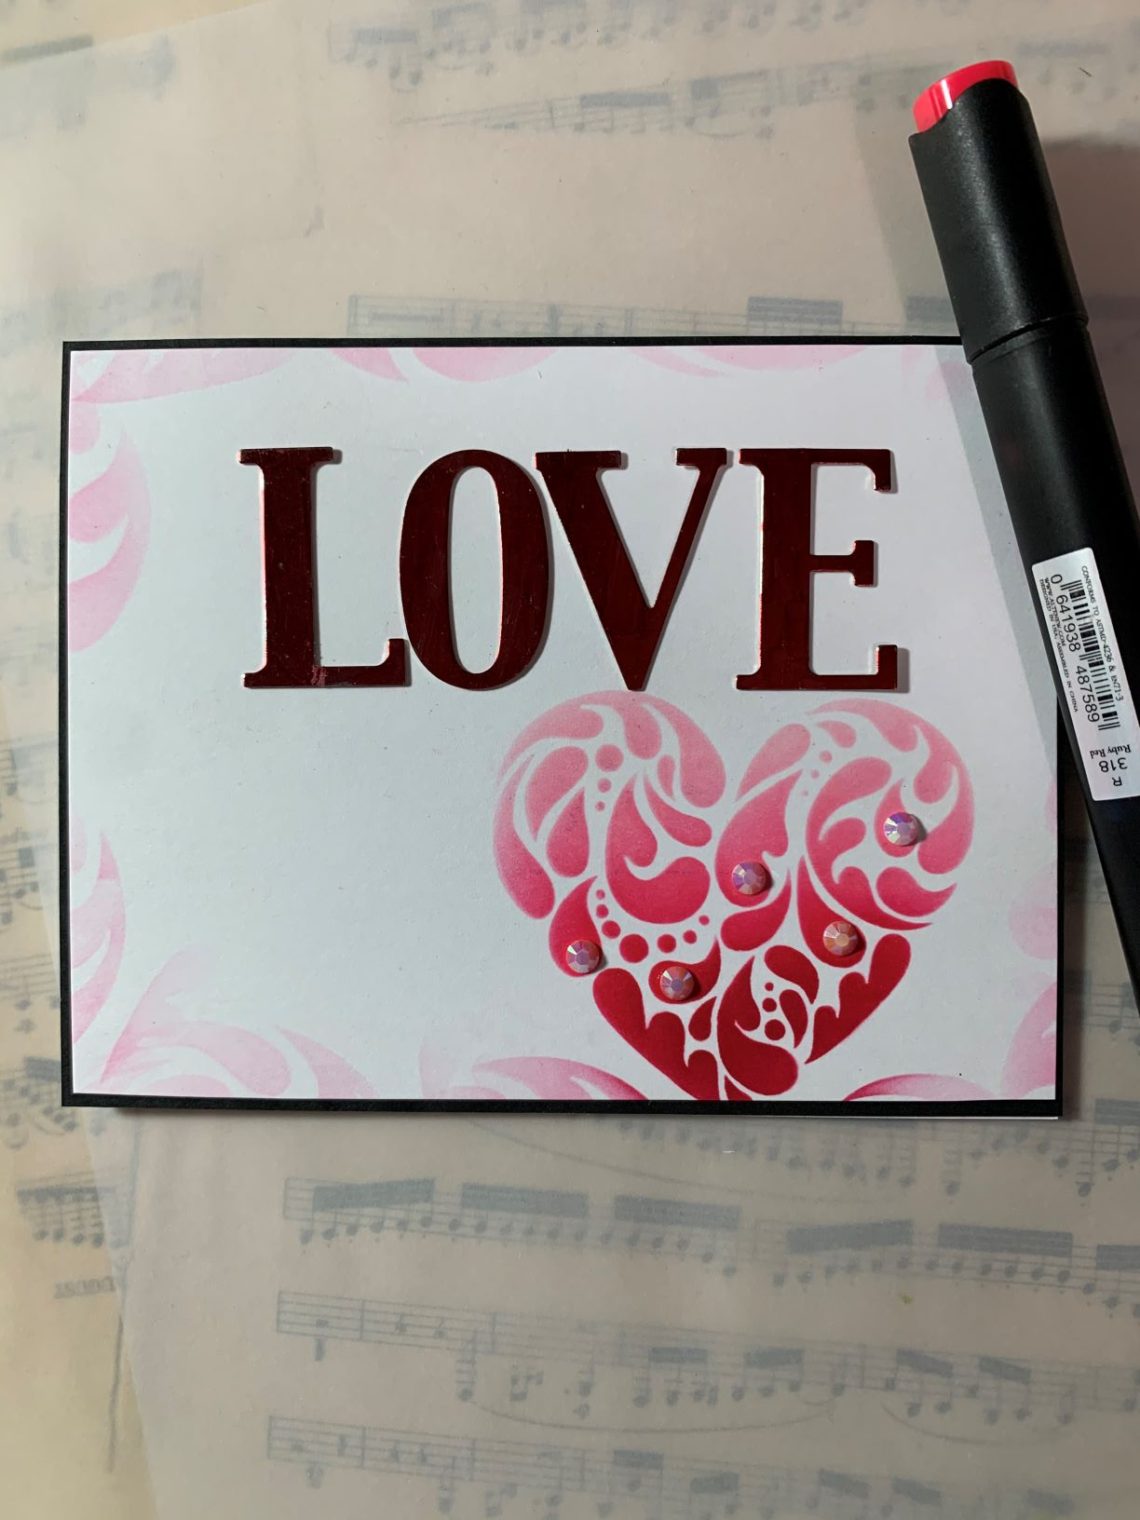
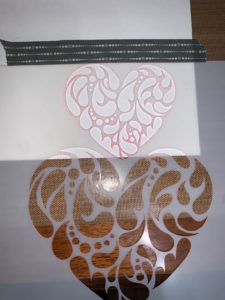
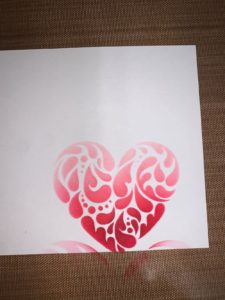
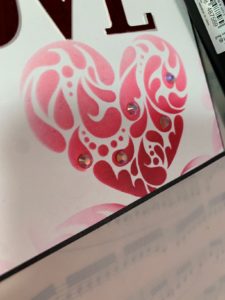
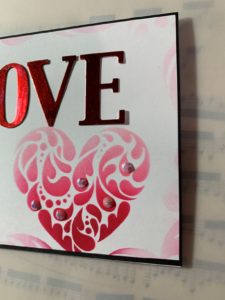
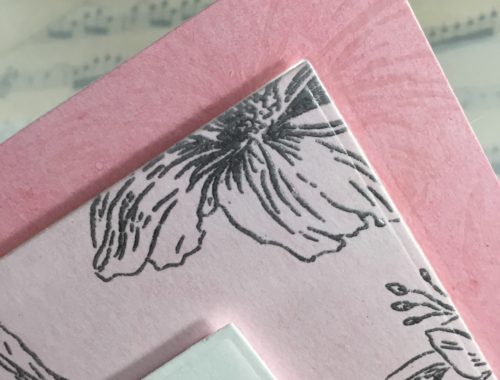
I used two “newer” Altenew stencils for these projects: Flowing hearts and Sunburst. For the first card, I used the smaller of the two hearts, and placed it in the lower left corner of a piece of white card stock. I then used Altenew Crisp Inks in Frosty Pink, Coral Berry and Ruby Red to color the stencil. While I was inking, I had what I term a “happy accident”: I didn’t tape of the larger heart enough, and some of the Ruby Red ink ended up coloring in part of the larger heart stencil. I could have started over, but I decided to create a frame for the card using the edges of the larger heart stencil, and ended up loving the way it came out.
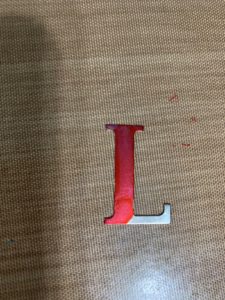
Using my Ruby Red Altenew Artist Marker, I colored metal letters from my stash, creating the word “LOVE” in the same color as the deepest ink in the heart. I added a few Pink Fresh Studio gems to add some sparkle, matted it on black cardstock, then mounted it on a white card base and I was done.

The second card was the same process with the Sunburst stencil, using Mountain Mist, Volcano Lake and Lagoon inks. The metal letters are altered using my Lagoon Artist Marker, and I added many gems from Pink Fresh Studios to this card. Because the process is so similar to the first card, I am including only pictures of the finished card.


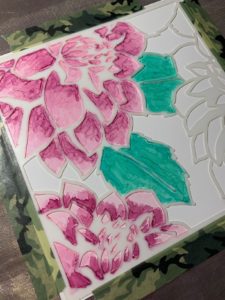
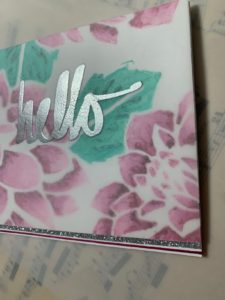
My original project for this class was a completely different approach (and ended up being my least favorite….). I again used a stencil, Altenew’s Layered Dahlia Stencil, and Artist Markers to color the stencil on Ranger’s Glossy card stock. I trimmed that panel to be 4″ to allow some of the card base to show. I embossed the word “hello” in silver on some vellum, then layered that over the stenciled card stock to create a softer feel. On the bottom of the card base, I added a strip of silver glitter tape (Close to My Heart) and a single line using an Artist Marker Marker, just to give it a more finished feel.

As always, thank you for reading my blog, and I hope this inspires you to go out and create something!

Quick Watercolor Window

3 Comments
Erum Tasneem
I was thinking about you today, Colette!! And then I saw your project in the gallery! I think the last card only looks messy because of the glossy cardstock but the vellum saved it! Totally changed the look! I would say it is a winner!!
Erum Tasneem
I was thinking about you today, Colette!! And then I saw your project in the gallery! I think the last card only looks messy because of the glossy cardstock but the vellum saved it! Totally changed the look! I would say it is a winner!! Lovely projects, and thank you for making more than just one! Good to see you again in the gallery!
Thank you for entering your work to the AECP assignment gallery.
cacypiano
Thank you, Erum.