DIY Card Boxes for A2 Greeting Cards
Greetings from Michigan on this crisp November day. The 3 angels are prepping for our first craft show and I was trying to figure out what I wanted to share on our site. I decided to share the card boxes I am making to sell sets of A2 size greeting cards. Originally I didn’t want to buy a box to put these in just to resell them so I scoured the internet to see what I could make out of cardstock I have. I took several ideas and modified them for my own purposes. Today I am showing you an A2 size box that is wider than it is tall. I can modify this to be a tall and narrow box if you make a lot of top folding cards. I like wide and low because the will stay standing better on my display table. This uses one 12×12 sheet of paper as long as you aren’t sticking too many cards in the box. The measurements below are for a set of 8 cards and 9 envelopes. ( I always add an extra envelope for people like me that always mess up one address). You may need to make a slight adjustment if your cards are really heavy on the layers. This can be modified to different widths. I am not sure if I will go into how to modify today. We will see how long the basic instructions turn out.
Supplies needed: Sturdy cardstock for the base, scoreboard (usually not a need but in this case I think it is a need), Scissors, adhesive of choice.
Supplies that are useful: ruler ( used one today for my lines), pencil, paper trimmer, decorative paper
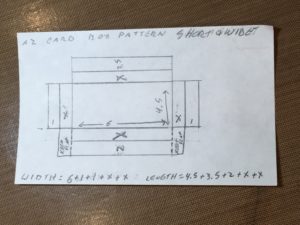
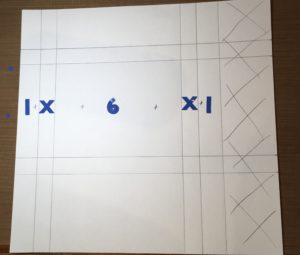
Here is a picture of my pattern: I know scary numbers, x’s, and arrows. Just work through the measurements I give later.
Today I picked white cardstock and used a pencil and ruler to draw my guidelines on the paper. I do not do this normally but did it for your visualization purposes. This is helpful the first few times until you get the hang of everything.
The first picture is the height of the card. Normally I would score on a scoreboard. The numbers in the picture indicate the width of each section not where to score it. The x is the adjustable width area that can change based on the number of cards you want to fit in your finished box. In todays box that number is 3/4 in. which will fit about 8 cards and envelopes. Here are the scoring measurements: score at 2 in, 2 3/4 in, 7 1/4 in, 8 in, and 11 1/2 in. If you notice the last strip has pencil x’s on it to indicate we will waste that strip. Trim the last 1/2 inch off.
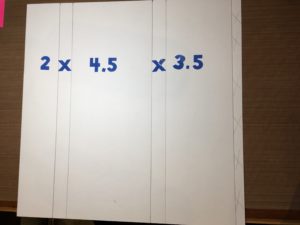
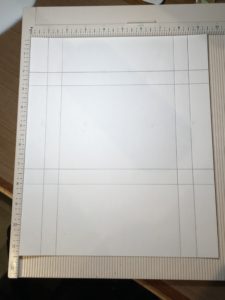
Rotate the paper 90 degrees and score at the appropriate intervals again for the width of the box. Again the numbers indicate the widths of the panels and not where to score. The scoring measurements are 1 in, 1 3/4 in, 7 3/4 in, 8 1/2 in, and 9 1/2 in. Trim off the last 2 1/2 in flap. Note I put x’s on the last flap again to indicate what to cut off for waste.
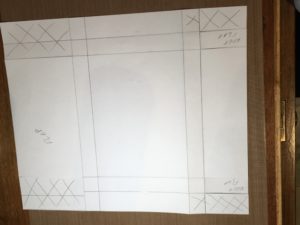
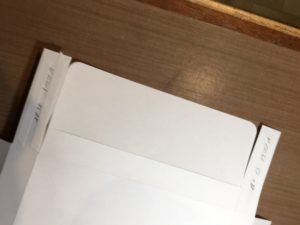
Here is the paper after I trimmed the waste off. I scored my lines more heavily at this time.
Below I marked the areas that need to be trimmed off. This I usually do because I inevitably trim a the wrong bit. The x’s indicate the areas to cut out. Note the two flaps that say “keep flap”. These will help support the bottom of the box. Do not cut these off.
I use a corner rounder on specific corners to give the final product a more finished look.
Now I fold all the score lines.
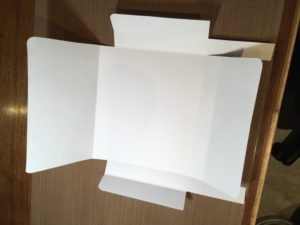
Add your choice of adhesive to the “keep flaps” area.
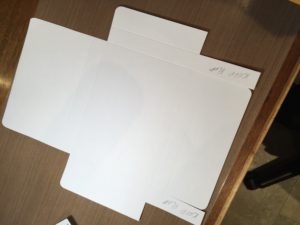
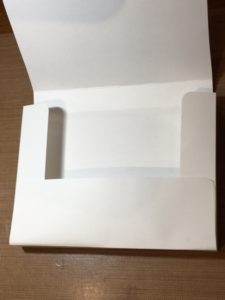
These pictures don’t do this justice. Fold the flaps in and tape to the inside of the base. This will pull the sides up and the bottom up forming the beginnings of a 3 dimensional box.
Add tape to the outer edges of the flap that is now at a right angle from the back.
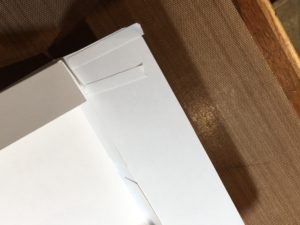
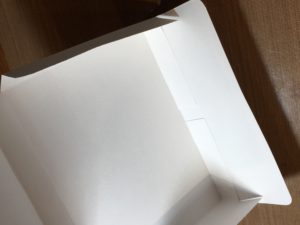
Fold the side flaps in then fold the bottom flap up and adhere.
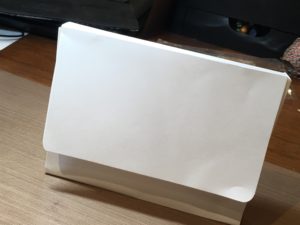
Fold the top flap down. You are done. Now the fun part. Decorating!
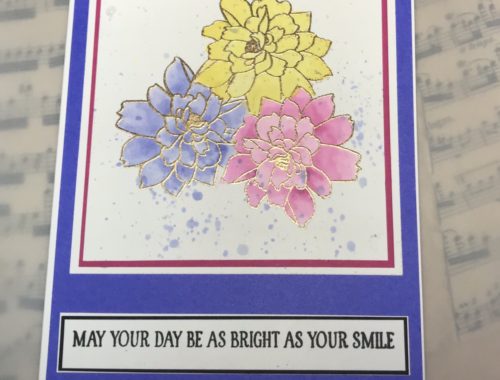
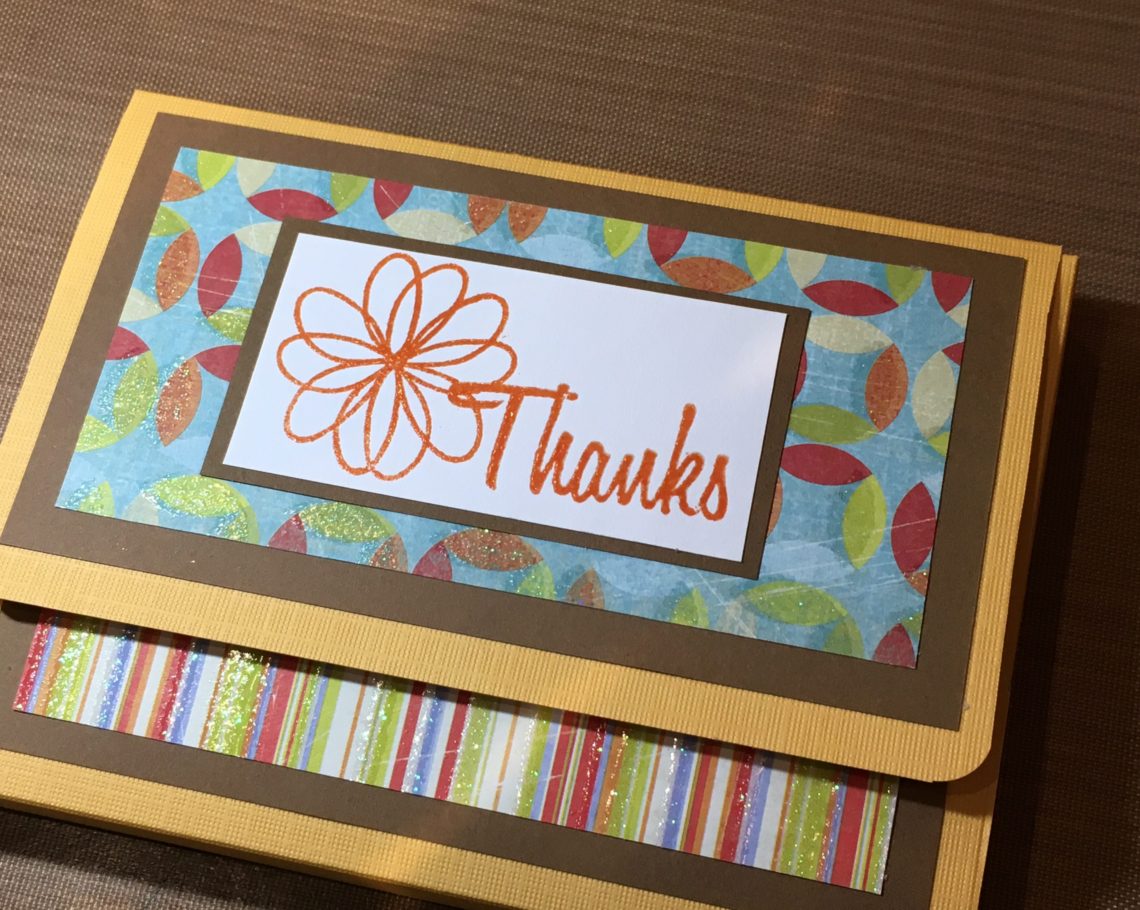
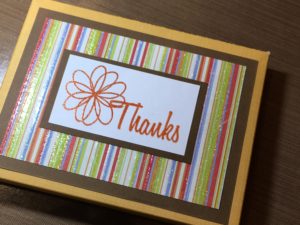
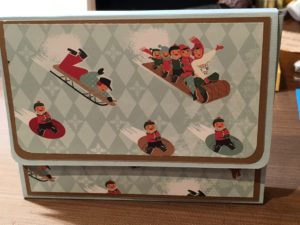
Here are two examples of finished decorated boxes.
Let me know if you have any questions. I have a head cold this week and have “medicine head” so if something doesn’t make sense let me know and I will try to clear up any confusion. Thanks for stopping by. Frog