I bean meaning to say….
Lately, all of my blog posts have been focused on my AECP classes. This one could also, but for now, I will write from the perspective of “just because”.
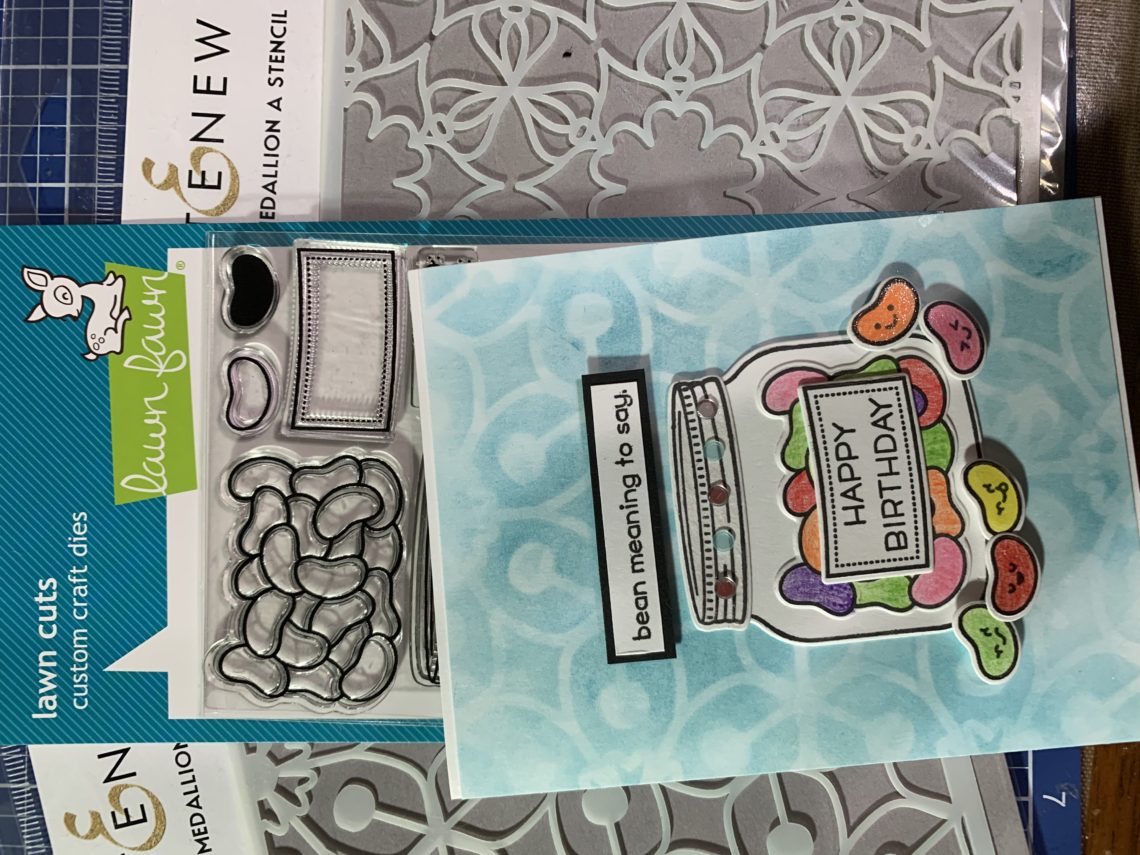
My youngest daughter LOVES puns and word play. She has a bit (okay, a lot!) of my dad in her…. and she has an early March birthday. Because she is now 20, we were not able to celebrate her birthday on her actual birthday, so her card will be late. And…..over the holidays, I splurged and purchased the largest set of prismacolor premium pencils for the best price I had ever seen (I had been watching for a while for the price to drop). Plus I have these fabulous Lawn Fawn stamps that are so fun…..and I had never used them (How You Bean?). Sounds like the “perfect storm” to me!
I used my altenew medallion layering stencils to creat my background. I used a tone on tone approach, pulling out my tumbled glass distress ink and blending tool (round). I taped my card stock to my craft mat, and secured the stencil over the card stock. I lightly blended the ink in, then removed the stencil and secured stencil b over the background.
I set that aside, and stamped two of the jars using Gina k amalgam ink. Using the same ink, I stamped the jelly beans and the ring to the jar. I also stamped two labels, and then added “happy birthday” to one of the labels. I then colored the jelly beans using my new colored pencils! As silly as this sounds, this is huge for me….. using the matching dies, I cut out all of those pieces. I learned that my washi tape (that I used to secure my dies in place) pulls some of the color off, so I then had to apply another layer of color to some of the jelly beans.
I assembled all of these die cut layers, adhering two jars together, then the jelly beans, then adhered the two labels together and secured that to the jar. Finally, I added the lid ring to the top of the jar. I then adhered all of this to the stenciled background. I stamped the sentiment “”I beam meaning to tell you” on a strip of white card stock, then mounted that on a strip of Gina K onyx card stock. I centered that over the jar using foam tape to add some dimension.
At this point, I decided it needed a little more. So I stamped and cut out several individual jelly beans with faces added (SO FUN!!), using the same colors of colored pencils as I had used earlier. Then I pulled out my Spectrum Noir shimmer pen and added some shimmer to the individual jelly beans. I used foam squares to adhere these to the base of the jar.
For my last bit of bling, I added some Pretty Pink Posh gems to the lid ring. I then trimmed the entire card front just a tiny bit smaller than A2, and mounted it to a card base. Finished!
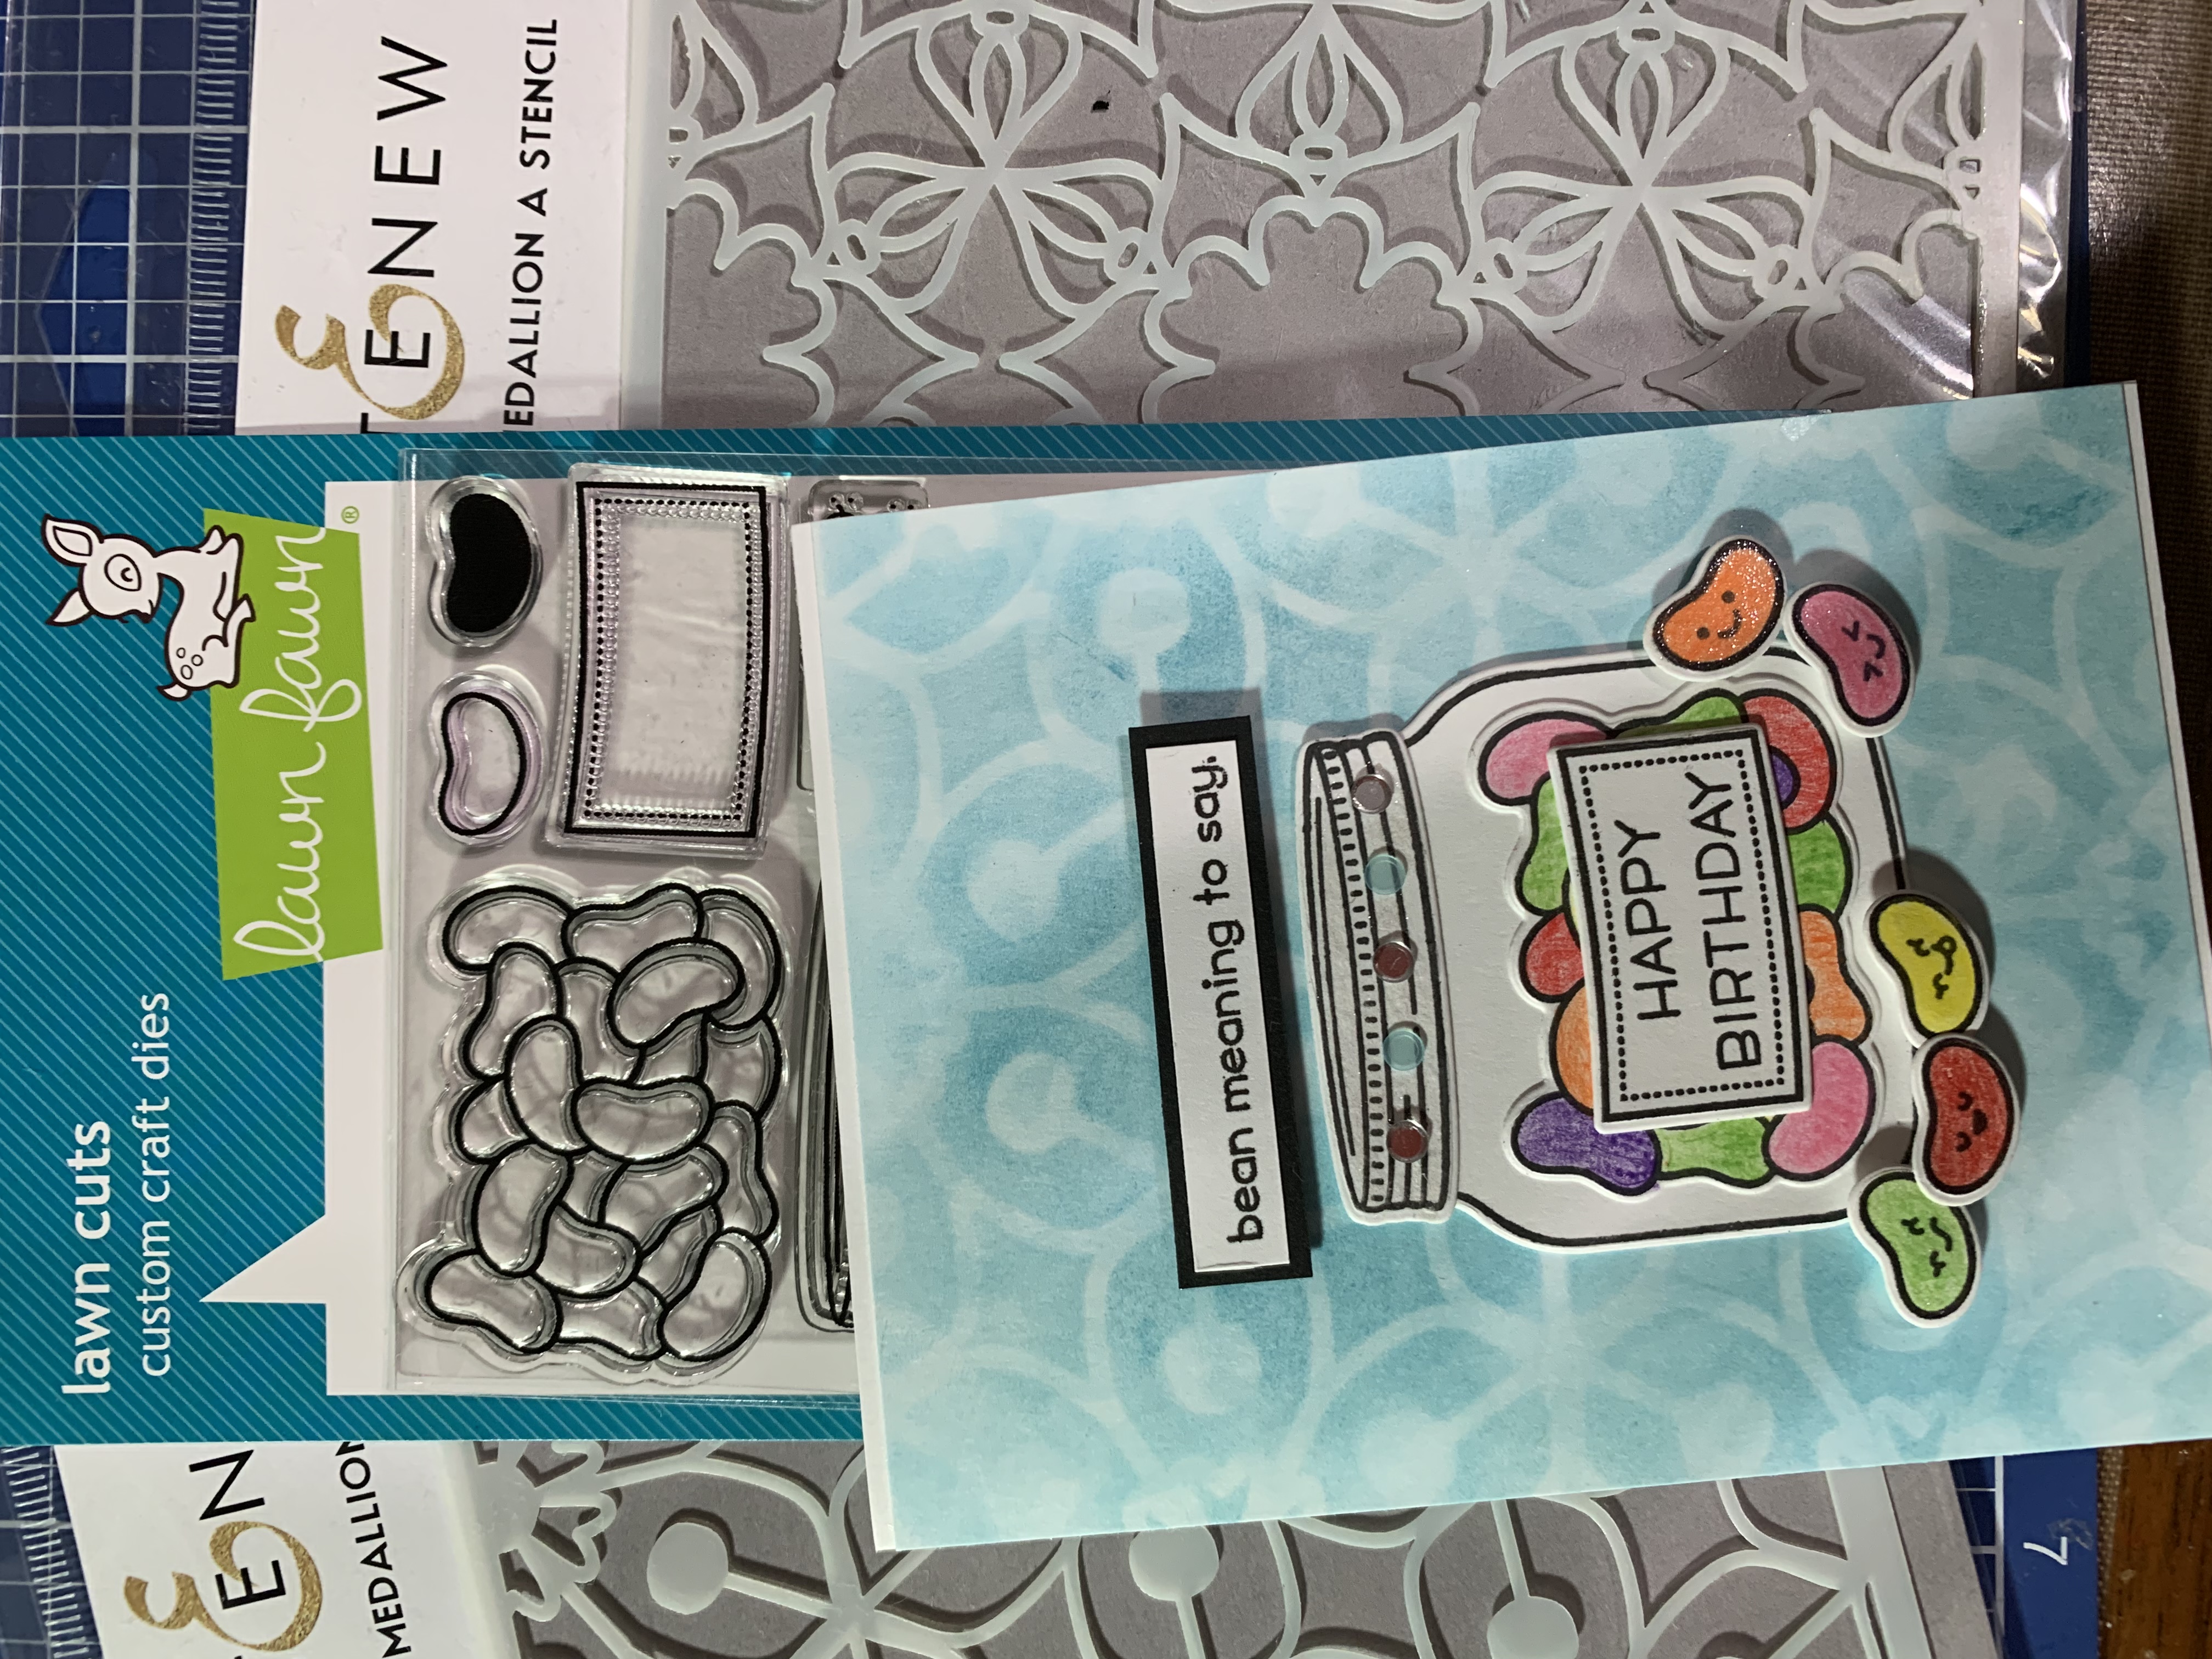
I hope you like today’s card. This card took me outside of my comfort zone in many ways. My first attempt at coloring, my first attempt at creating more of a “scene”, and a super lighthearted card. I love trying new techniques….and would appreciate any feedback on this card. Hoping my daughter loves it!
As always, thank you for reading my blog and I hope this inspires you to go out and create something!

Die cuts
You May Also Like
Clean and Simple from the Other Side
November 12, 2018
All about layering (stamps)…1
April 15, 2019