Die cuts
Continuing on my educator journey, I tackled a die cut class next. I enjoy die cutting. But my trusty old big kick decided it was too old….and I was starting to hate die cutting. So I put the die cut class on hold. It took a while, but I finally went on a hunt for a new machine, because the struggle wasn’t worth the results anymore. I ended up finding a Gemini Junior in my price range, and love it. I am enjoying die cutting again! Using the energy new supplies can sometimes give us, I went back to tackle the die cut class.
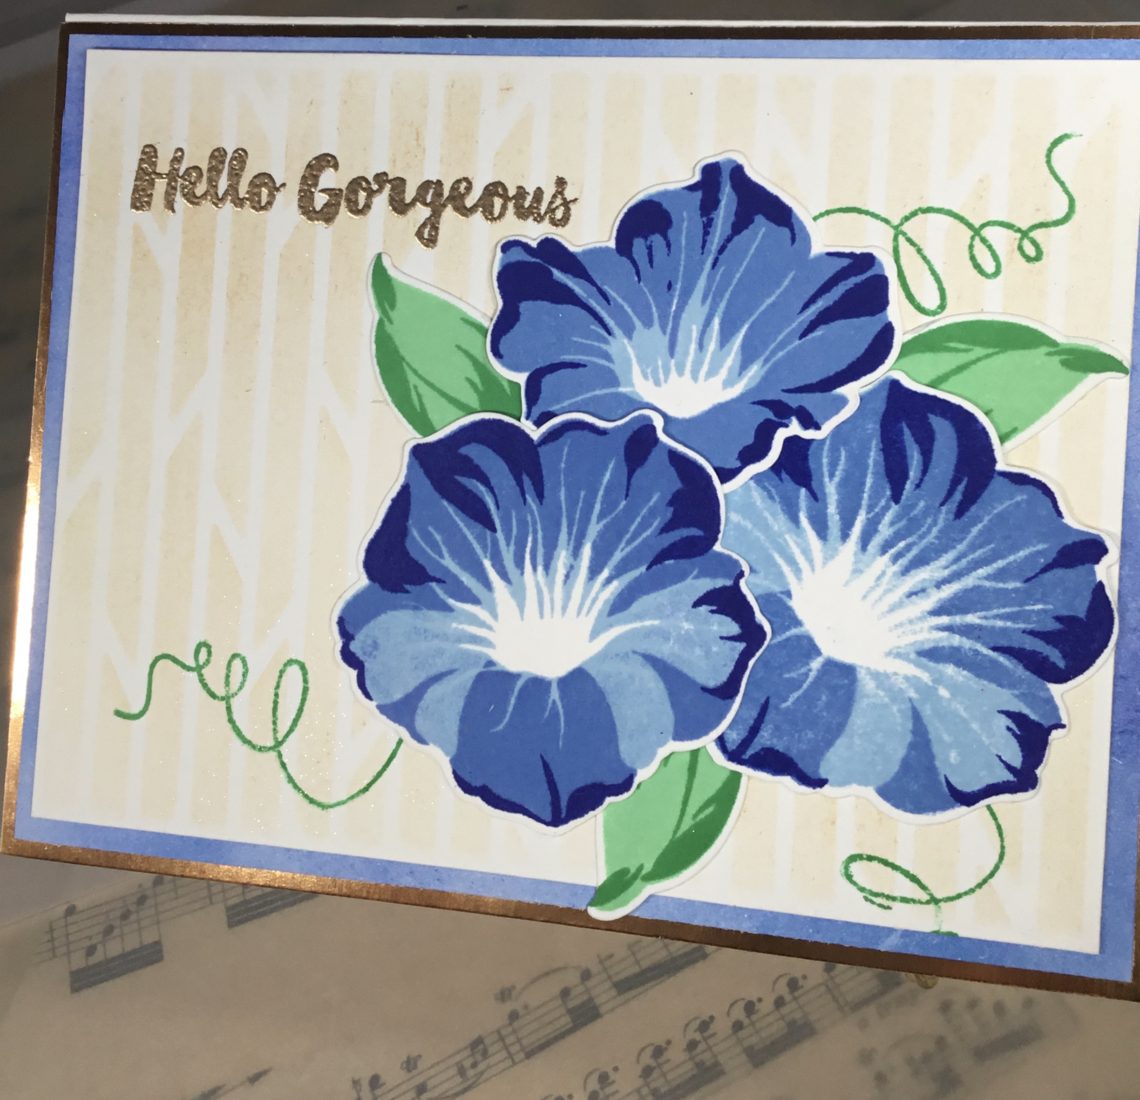
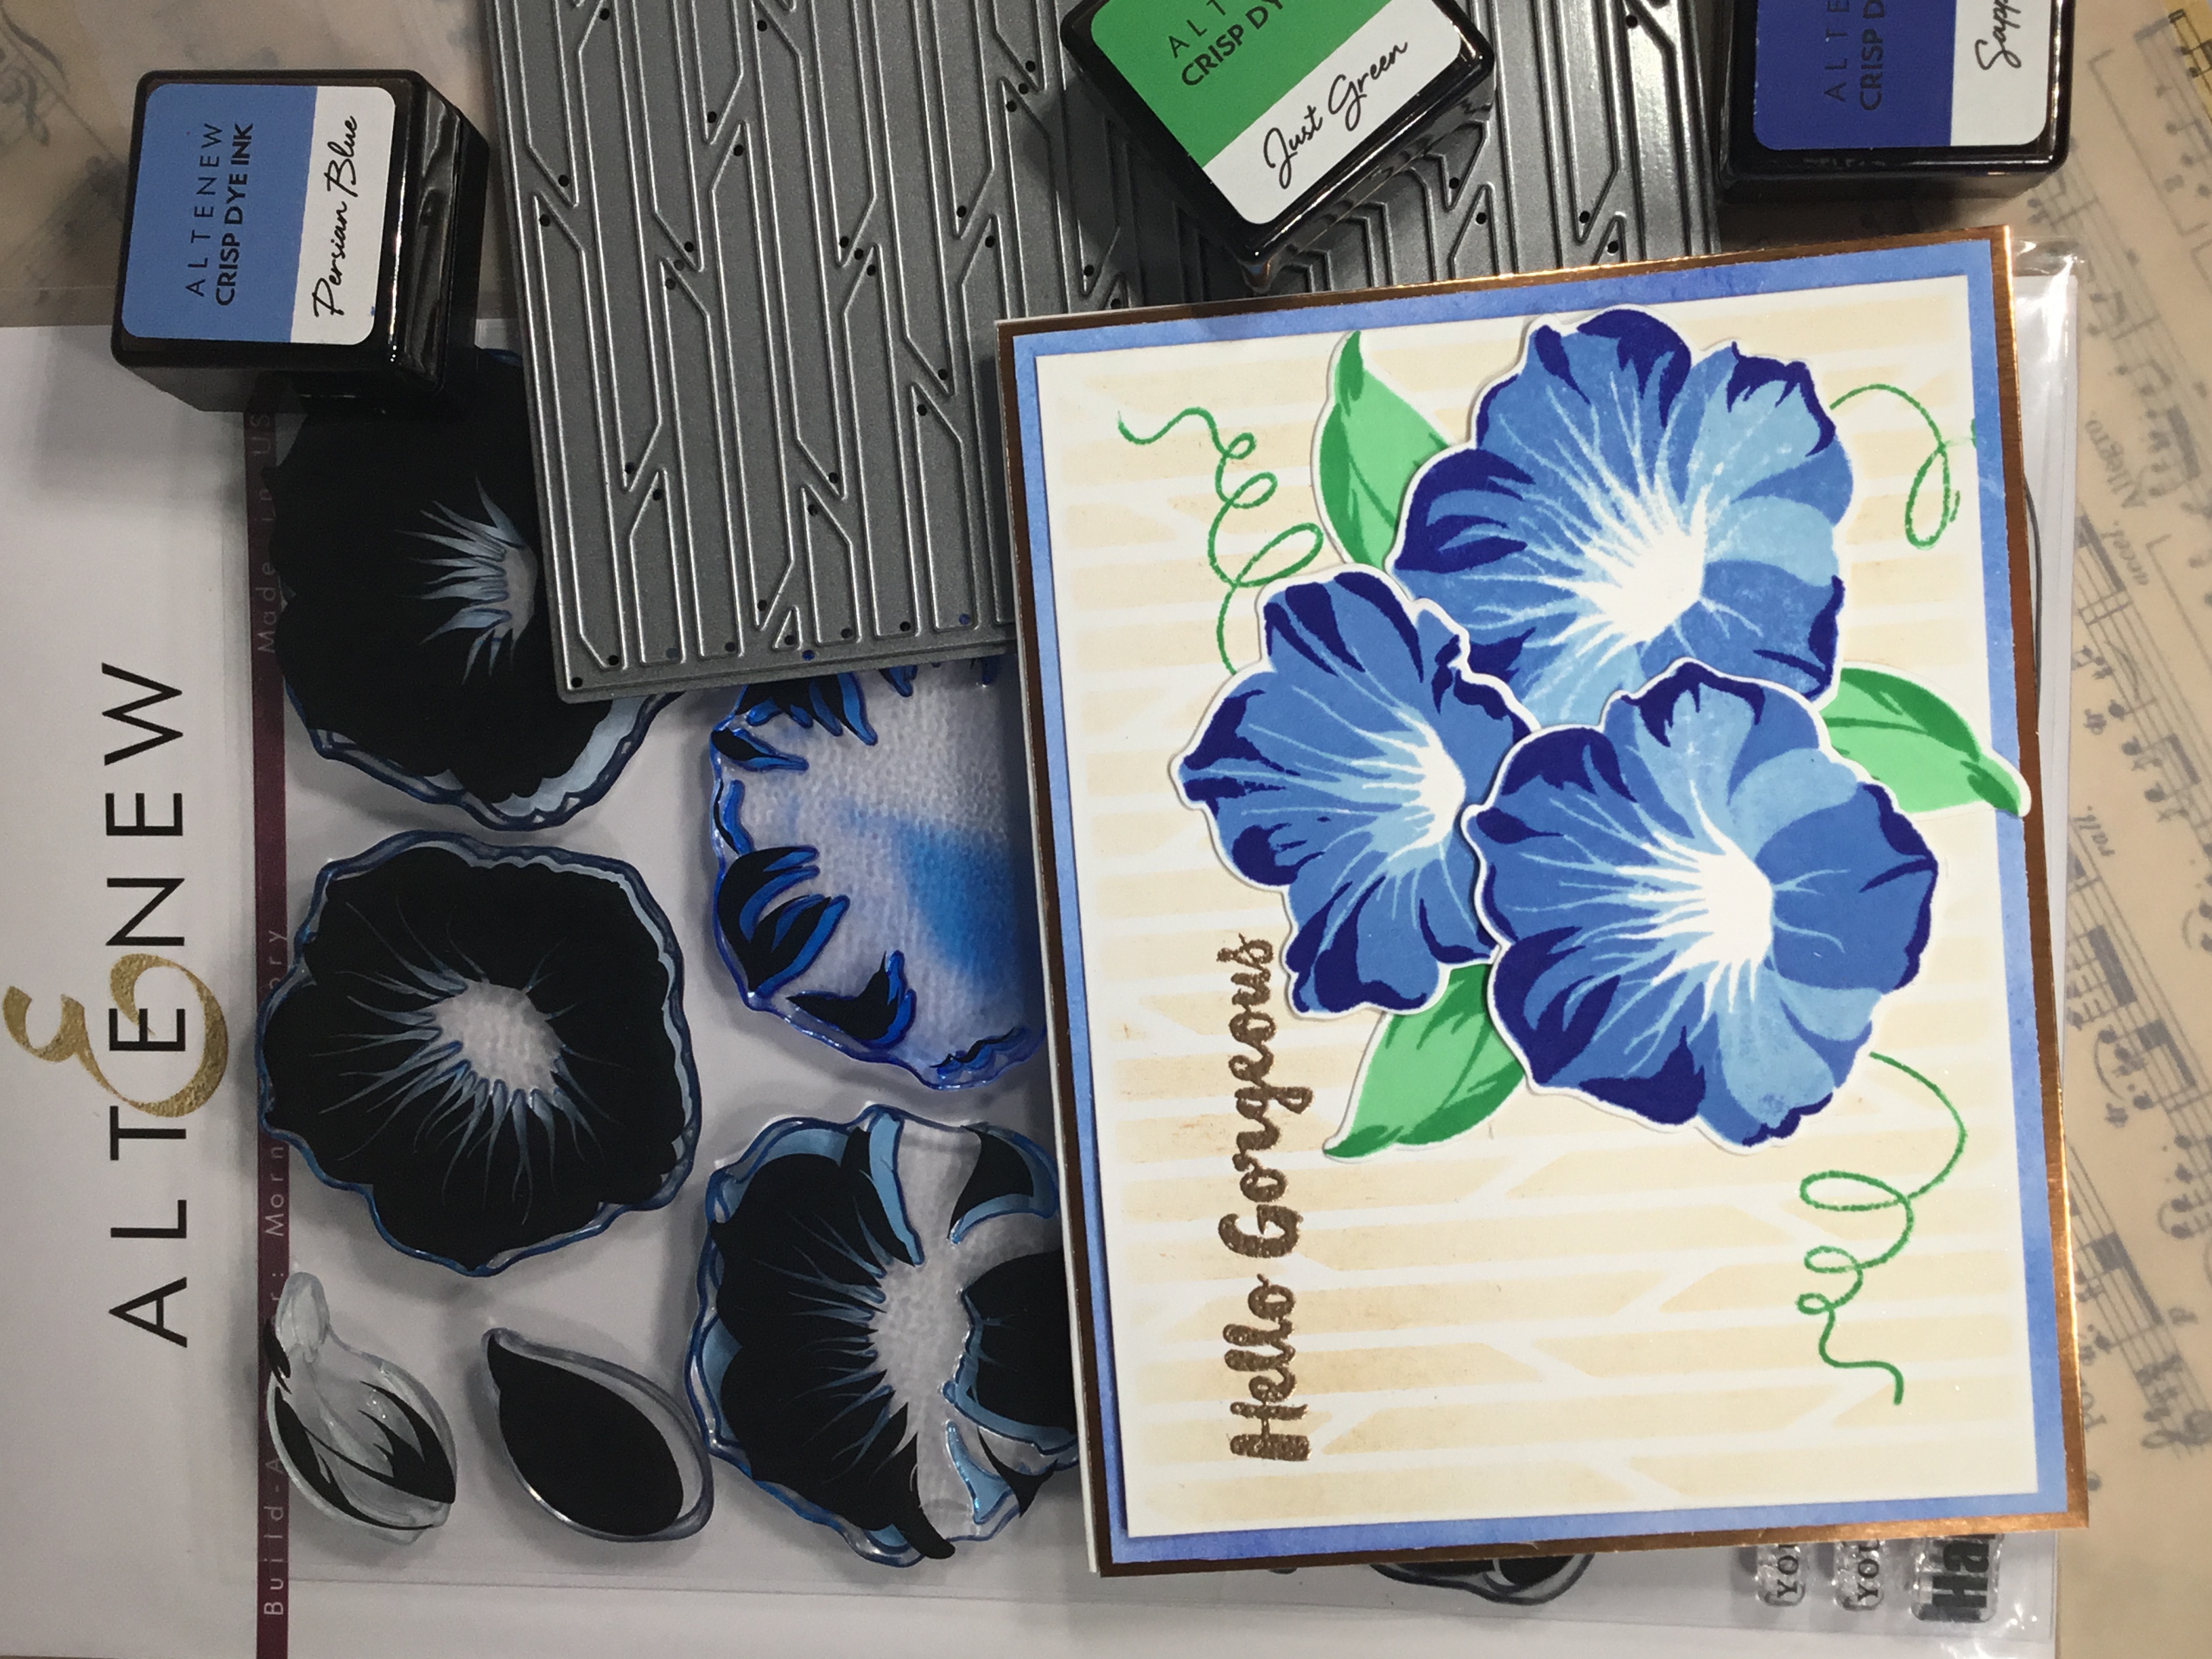
I used the Altenew Shutter Cover Die as a stencil. I had one laying around anyway, so decided to put it to good use! I taped the die cut over an A2 sized piece of Neenah Classic Crest Solar White card stock, then proceeded to use Tea Dye Distress Ink to create my background. I used a vertical orientation to give it a trellis like feel.
I had previously used my Altenew Morning Glory layering stamp set to stamp a few flowers and leaves. I used Caribbean Sky, Persian Blue and Sapphire for the flowers, and Sweet Leaf and Just Green (all Altenew crisp dye inks) for the leaves. Using the matching die set, I cut out the leaves, then the flowers. I ended up modifying the flower die, as I only wanted the flower, not the stems too. I just fussy cut where I wanted the edge to be.
I arranged these on the stenciled background, trying to determine where I wanted them. I took a few pictures and stepped away from my desk. After a break, I looked at the pics and decided to re-arrange them. Once I was finally happy with the placement, I took a final picture and removed the die cuts from the background. I then stamped the sentiment “hello gorgeous” (Altenew Spring Daisy) using Altenew rose gold embossing powder.
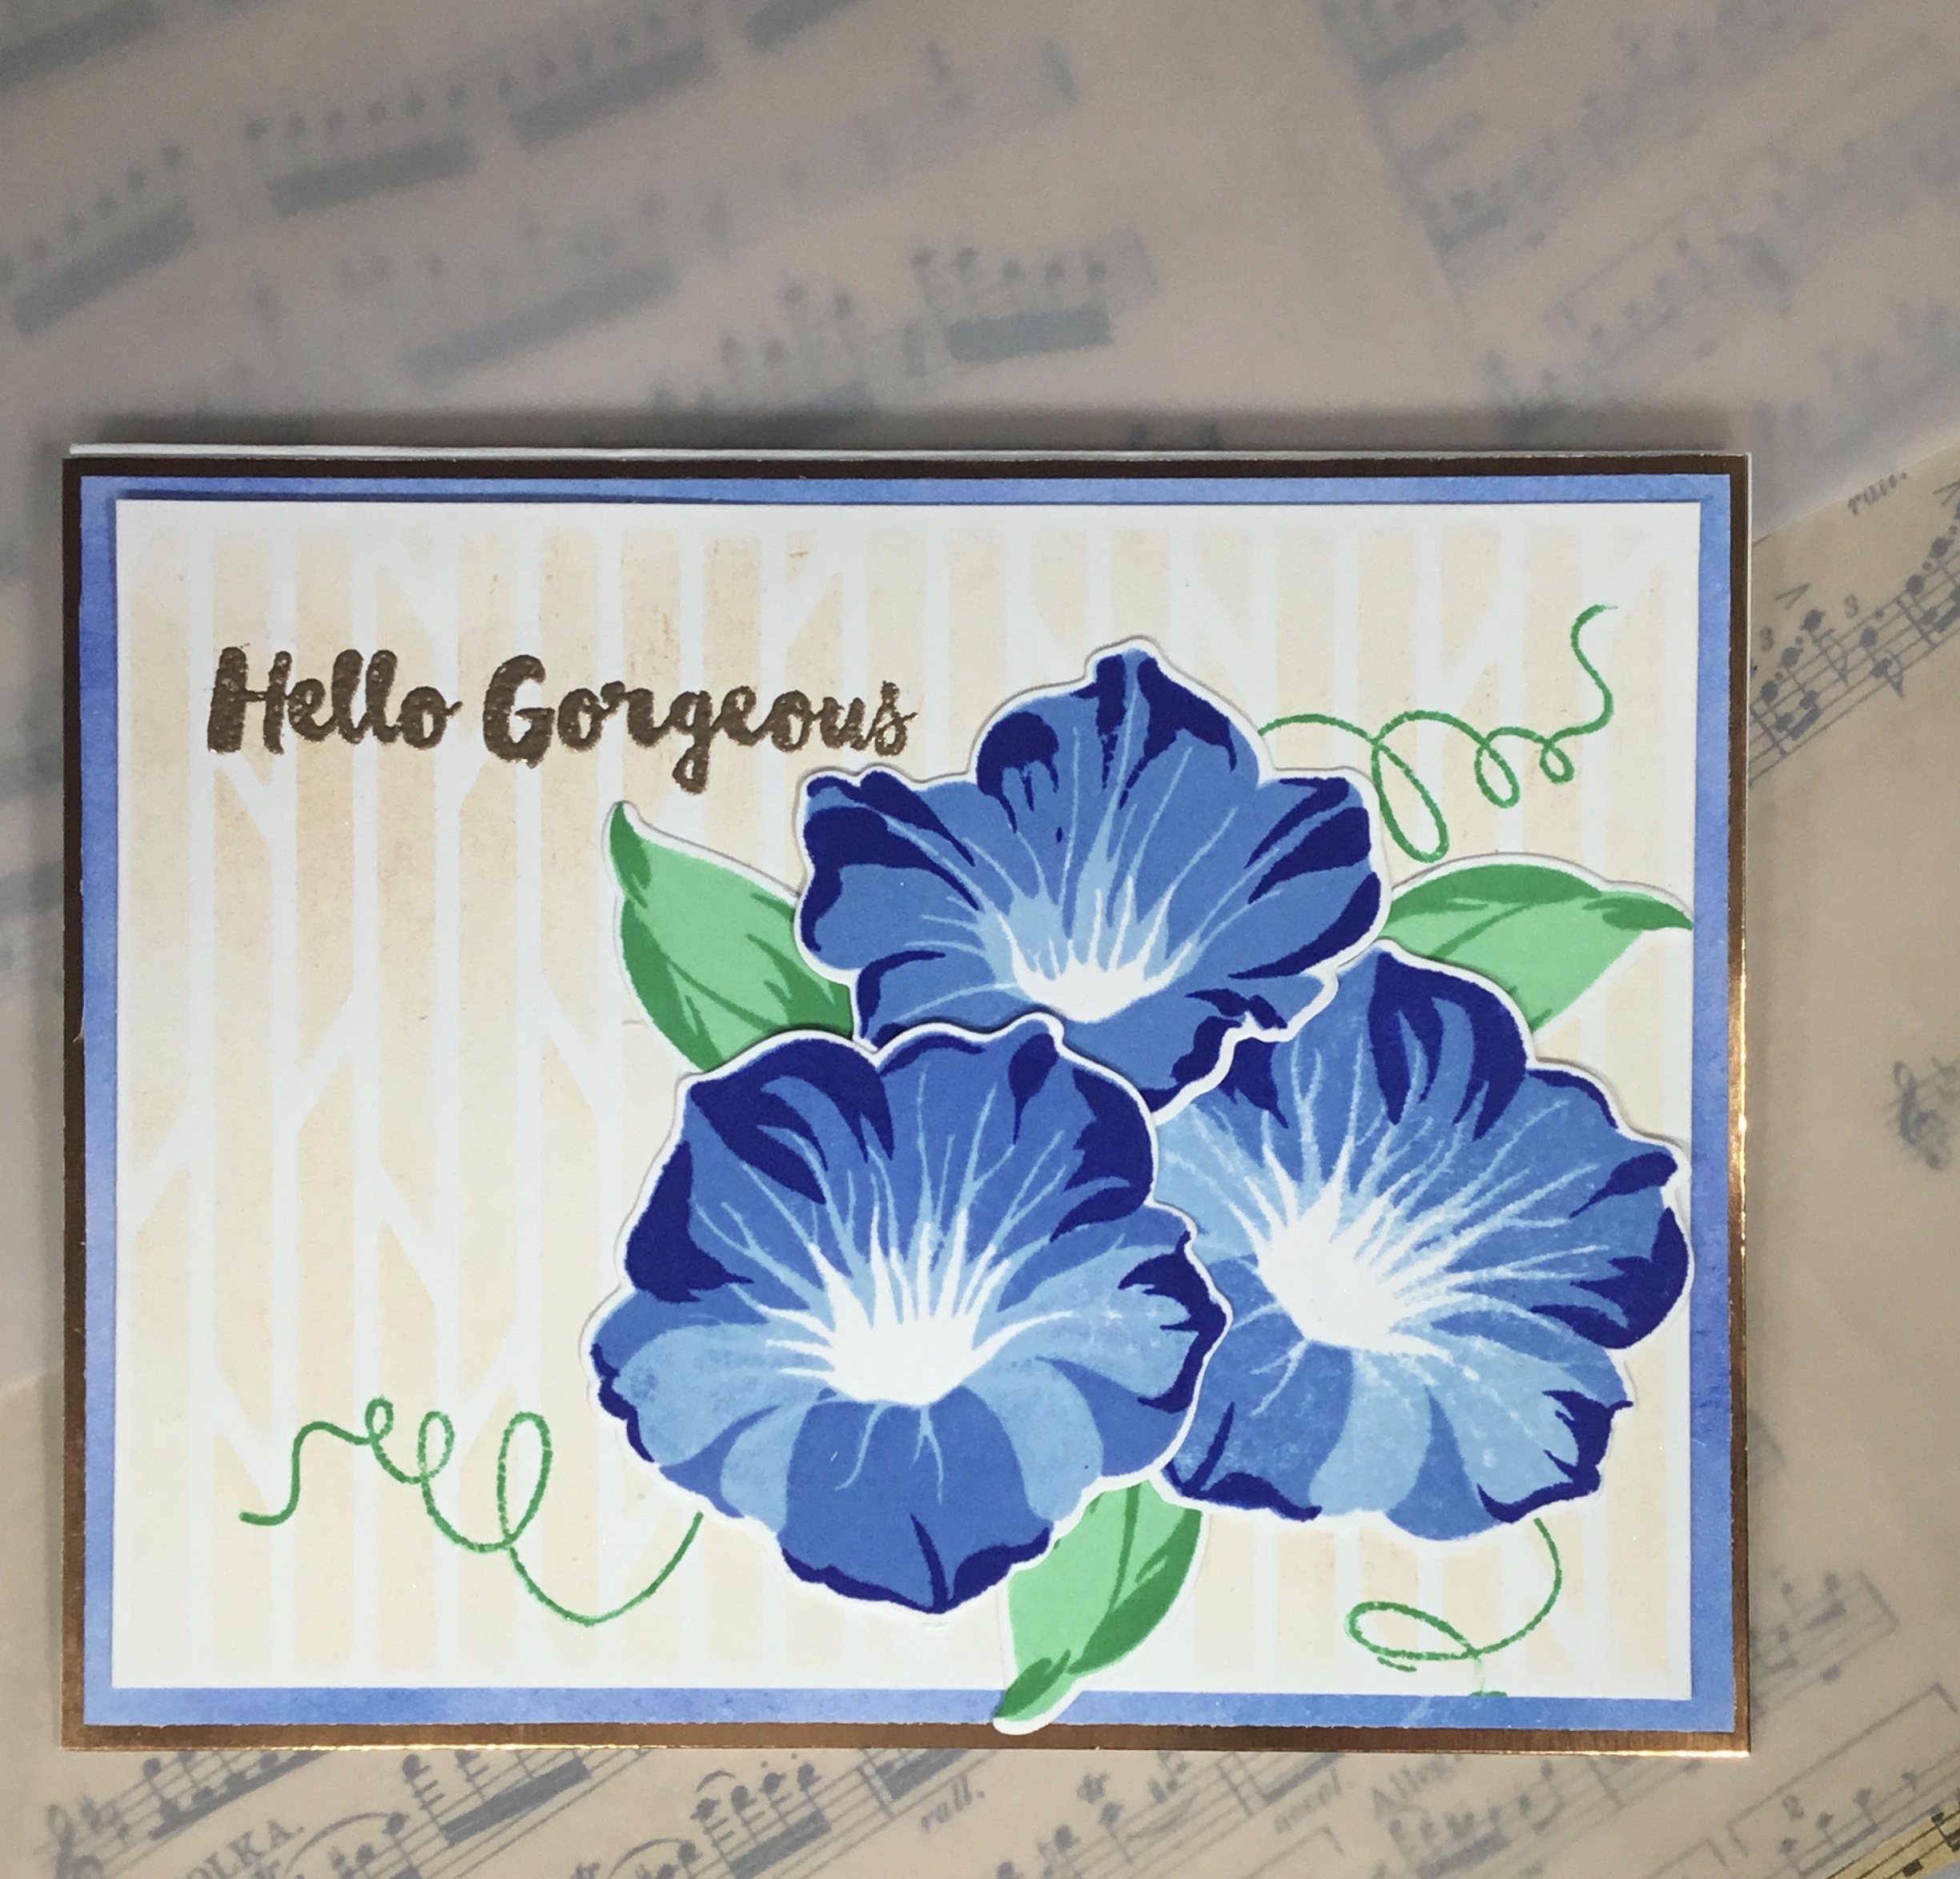
Before I finally adhered the flowers and leaves, I arranged them one last time how I wanted them, using the last picture as a reference. I then lifted the edges of the flowers to stamp the curlicue vines where I thought they looked best. (I LOVE the vines. 😁)
Finally, I adhered the flowers and leaves using Stay-Put liquid adhesive from Scrapbooking Made Simple. I went with a liquid adhesive as I am able to slightly adjust the die cut pieces using a liquid adhesive as opposed to a double sided tape.
As I assembled the card, I decided it needed something more than just the white frame of the card base. I inked some card stock using the Persian Blue, and mounted the card base on that. Not quite enough….it needed a little more. So I then adhered all of those layers to a piece of gold mirror card stock from my stash that closely matched the rose gold embossing powder. This all then went on a white card base.

What inspired this card? The extra shutter cover die I had laying on my desk, that I looked at and wondered okay, what do I do with this extra? And the morning glory stamp set I wanted to use. The process actually began with the Morning Glory stamp set, playing with the stamps and die cuts and my new blue inks…..and it sort of just happened from there, with the extra shutter die becoming a stencil to create a trellis effect……
My take aways from this class? Oh so many. Using die cuts as stencils, with inks, ink sprays, and dimensional products. Matching stamps and dies. Inlaid die cuts (which I really love) or the opposite, using the negative…. There are many options, and I am excited to explore them all!


2 Comments
Virginia L.
Beautiful execution and process! you have very good craftsmanship. Love how you were inspired! GREAT tips and write-up. Thanks so much for entering your beautiful work in Altenew AECP assignment Gallery. Beautiful colors and design. Well done!
Erum Tasneem
This looks wonderful!! Love the subtle background, matches the blue so well.
I am so glad that you entered your beautiful work in the AECP assignment Gallery. Awesome details and design! Super work!