A beginning water color journey
This spring I registered for a few Altenew classes, and since summer is about moving out of my comfort zone, I tackled a watercolor class last week. Some of the techniques, I have already tried in the past. The others I was familiar with, but had never tried. One I struggled with finding a result I liked. This blog post focuses on that class and the resulting cards I created.
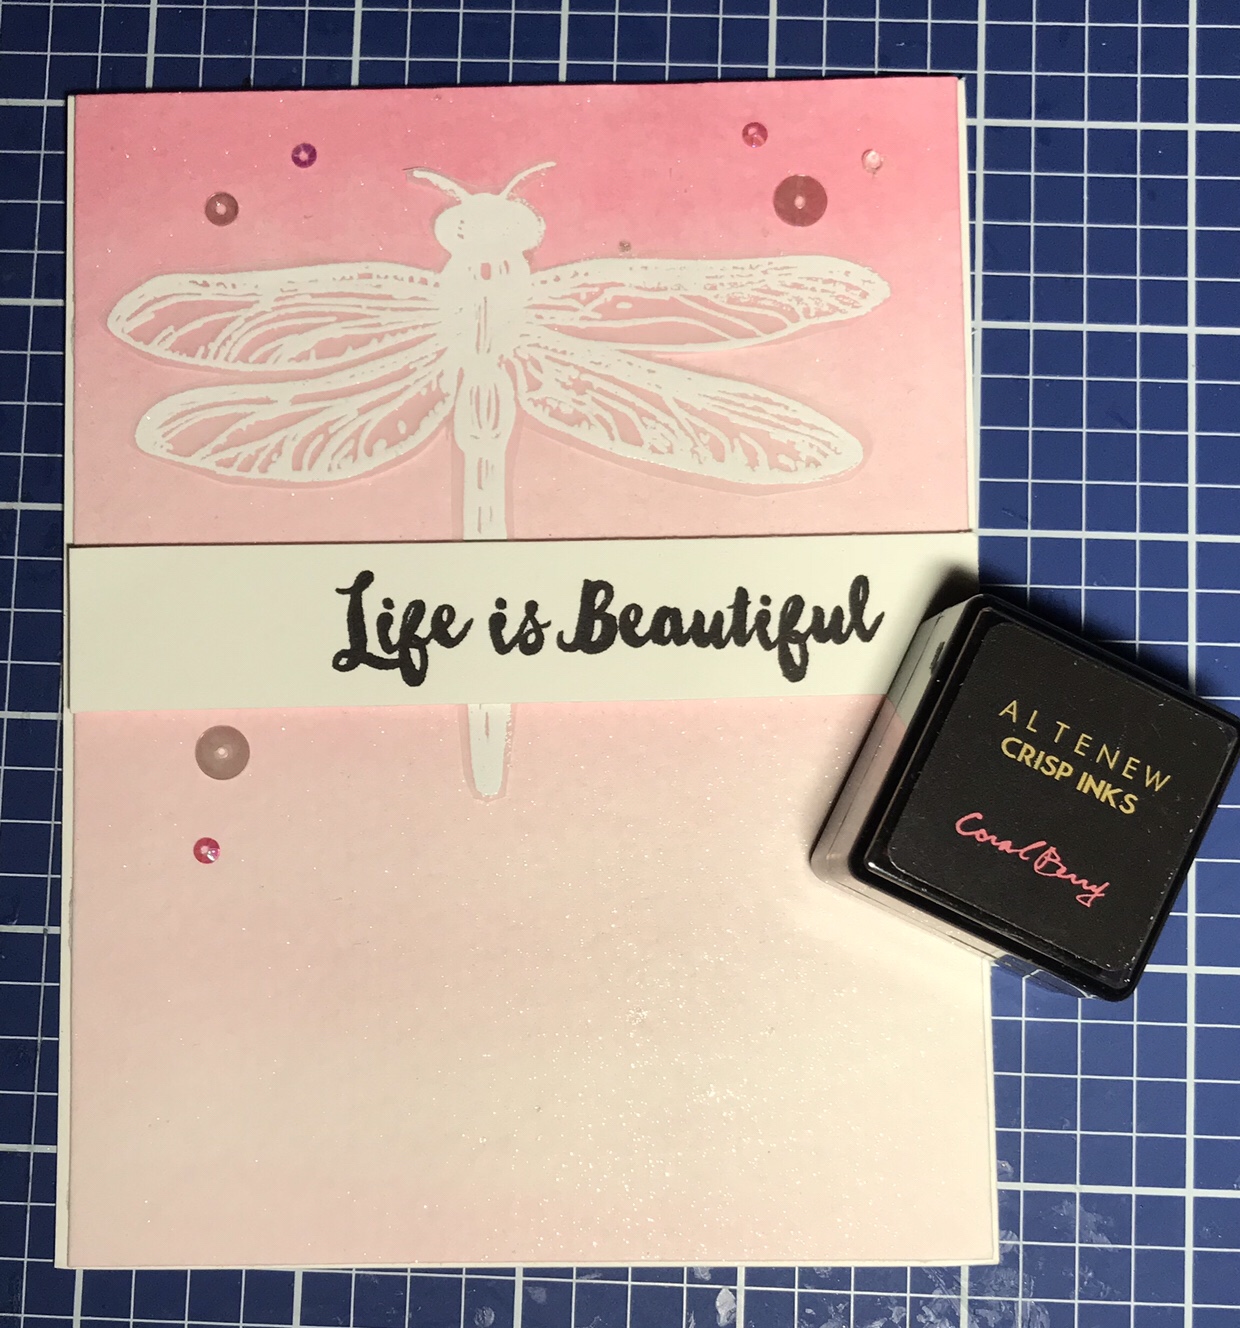
The first class was creating an ombré background utilizing ink as opposed to watercolors. I only own six colors from Altenew, so I decided to use the coral berry shade for this card. Following the format of the instructor, I then stamped a dragon fly from Crafter’s Companion on vellum, using Versamark ink and white embossing powder, which I heat set and then fussy cut. I stamped the sentiment “Life is beautiful” on Neenah classic crest solar white card stock with Gina K’s amalgam ink, then coated it with clear embossing powder and heat set it. I sprayed it with a shimmer spray from Tsukeniko to give the background some shimmer, placed the dragon fly where I wanted it, and secured it in place with the white sentiment strip, which I adhered with foam tape for some addd dimension. Also following the instructor’s format, I added some sequin accents to finish off the card. This background was very quick and easy to create. I. Fact, the whole card went together very quickly and I ended up creating four very similar cards with different color backgrounds, using some Gina K inks, playing around with the placement of the dragonfly, and using Nuvo drops on one card instead of sequin embellishments. I have four more backgrounds ready to go and plan to use a flower on vellum as the focal point. These will make a nice gift set for a friend!
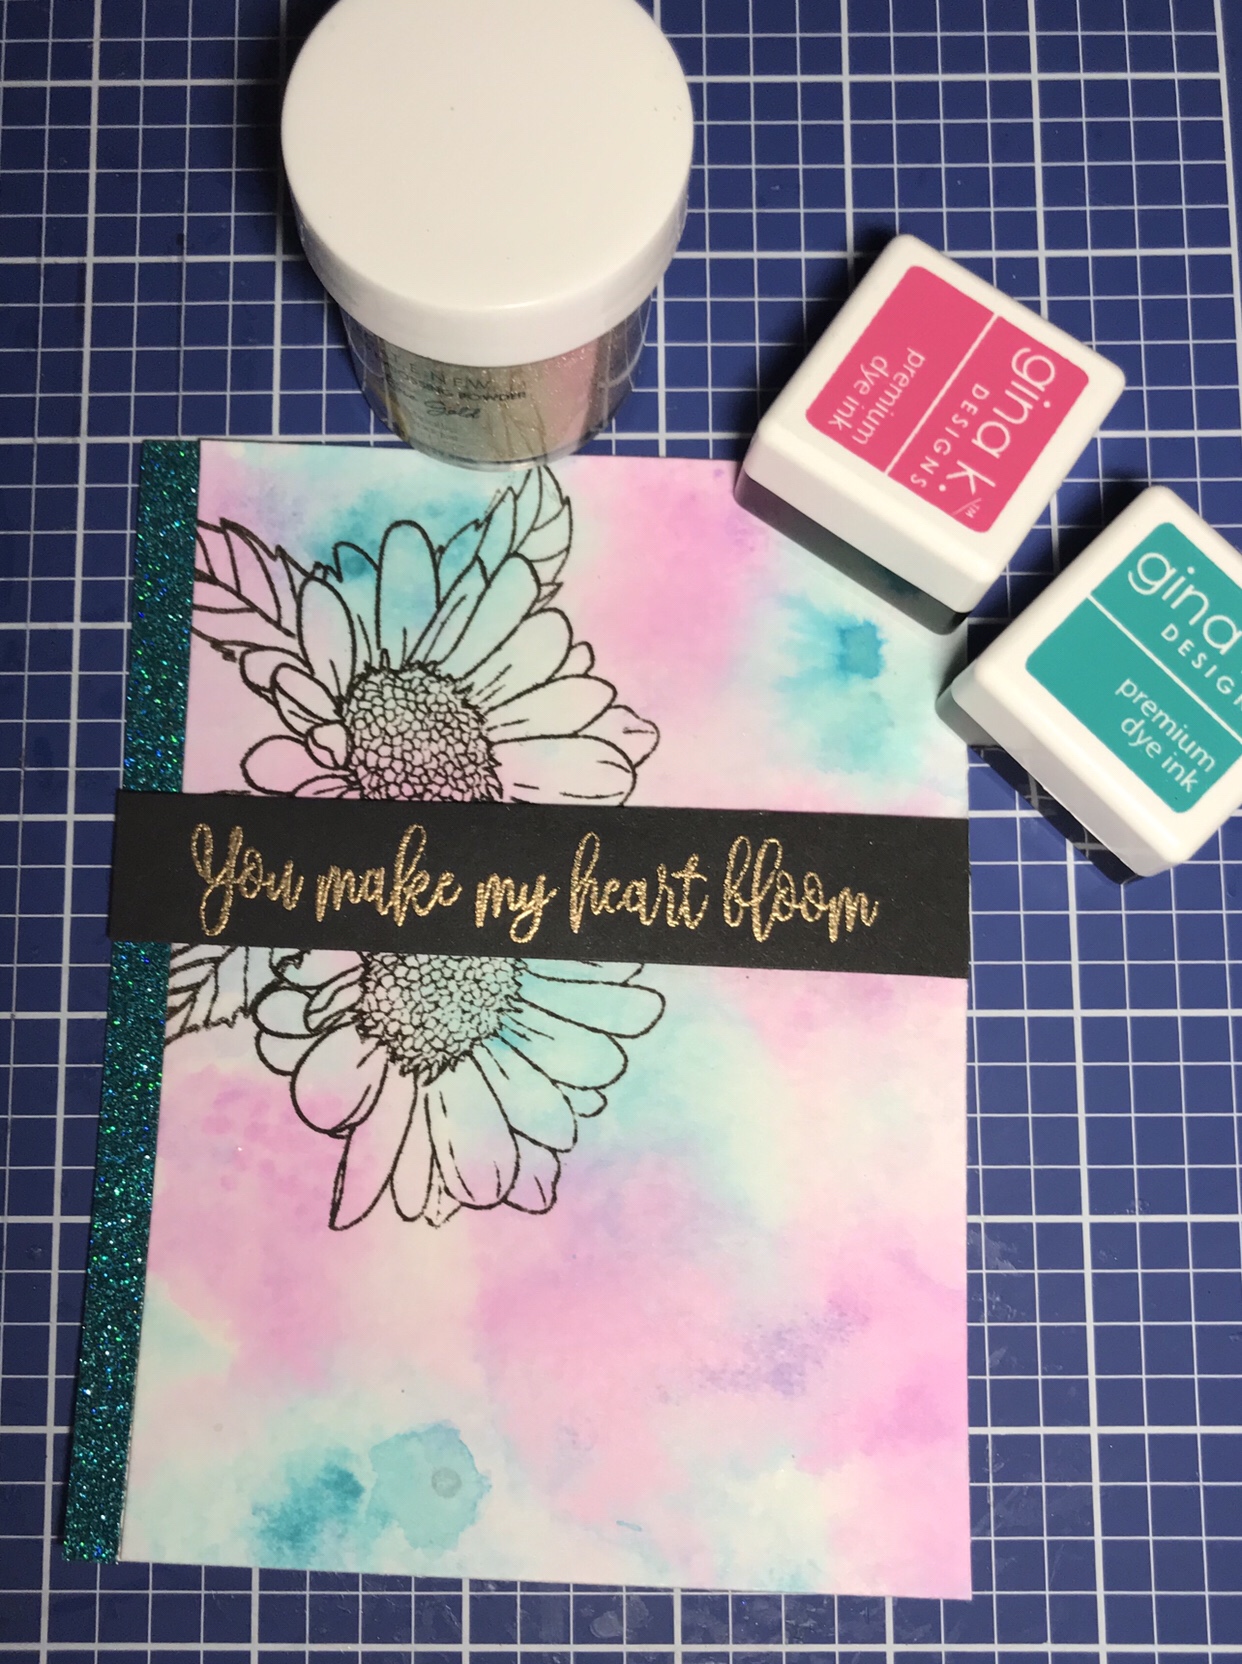
The second class used a smooshing technique with ink again. Again, I only own six altenew colors. So I picked two, again the coral berry, and a green, frayed leaf. I wasn’t thrilled with the way this came out. I wanted something a little more intense, as the colors dry back a little anyway. So I again switched to Gina K inks. I used turquoise sea and passionate pink, which gave me the bonus of some purple tones. I loved this combination! I then used the altenew spring daisy set to stamp two daisies and a few leaves using Altenew Jet Black ink. I then stamped the Gina K sentiment “You Make my heart bloom” in Versamark ink one Gina K black onyx card stock, then coated it in Altenew rose gold embossing powder and heat set it. Following the instructor’s example, I cut the background slightly narrower than an A2 card, and edged the card base with a teal glitter tape from Close to My Heart before mounting the background on the card base.
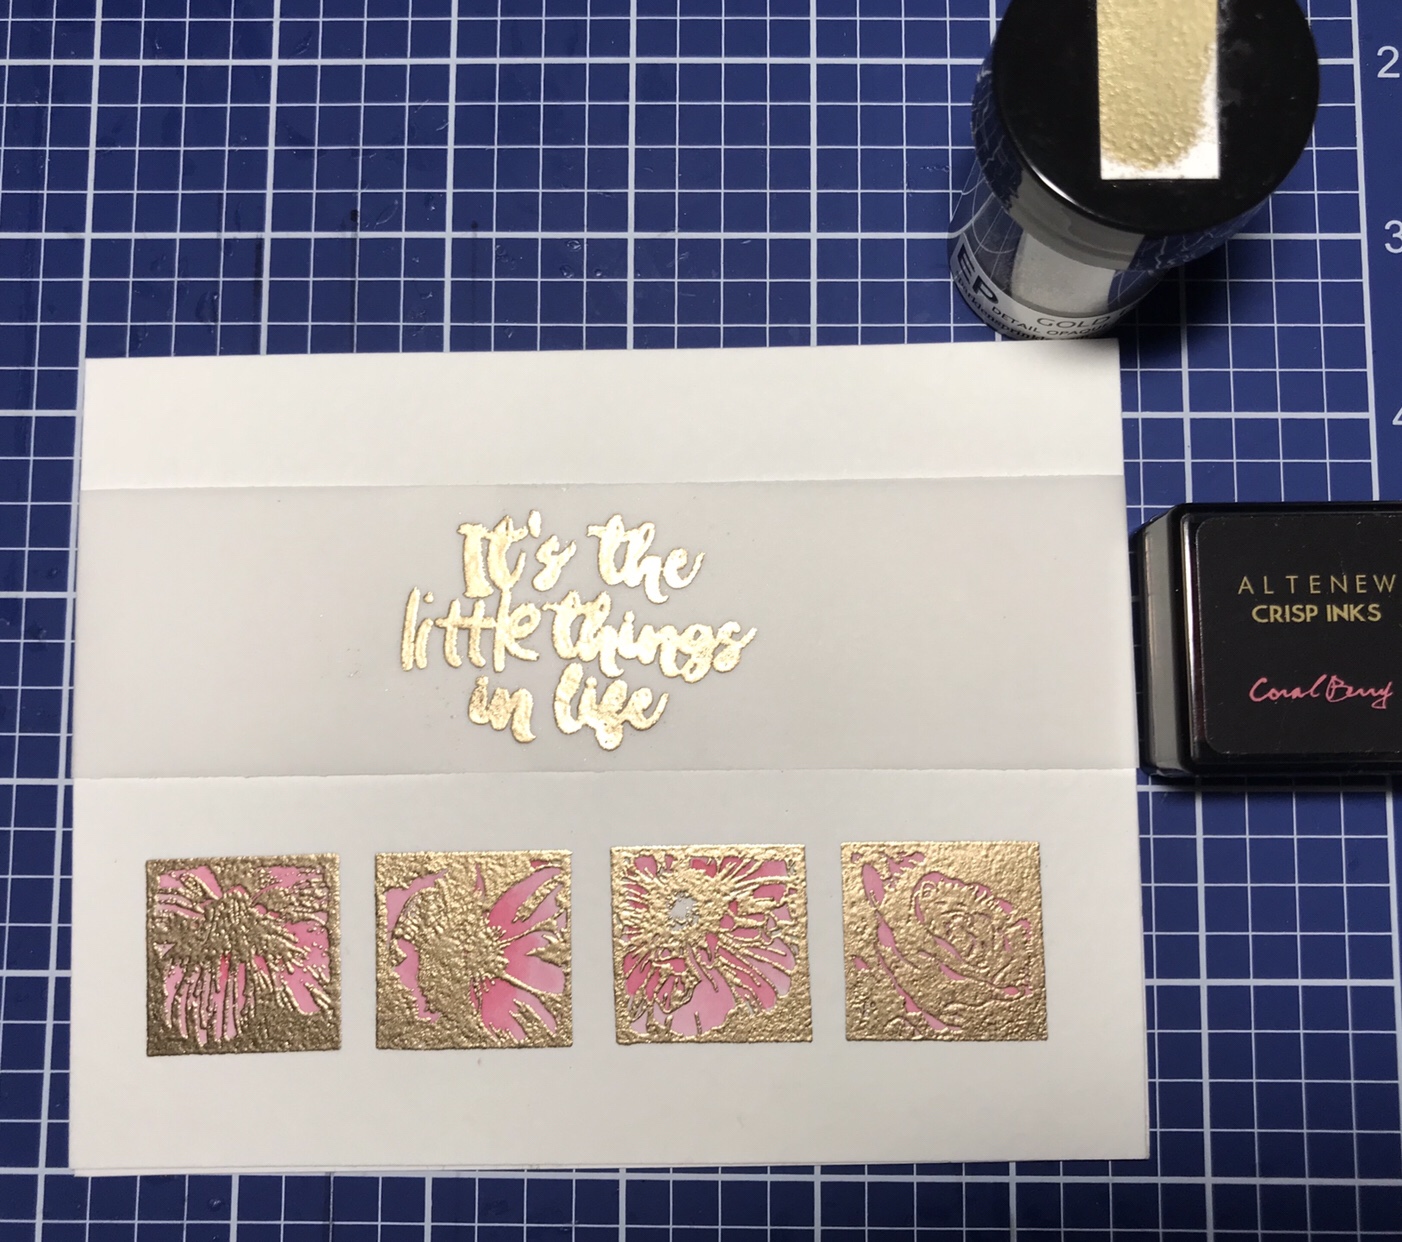
The third class focused on water coloring and embossed image. I at first had a hard time with this, as my stamp collection does not include a lot of image type stamps. I finally settled on using four small flower tile stamps from the Botanical Frames set by Hot Off the Press. I lined the four stamps up using a small ruler and my MISTI. I stamped the images using Versamark ink, coating with Altenew’s rose gold embossing powder and heat set the images. I then used my coral berry ink to water color the four stamps, varying the intensity of the color by the amount of water I added. I decided to keep this card very simple and finish it off with a sentiment from Jane’s Doodles embossed in rose gold on vellum.
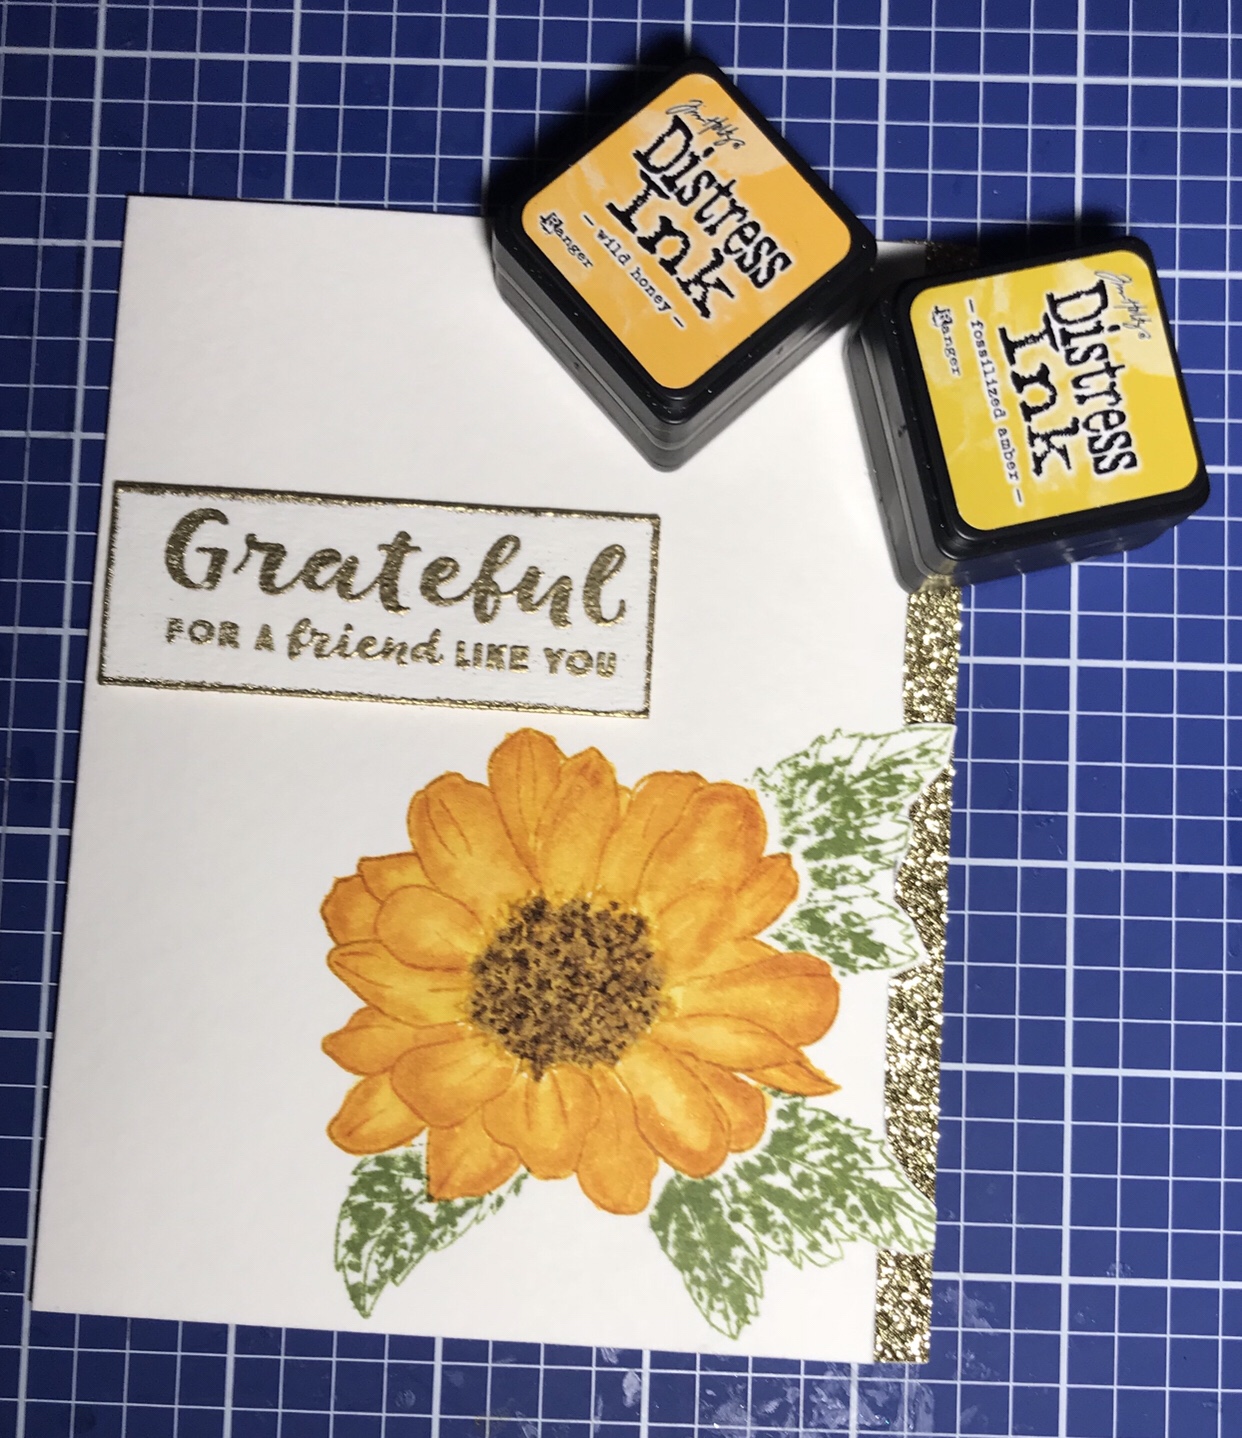
Next up was no line water coloring, which I have never tried. I was really excited to “have” to try this technique! Using the altenew spring daisy set again, I stamped just the outline image using fossilized amber distress ink. I water colored the image using scattered straw and wild honey. Following the instructor’s lead again, I stamped a few leaves around the image in forest green by Altenew, trimmed the card a little narrower than A2 again, but fussy cutting around the leaves. I used gold glitter tape from Close to My Heart along the edge of the card base, and then mounted the card front on the card base. I finished this card by stamping a sentiment from Peony Muse by Power Poppy, “grateful for a friend like you” in Versamark ink on water color card stock and heat embossed it using gold embossing powder from Sparkle ‘n Sprinkle. I The edged the sentiment with gold embossing powder, and mounted it using foam tape. I look forward to trying this one line water coloring technique again in the future!
Now on to solid image stamping. While this technique isn’t hard, I struggled with it mostly because I have very few solid image stamps. I tried the bottom layer from a flower layering stamp set, and it didn’t really end up looking like a flower. Now I know this isn’t supposed to be perfect, but thought the image should at least be identifiable!!!! I then tried a fairly solid poinsettia image. Without the details, it really didn’t look much like a poinsettia. I then decided to try a balloon image from a Close to my Heart set. I used several inks from Gina K: blue raspberry, wild dandelion, sweet mango, turquoise sea and lipstick. I used Altenew jet black to stamp the balloon strings. I pulled the sentiment “Oh happy day”from the same Close to my heart stamp set, embossing it in gold from Sparkle ‘n Sprinkle, then I fussy cut it out and mounted it using foam tape. I cut the background slightly smaller than A2 and mounted the entire card front on matching Gina K blue raspberry card stock. I finished the card front off by adding some streamers stamped and embossed in gold to match the sentiment.
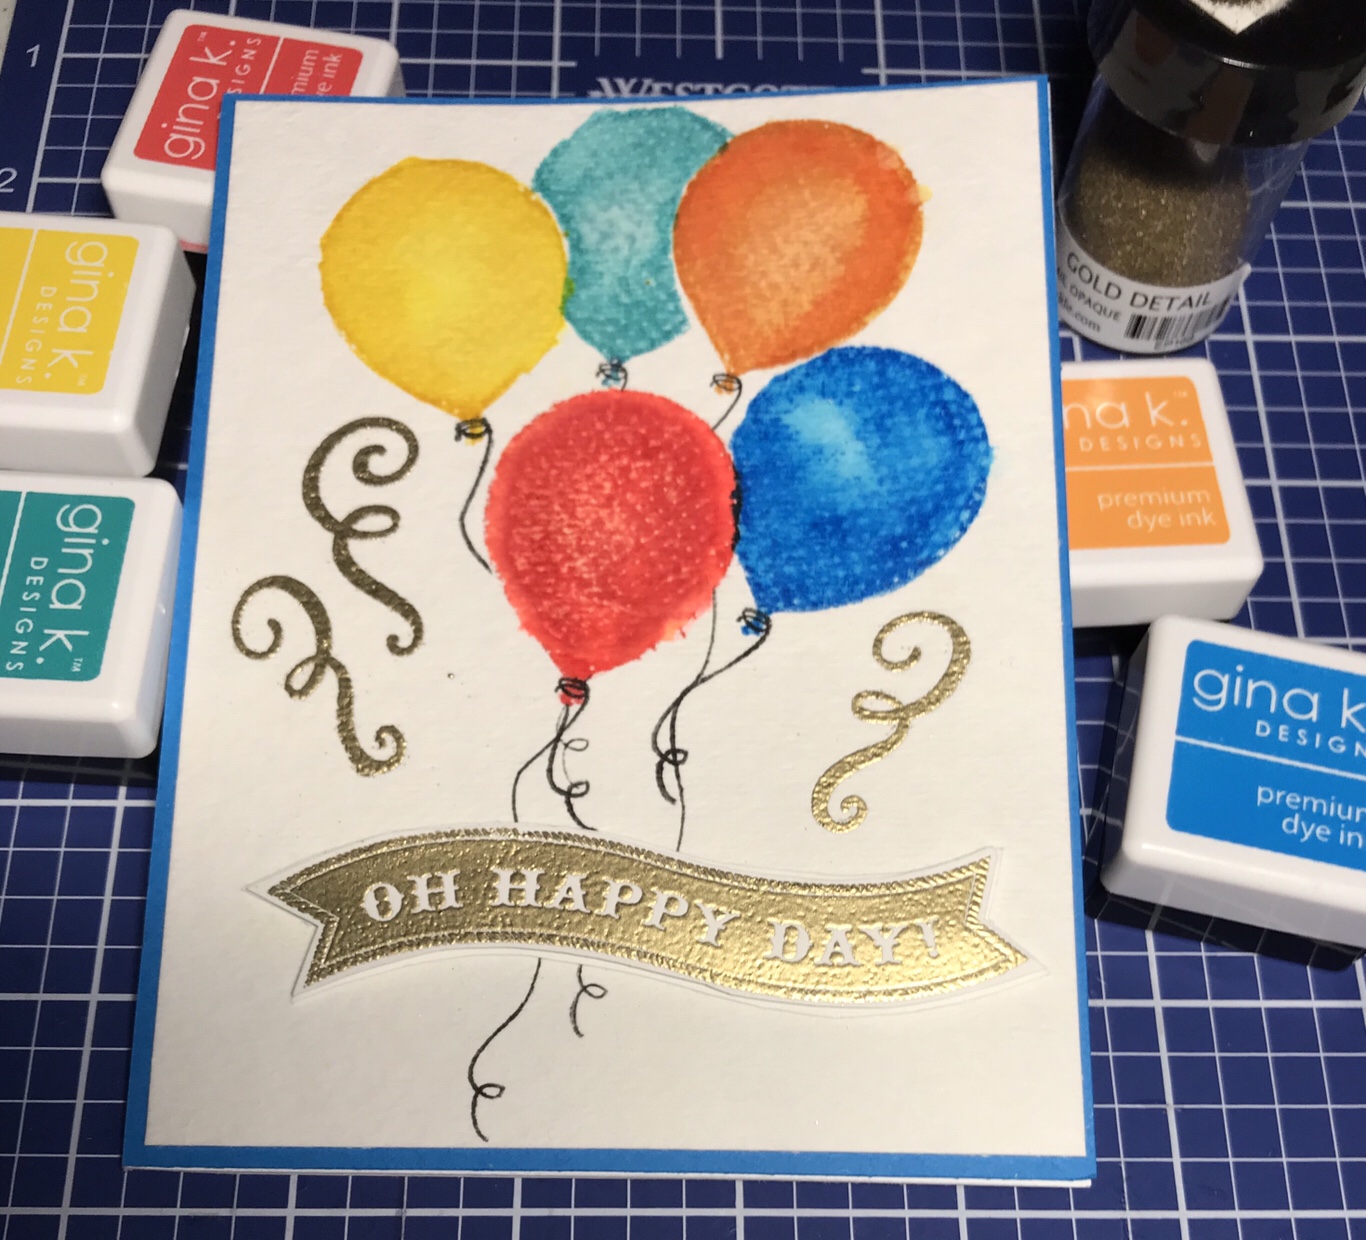
This is my least favorite technique and card. Maybe I would like it more with a different solid image stamp, but I don’t know…..
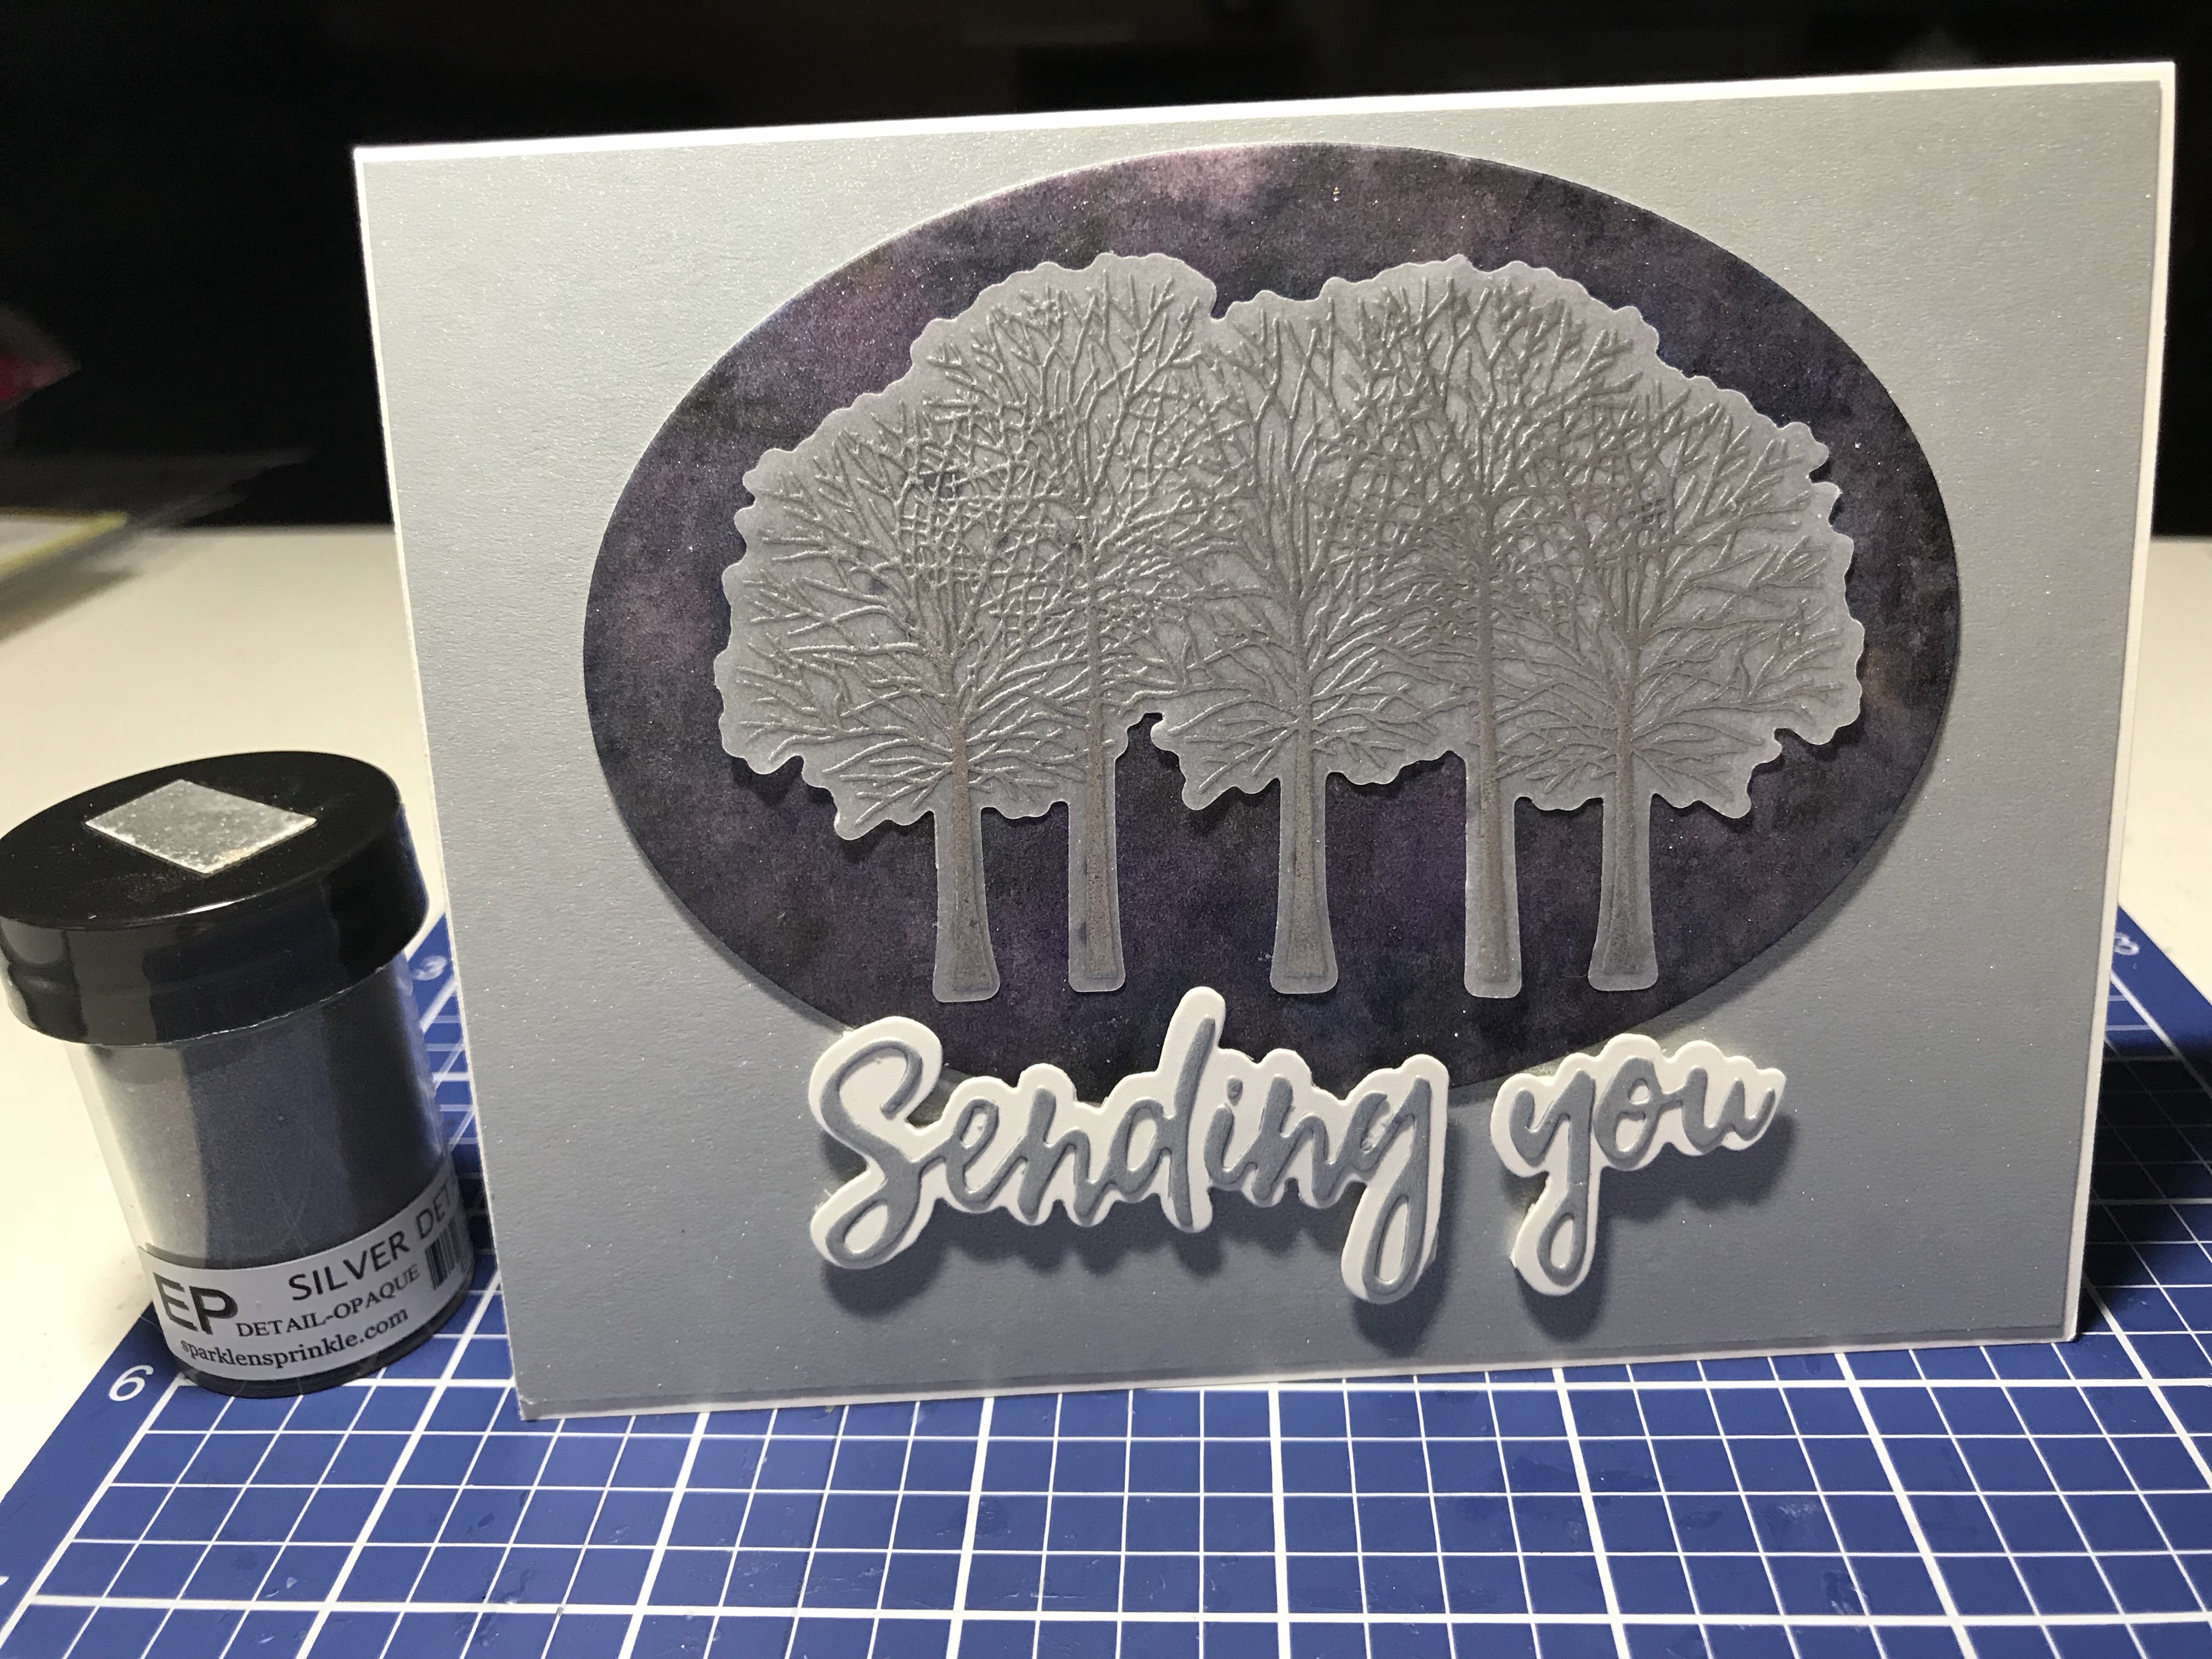
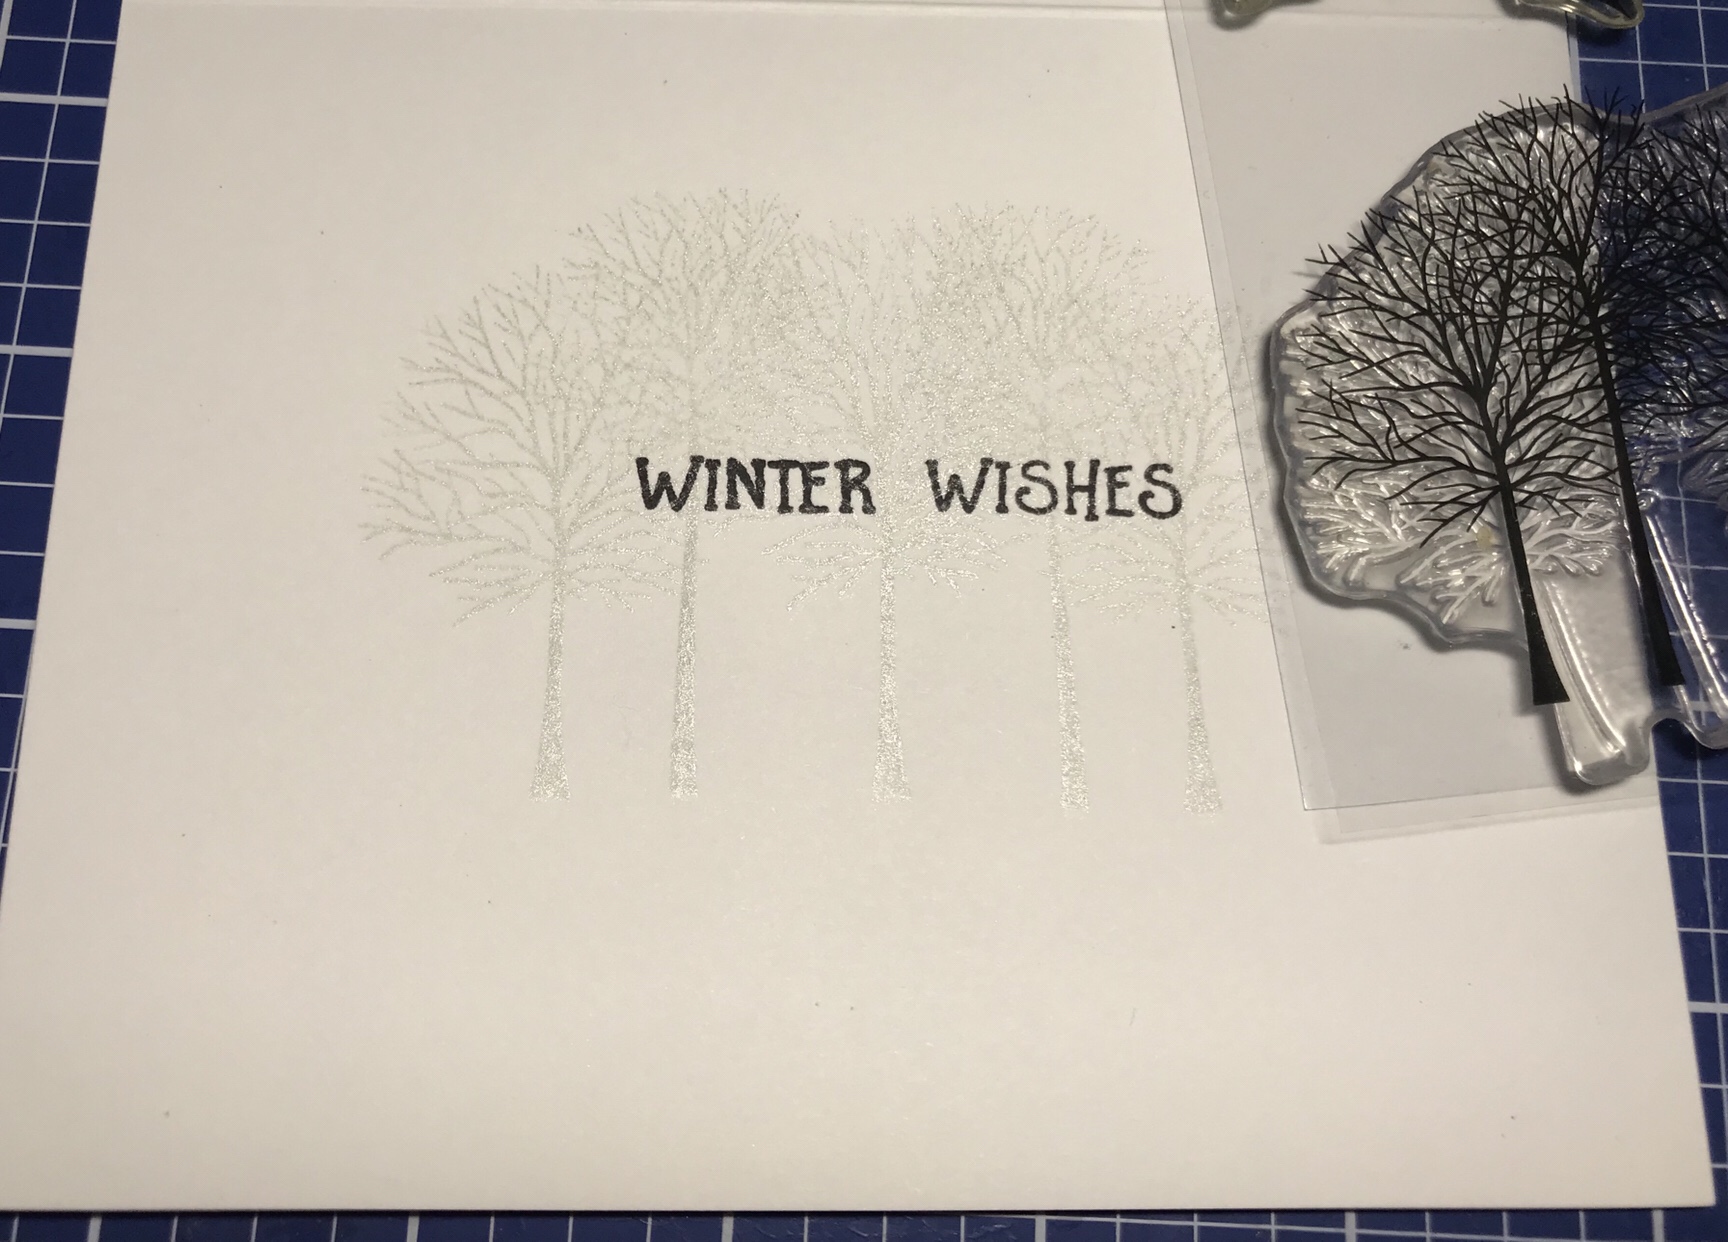
The last technique was to create a galaxy type background. Again, I have seen this done, but never tried it. I was excited to try it! It looked super easy, and I jumped right in. I am not 100% happy with how it came out…..I will try this background again and work at improving my results. However, I decided to use what I had created. I used an oval must have die from Simply Refined and used my Spectrum Noir shimmer pen to add some shimmer to the galaxy background. Then I stamped the trees from Gina K Design’s Merry and Bright on vellum and embossed with white embossing powder from Sparkle ‘n Sprinkle, mounting the trees on the galaxy background. I then die cut both the shadow and the sentiment “sending you” (Honey Bee Stamps, Sending you sentiments) and mounted that using foam tape. Inside the card, I used Gina K’s moonlit fog to stamp the trees, and finished it by stamping “winter wishes” (Honeybee stamps again) over the trees in Gina K’s amalgam ink. The card background is a silver shimmer paper I had in my stash, something I picked up at Office Depot I think.
This concludes my watercolor class through Altenew academy. As always, I hope I have inspired you to go and create something!

Seed Beads, Pearls and Rondelles