alcohol inks

Hello from Michigan! For me there are levels of crafting. All are fun but some are more relaxing than others. Take colored pencils and markers. Most people find them fun and meditative. I enjoy them and if I am watching a movie with the family they are a technique I can do while in front of the TV. The only issue is those pesky lines you need to stay in, so I do need to have some thought process going. If I am looking for something that is relaxing, slightly messy but something you really don’t need to think about then I turn to those lovely little bottles of alcohol ink. Today I will show pictures of some of the simplest cards to make but yet most people find them engaging. This truly is a minimum effort maximum effect technique.
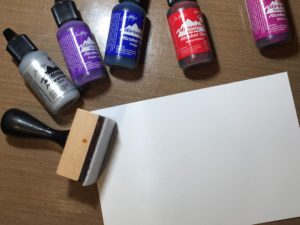
My supplies today are: Ranger glossy paper, bottles of alcohol ink, ink dauber, felt pad, 91% isopropol alcohol, craft mat, gloves, modgepodge, papertrimmer, cardstock, adhesive,
foam tape
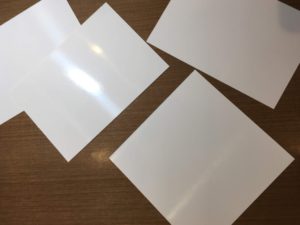
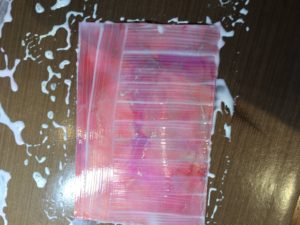
Start by cutting the glossy paper down to a workable size but larger than you want your finished product to be. Make sure you work on a mat of some sort and watch where you put your finished designs. I accidently laid a panel on my desk and the alcohol started to eat through the varnish on the desk, (glad my desk is well worn and well loved!) Wear gloves if you don’t want stained hands.
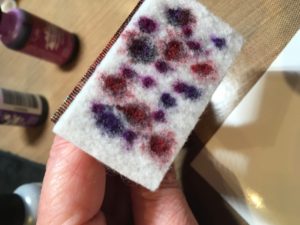
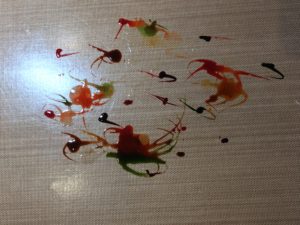
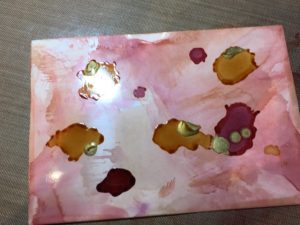
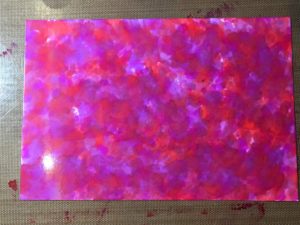
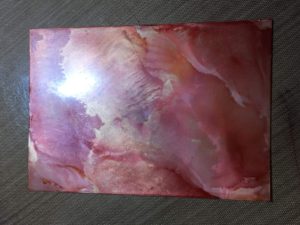
Browse through YouTube and watch all the techniques out there. I choose do a combination of applying ink to the dauber and applying it to my mat and smooshing the paper into the ink. This is the fun part. Don’t be afraid to use the ink there is no one way to do this and it is fun to experiment. The alcohol can be added to the dauber or into the inks on the mat. The alcohol acts to help the inks move more. I like to do multiple layers so you can see the different colors of ink without them melding too much. Remember if you If you don’t like a layer you can add more. If things really go badly I have been known to pour alcohol over the whole thing and wipe a majority of the color off the glossy paper and start again. When you do this some of the color will remain but most of the layers will come off. Remember while you have some control you will never repeat the same design twice because the inks move where they want.
Once you have a design you like put it aside to dry. I learned to put it on a plastic tray I have, as I said before it will affect varnish or wood if you happen to have a desk not made out of plastic or glass. Here is where I add a step compared to other crafters. I add a layer of Modgepodge and let it dry. You could use a spray sealer if you have one, but I don’t have any. With most crafting the inks stay put when they dry and I will die cut or use them as needed. For this card I really like the clean look of the white card stock and the brilliant ink colors. It reminds me of small pieces of modern art matted on white at an art gallery. I have found that sometimes when adhering the color panels to the white cardstock, a chalky ink residue would transfer from my fingers to the white card stock even when the inks were dry. So when I want the contrast of white and brilliant colors I add a sealer.
Once the Modgepodge dries I will take my panels and cut a frame from white paper and lay it on top of the inked panel. Remember I cut the panels for the ink larger than what I needed. I use the open frame to figure out which part of the panel I want to keep and what I want to trim away. Once that has been decided I trim the panel down to the appropriate size.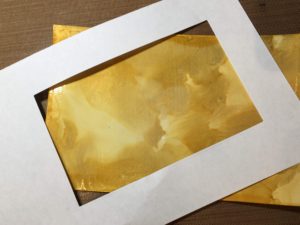
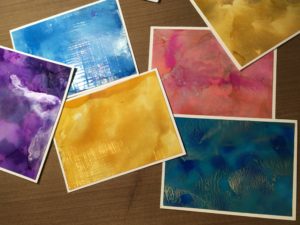
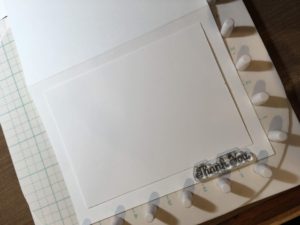
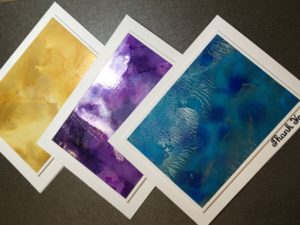
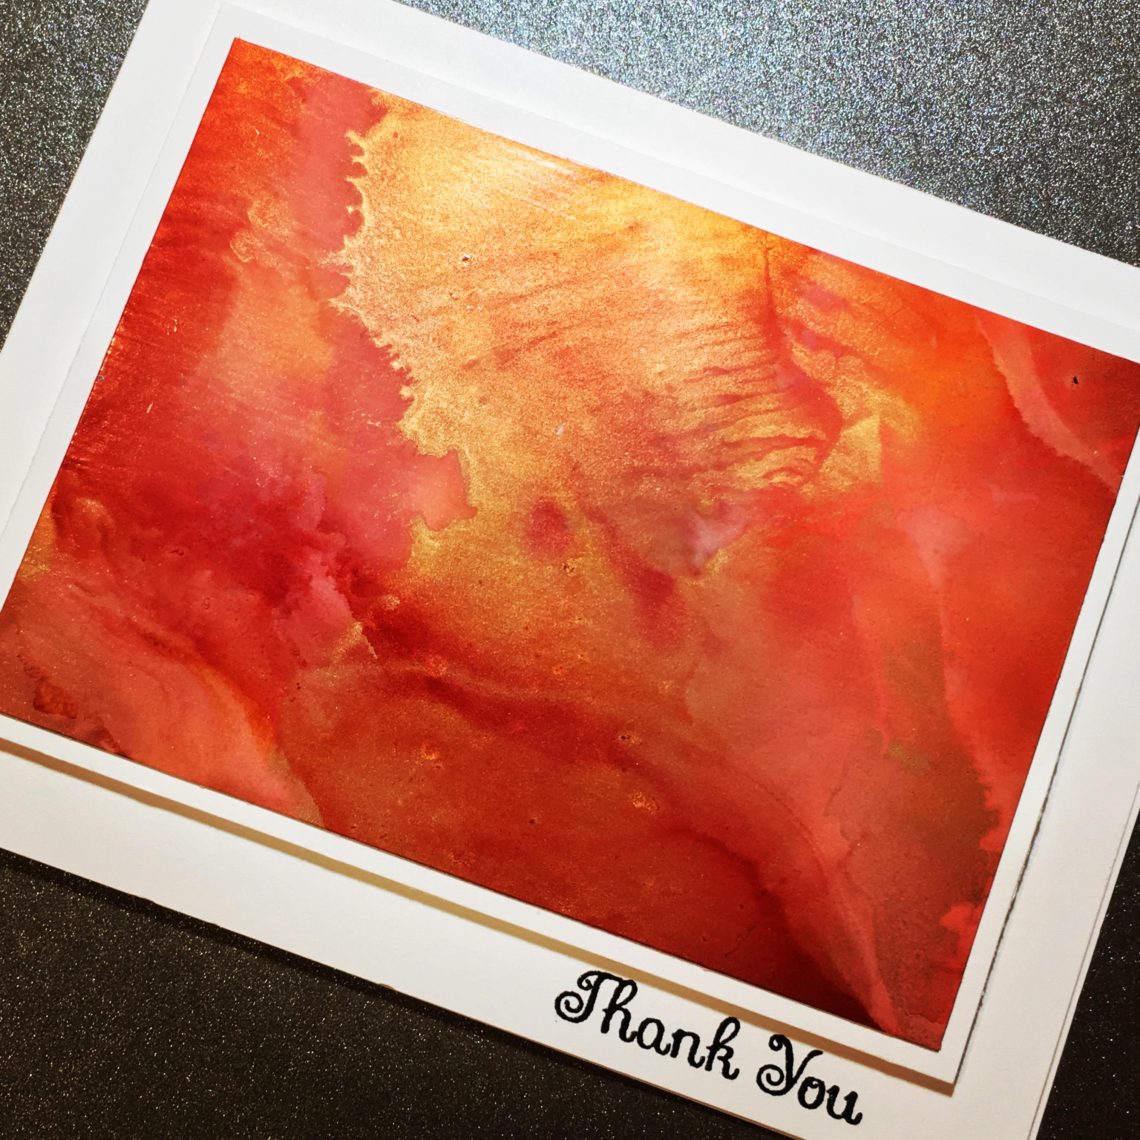
I mat on white cardstock leaving a very small white edge. The back gets covered in foam tape so it will have some dimension from the cardbase. Prior to attaching the panel to the cardbase I stamp my greeting on the very bottom edge of the card base. I use something small so as not to distract from the alcohol inks. Once stamped and heat embossed, I attach the inked and matted panel. Here are some of my finished cards. I love the blue one in the front. If you look closely it almost looks like there is a mountain range hidden in the inks. Thank you for stopping by!