Using sentiment stamps to create a custom background.
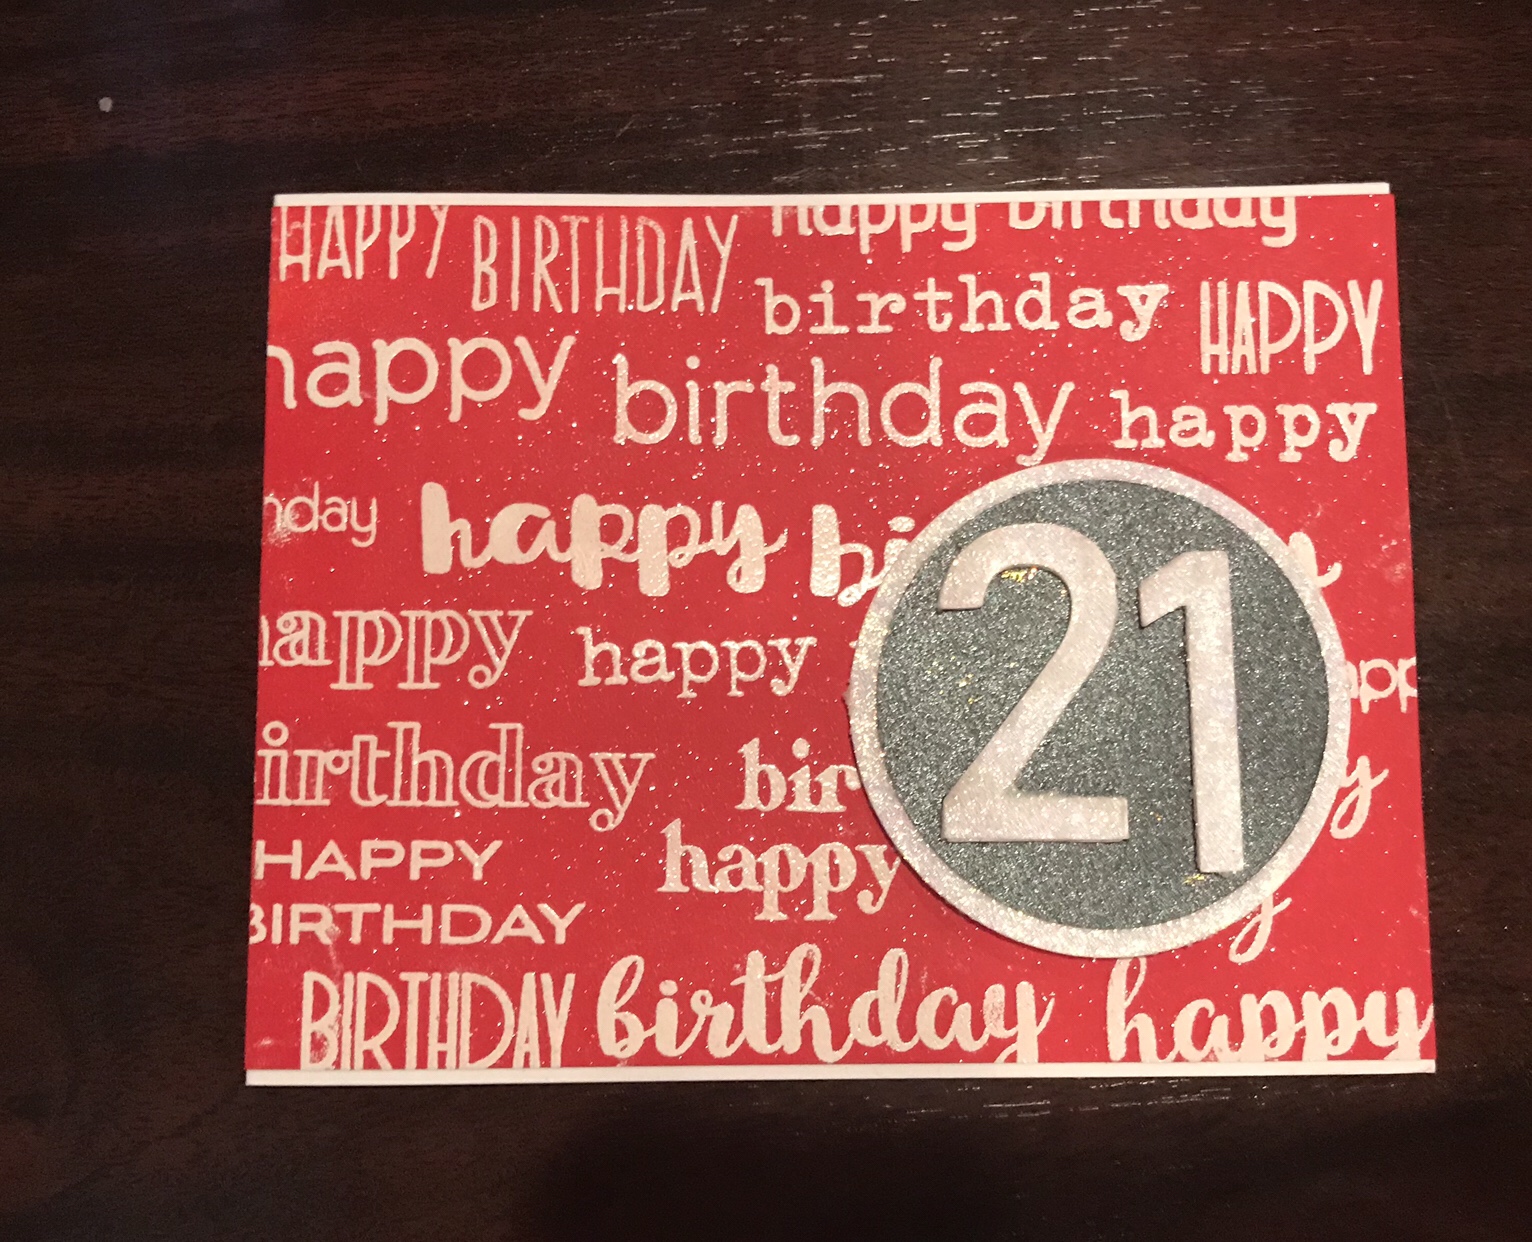
Hello again! In spite of the crazy life September brings, I manage to continue to carve out time to create things. Part of the reason I started making my own cards was purely because I could tailor the card to the personality of my recipient, something I often try to do. I try to choose colors and layouts that I think the person I am creating the card for will love. This week was no exception. My oldest daughter turned 21. She loves the color red and all things shimmery, sparkly and glitter. So keeping that in mind, I set out to make her birthday card.
I started with my Altenew Birthday Builder stamp set, using many of the stamps from that set to create my background. I arranged them first with the thought that I would make one particular font a focal point, then changed my mind. I used my MISTI as I wasn’t sure how well all of the images would stamp the first time. 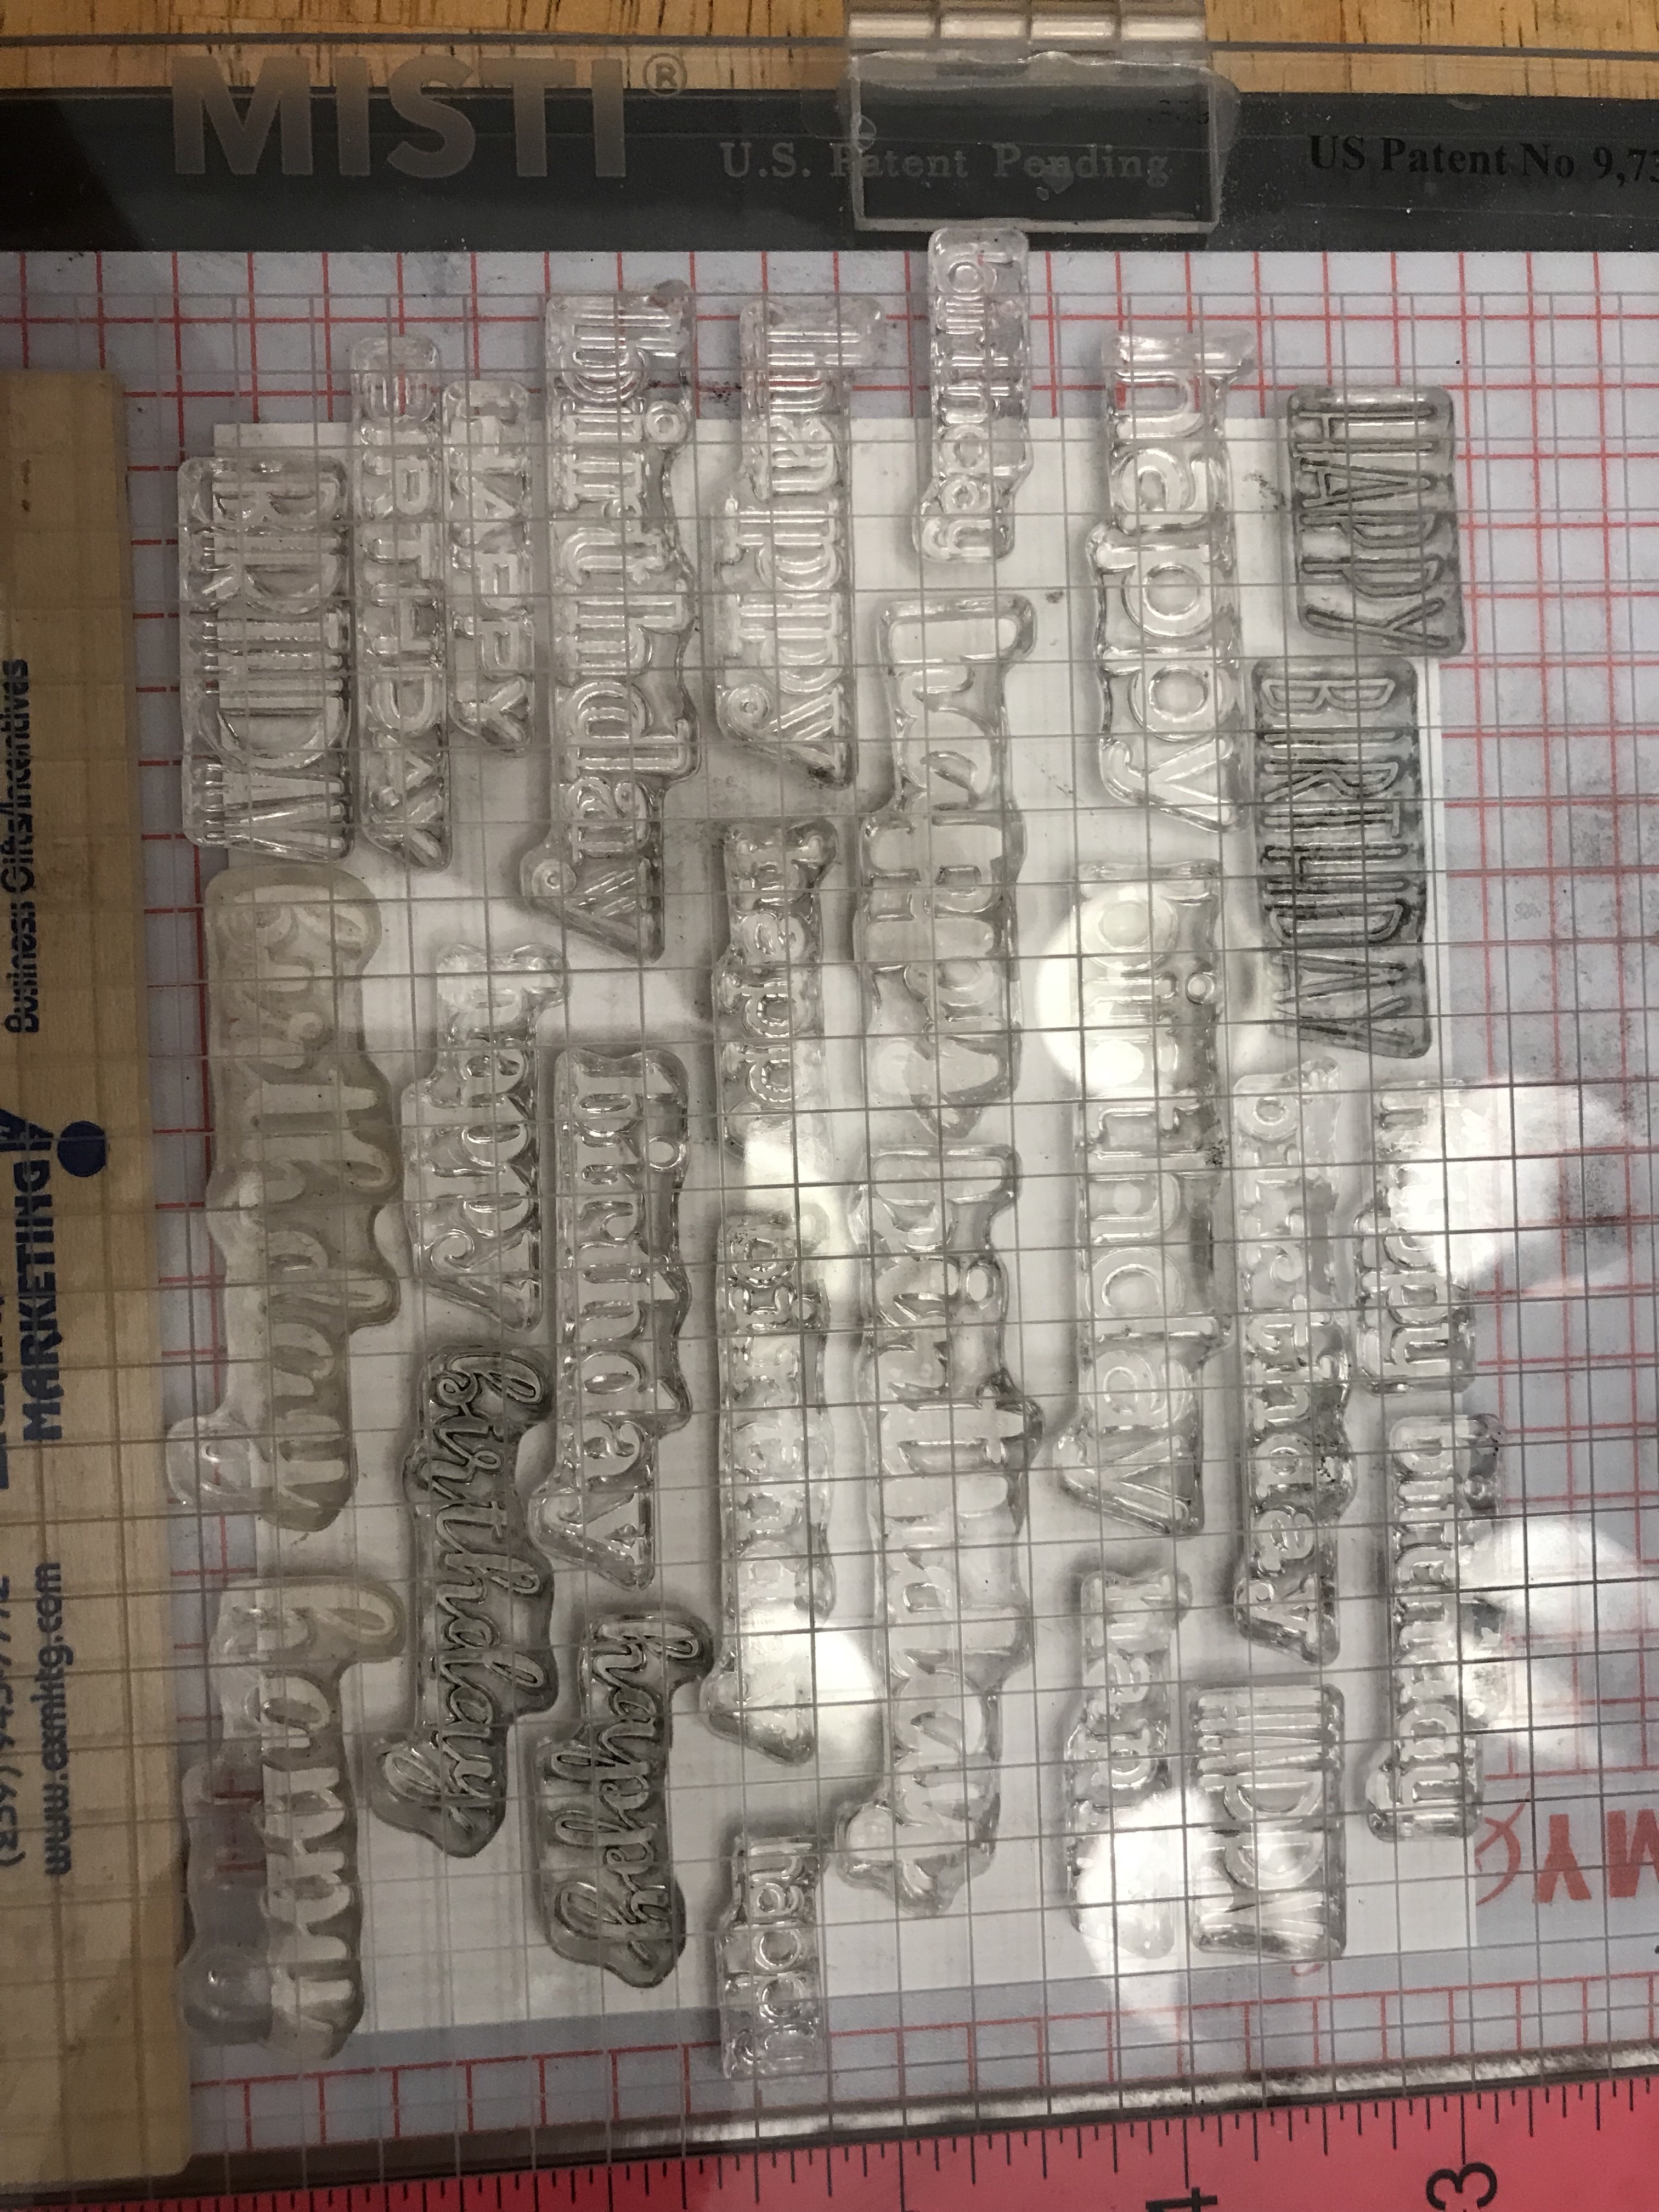
I used a light grey (Hero Arts, soft granite) on a piece of Neenah Classic Crest Solar White card stock to test out my placement. I was planning to emboss the sentiments with white embossing powder at any rate, so I didn’t think the grey would show through. (I apologize for the shadows…..I didn’t set up my usual lighting for the pictures. )
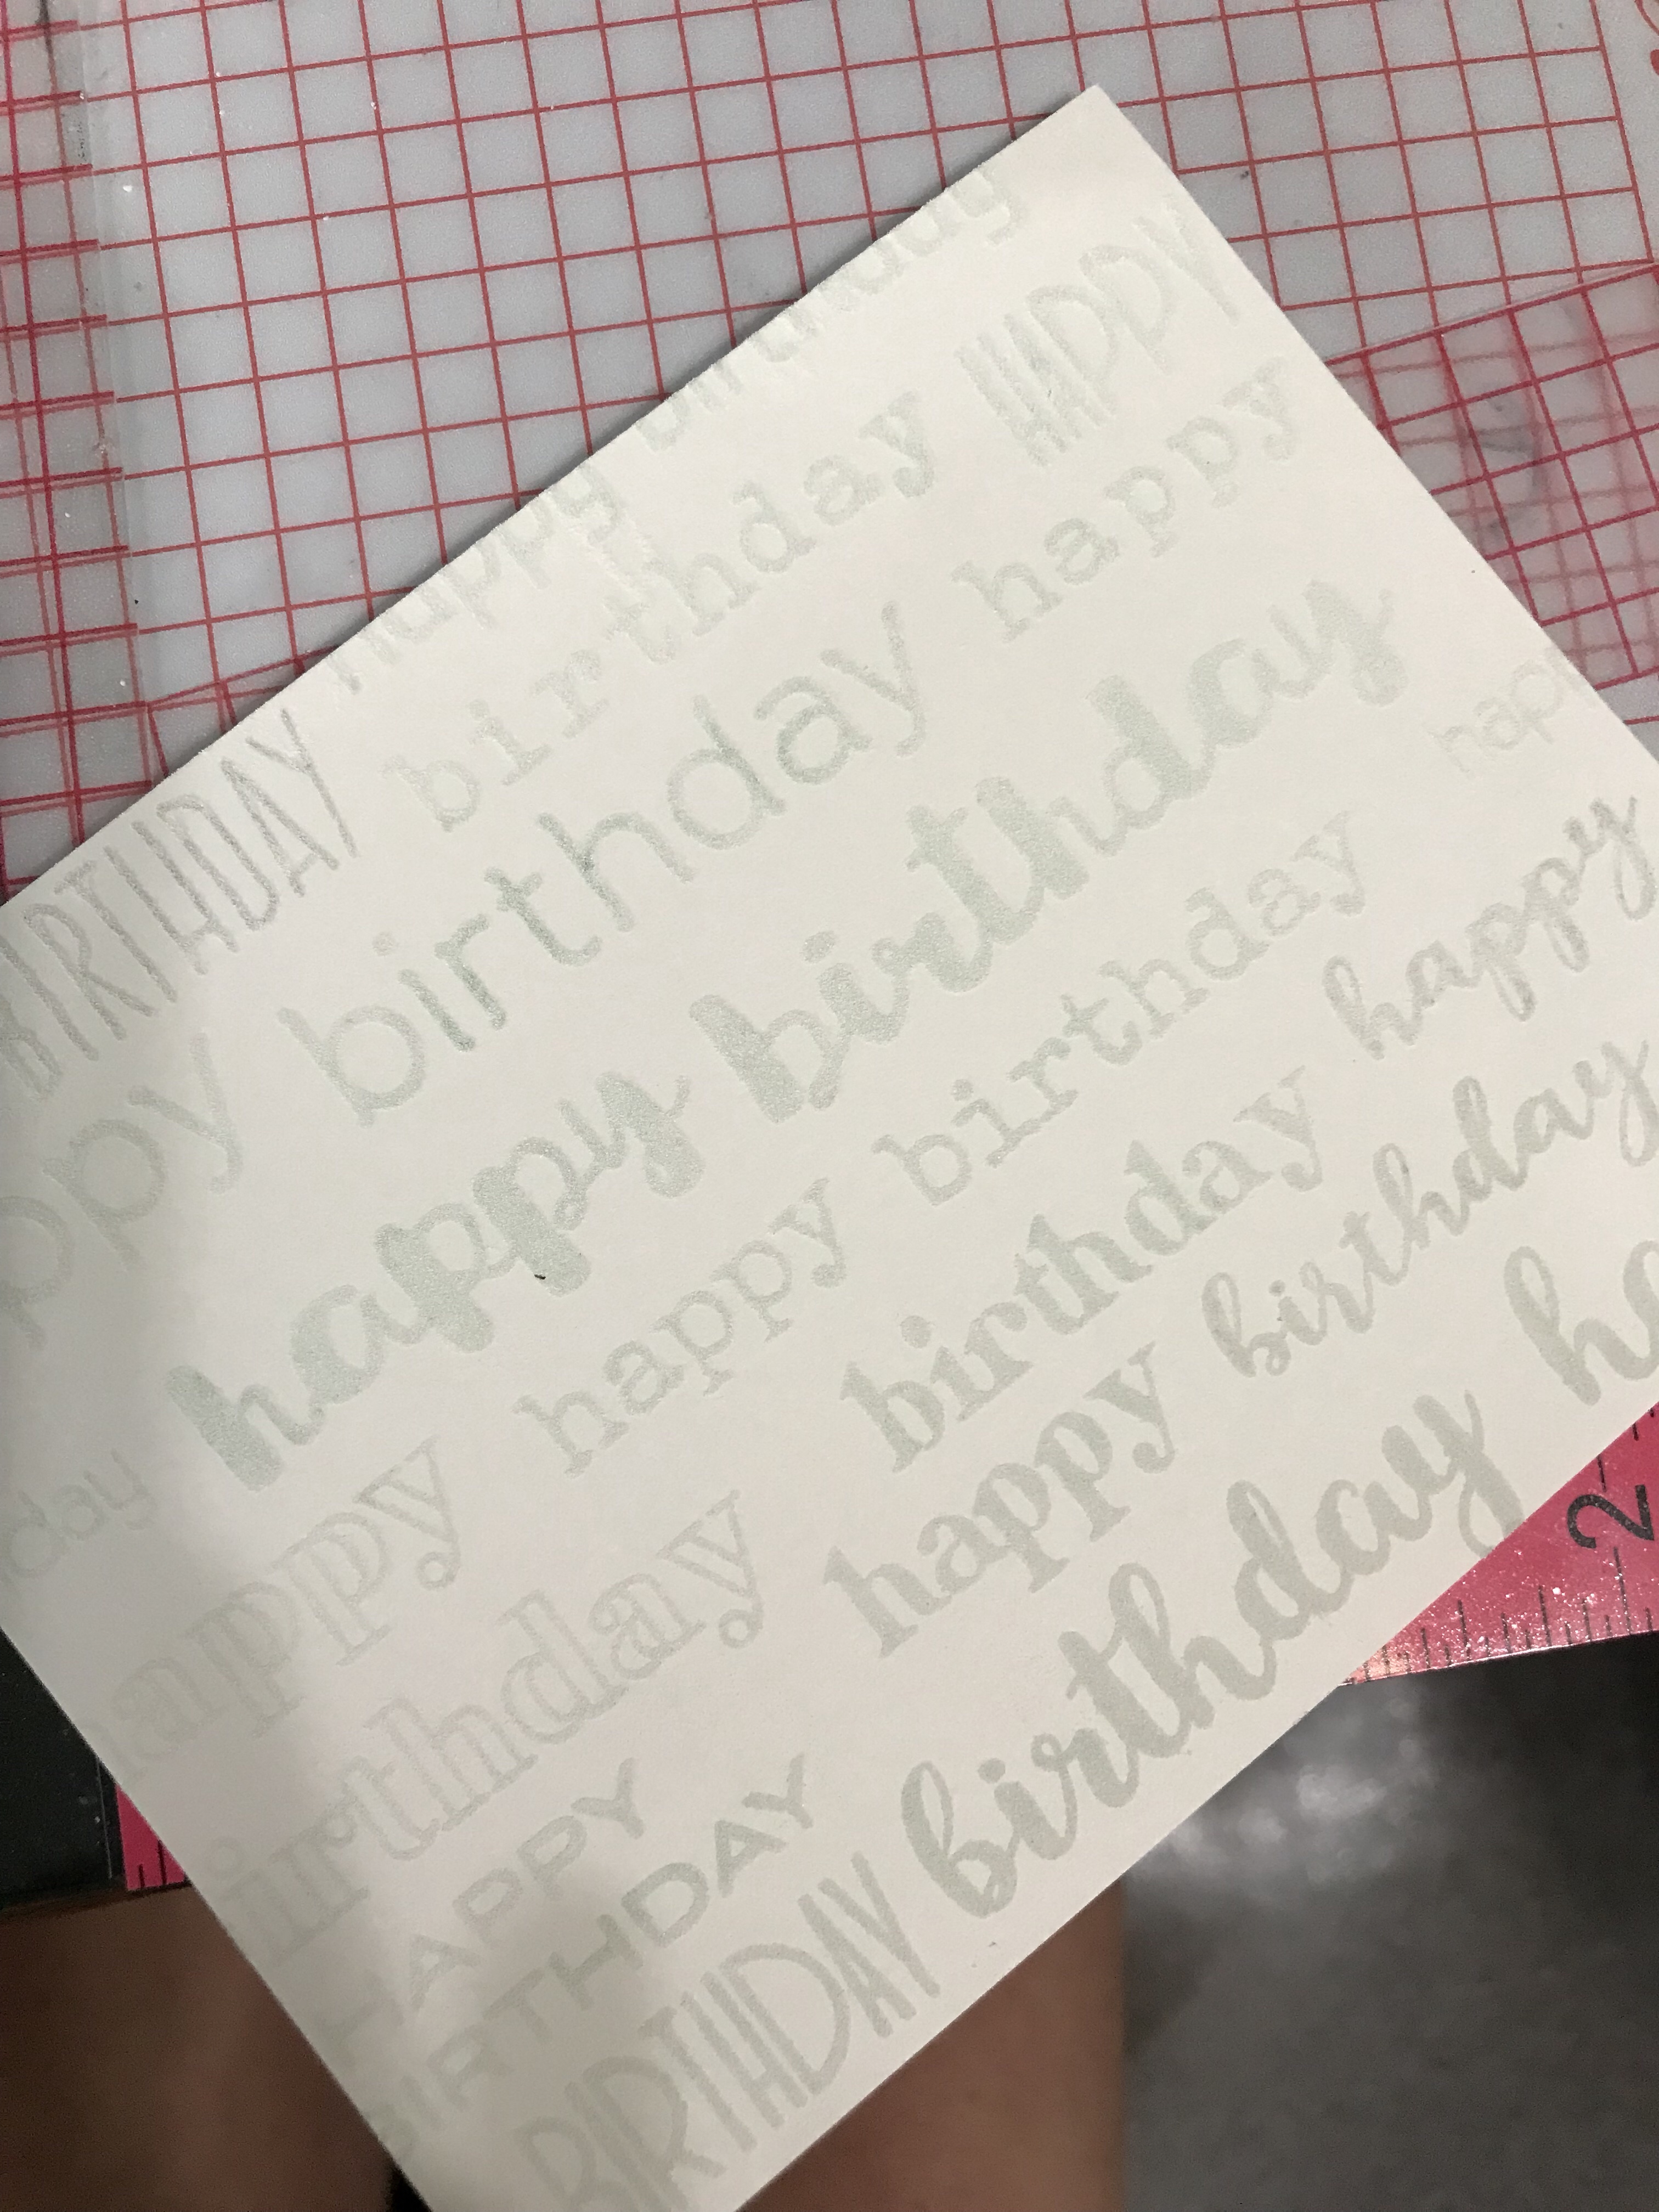
I then stamped the same piece of card stock using Versa Mark ink, and then coated with white Sparkle ‘n Sprinkle embossing powder. (I love watching embossing powder melt!)
After I melted the embossing powder, I made a puddle of candied apple distress ink on my craft mat, and mixed it with some Tsukineko Shimmer Spritz to give it a subtle sparkle. I used my round foam Ranger ink blending tool to apply the ink.

It’s hard to see the shimmer in this picture, but it’s so pretty in real life!
I then turned to my trusty Silhouette SD (quite old…) to cut out multiple “21”‘s. I stacked and adhered three layers of numbers, then coated the top layer with Nuvo Shimmer Paste in Moonstone. I adhered the numbers to a circle of black shimmer card stock from my stash, and mounted that on a slightly larger circle of white card stock that I had also coated with Moon Stone Glimmer Paste. I three mounted a piece of craft foam on the back for some dimension. I adhered the card front to a prepared A2 card base made from Neenah Classic Crest Solar White card stock. That finished off the card!
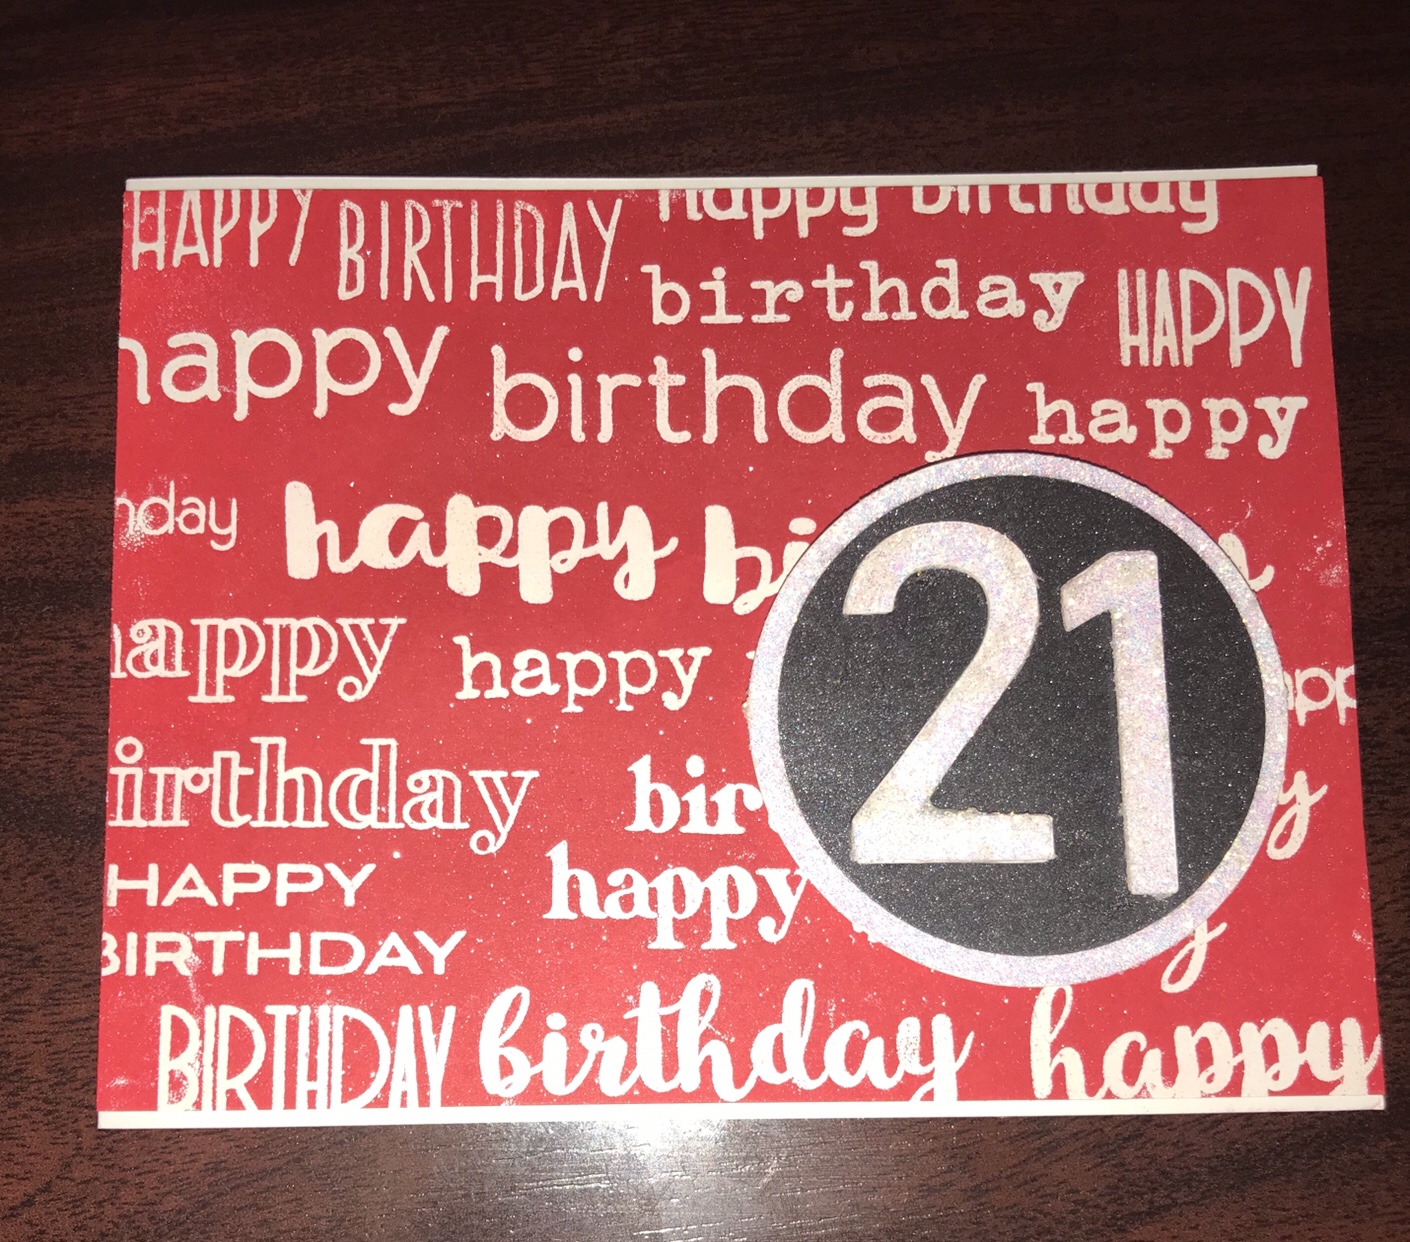
I was not able to get a picture that really captured all of the shimmery, glittery goodness of the card, but my daughter absolutely loved it!
As always, thank you for reading, and I hope this inspires you to go out and make something!