
Gina K Designs Challenge/Stencil Overlay Technique
Here in Michigan, we are experiencing quite a stretch of ice/snow/cold days. However, it has afforded me quite a bit of extra time to work on my card making craft. The Gina K. Designs monthly challenge for January is titled “My Sentiments Exactly!” The challenge is to stamp only the sentiment, and the rest of the card uses a different technique, no further stamping allowed.
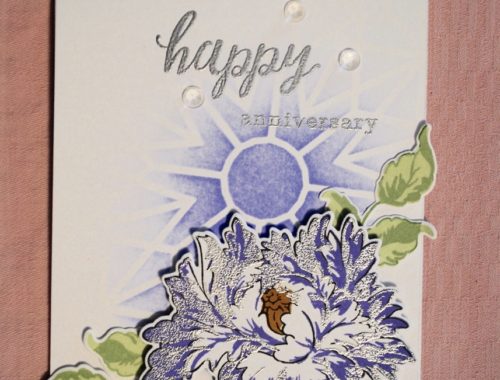
I recently had a niece get engaged, and thought my Gina K Designs sentiment “wishing you a lifetime of love” would be perfect for an engagement card. I also asked her what her wedding colors will be. She is leaning toward mustard yellow and a green or grey. As I am also part of the Altenew Educator Certification Program, I wanted to use this opportunity to also explore a technique to help fulfill my class requirements. I am working on a stencil class currently, and decided to try using a stencil as an overlay. I have always used my stencils to create the background, but have never used one as an overlay. I absolutely love Altenew’s Layering Dahlia stencil set, and decided to use that. As I do not own Altenew inks in yellow or grey, I decided to use my Distress Inks for this project.
I used Neenah Classic Crest Solar White card stock for my card front. I started with Weathered Wood Distress Ink, using my round mini blender to start applying color. I felt it was too stark, and started over, using my Clarity Stencil Brush instead to apply the color. Much softer, more what I had in mind. I blended the whole card front this way. I then taped my card stock down on two sides. I laid the Dahlia stencil layer A on top, taping it on only the right hand side, as this creates a hinge, allowing me to easily check depth of color. I used mustard yellow Distress ink for the flowers, and shabby shutters distress ink for the leaves, leaving the in-between spots the weathered wood. I then removed the A layer stencil, and adhered the B layer stencil the same way. Using the exact same colors, I added the detail layers, purposely intensifying my application of color. Once I was happy with depth of color, I removed the stencil. I decided this needed to just a little shimmer, but not a lot, as my niece is not a “bling” girl. I used my Spectrum Noir shimmer pen to shimmer only the more intense colors of the card front. I love the hint of sparkle this pen gives. Today I left it at one layer of shimmer, just to keep it subtle.
I trimmed the card down to slightly smaller than an A2 card front, and mounted it on a piece of Gina K Onyx card stock cut down to A2. On a strip of white card stock, I stamped my sentiment in Versamark ink, then coated it with Hero Arts Platinum embossing powder. I mounted the white sentiment strip on a strip of Gina K Onyx card stock to act as a frame, then adhered this to the card front with foam tape. I finished the card with three flat-backed pearls from Close to my Heart.
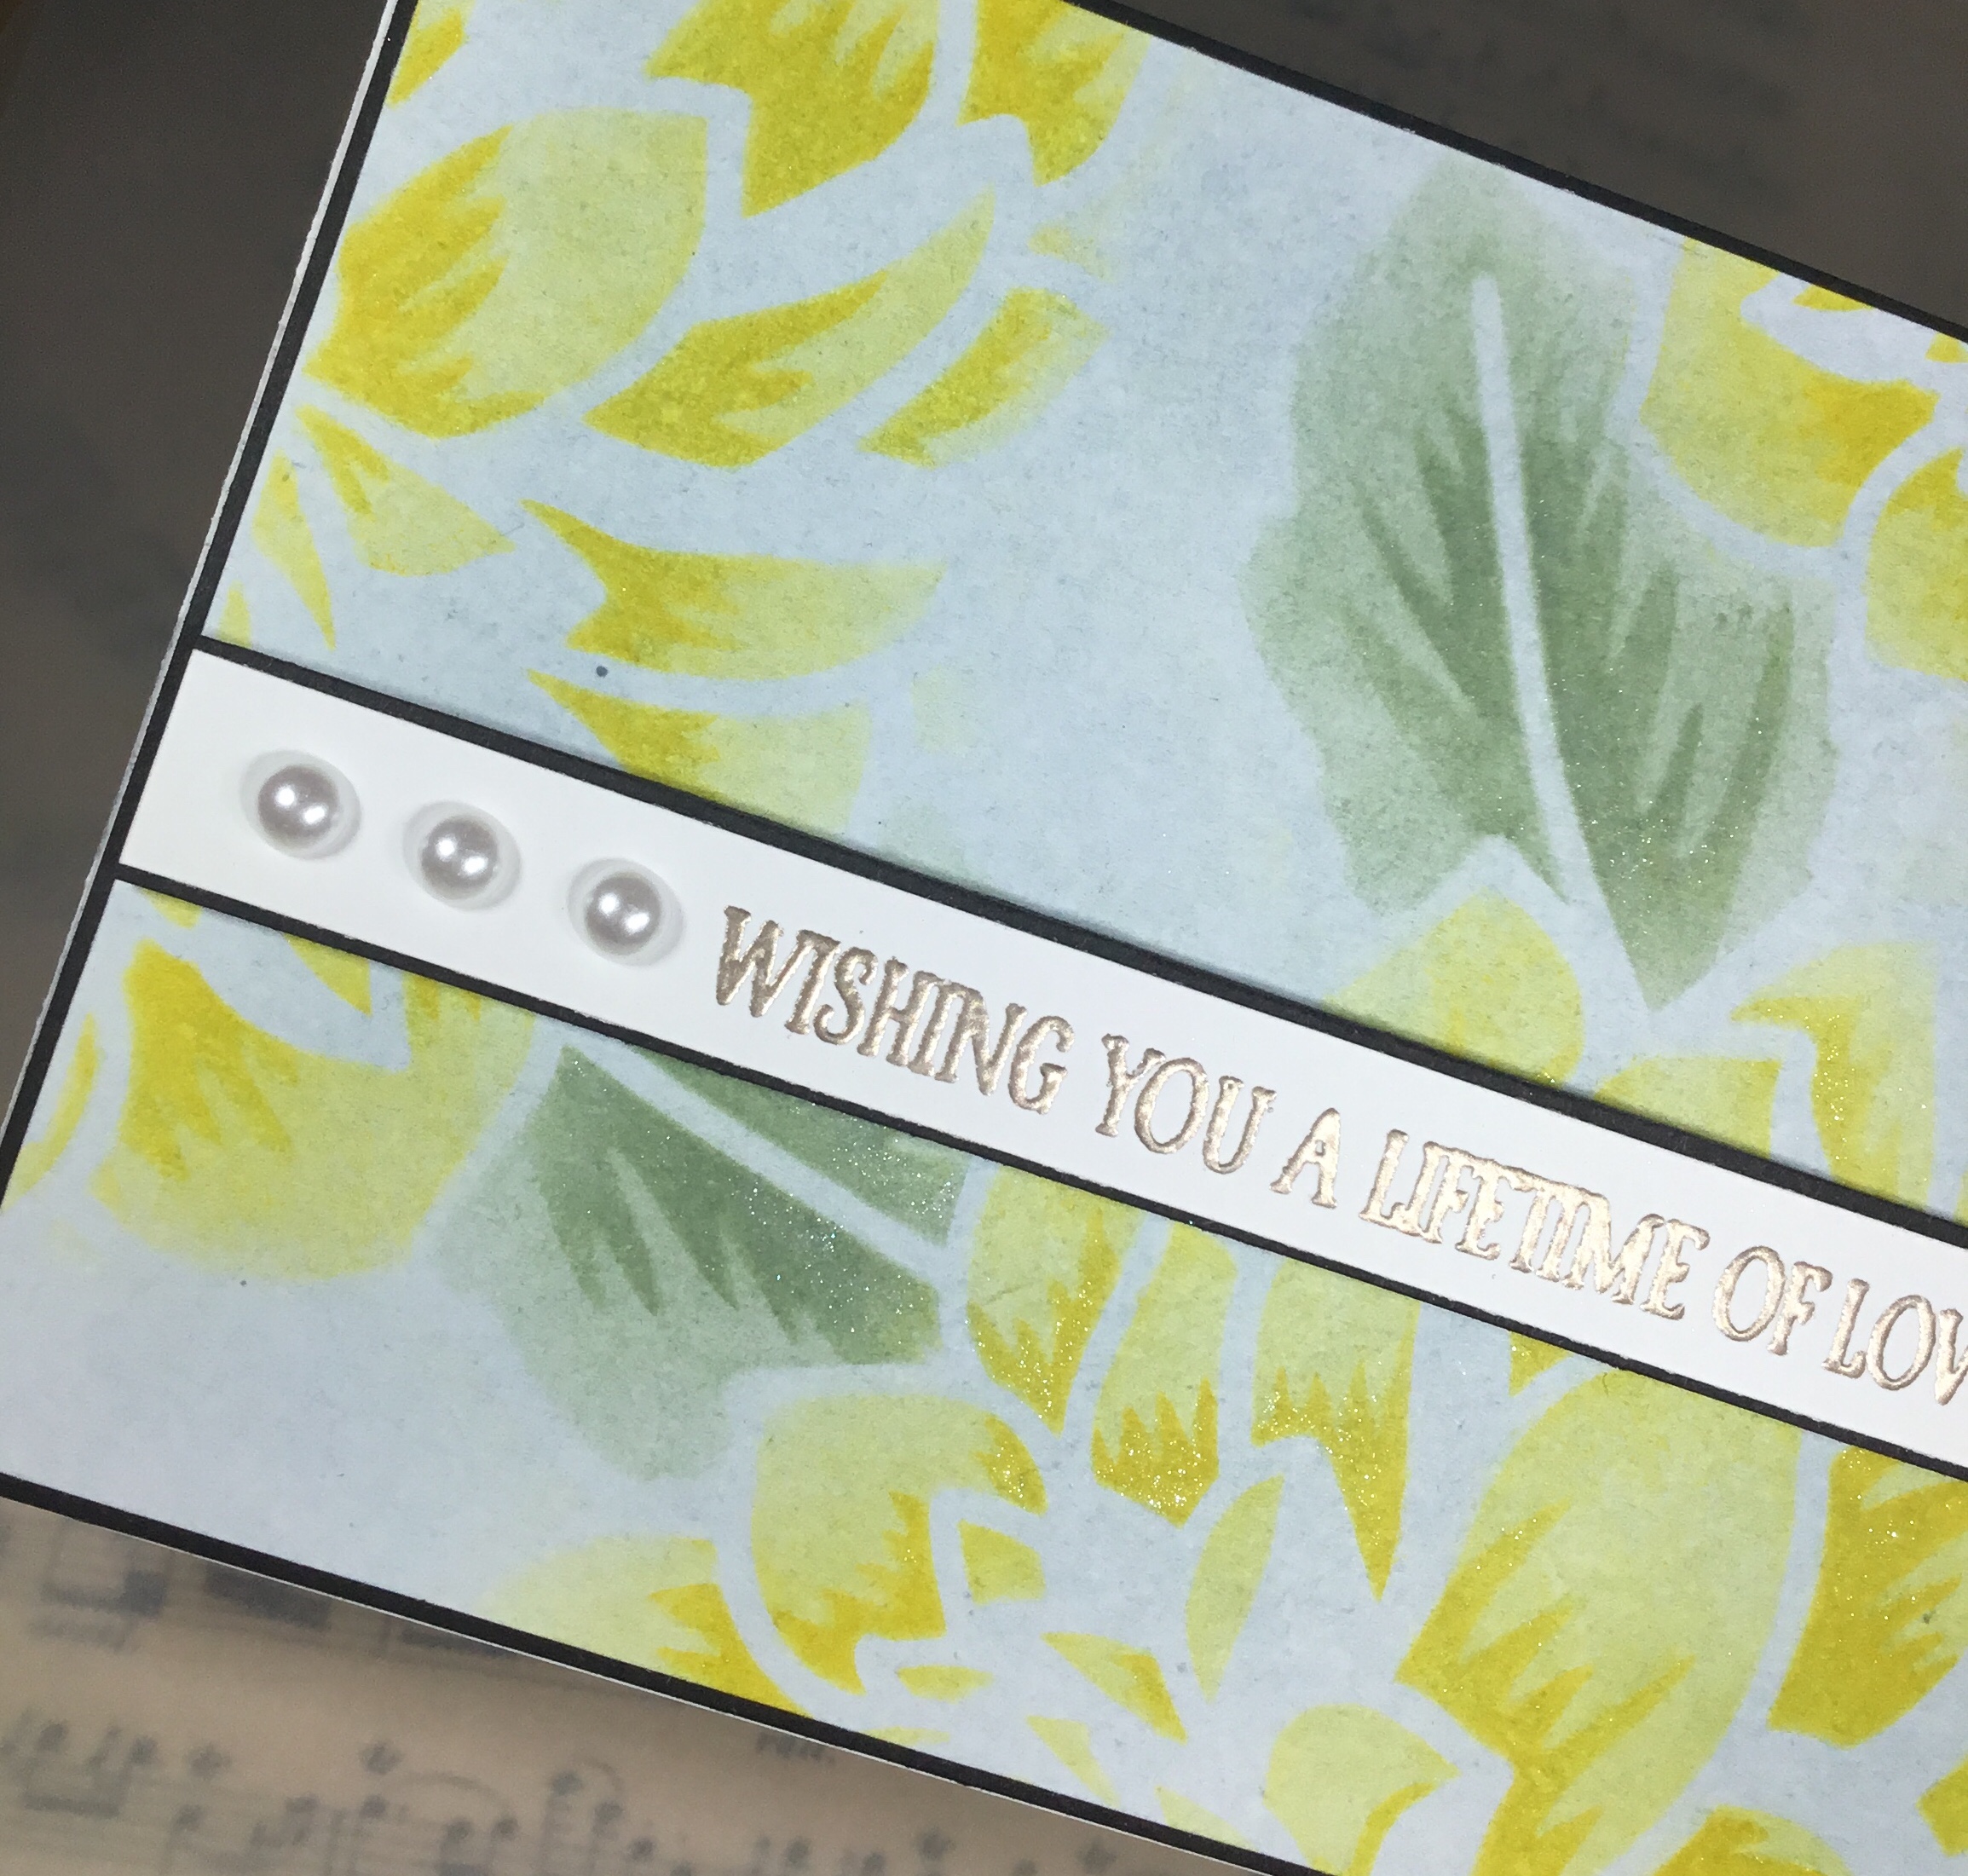
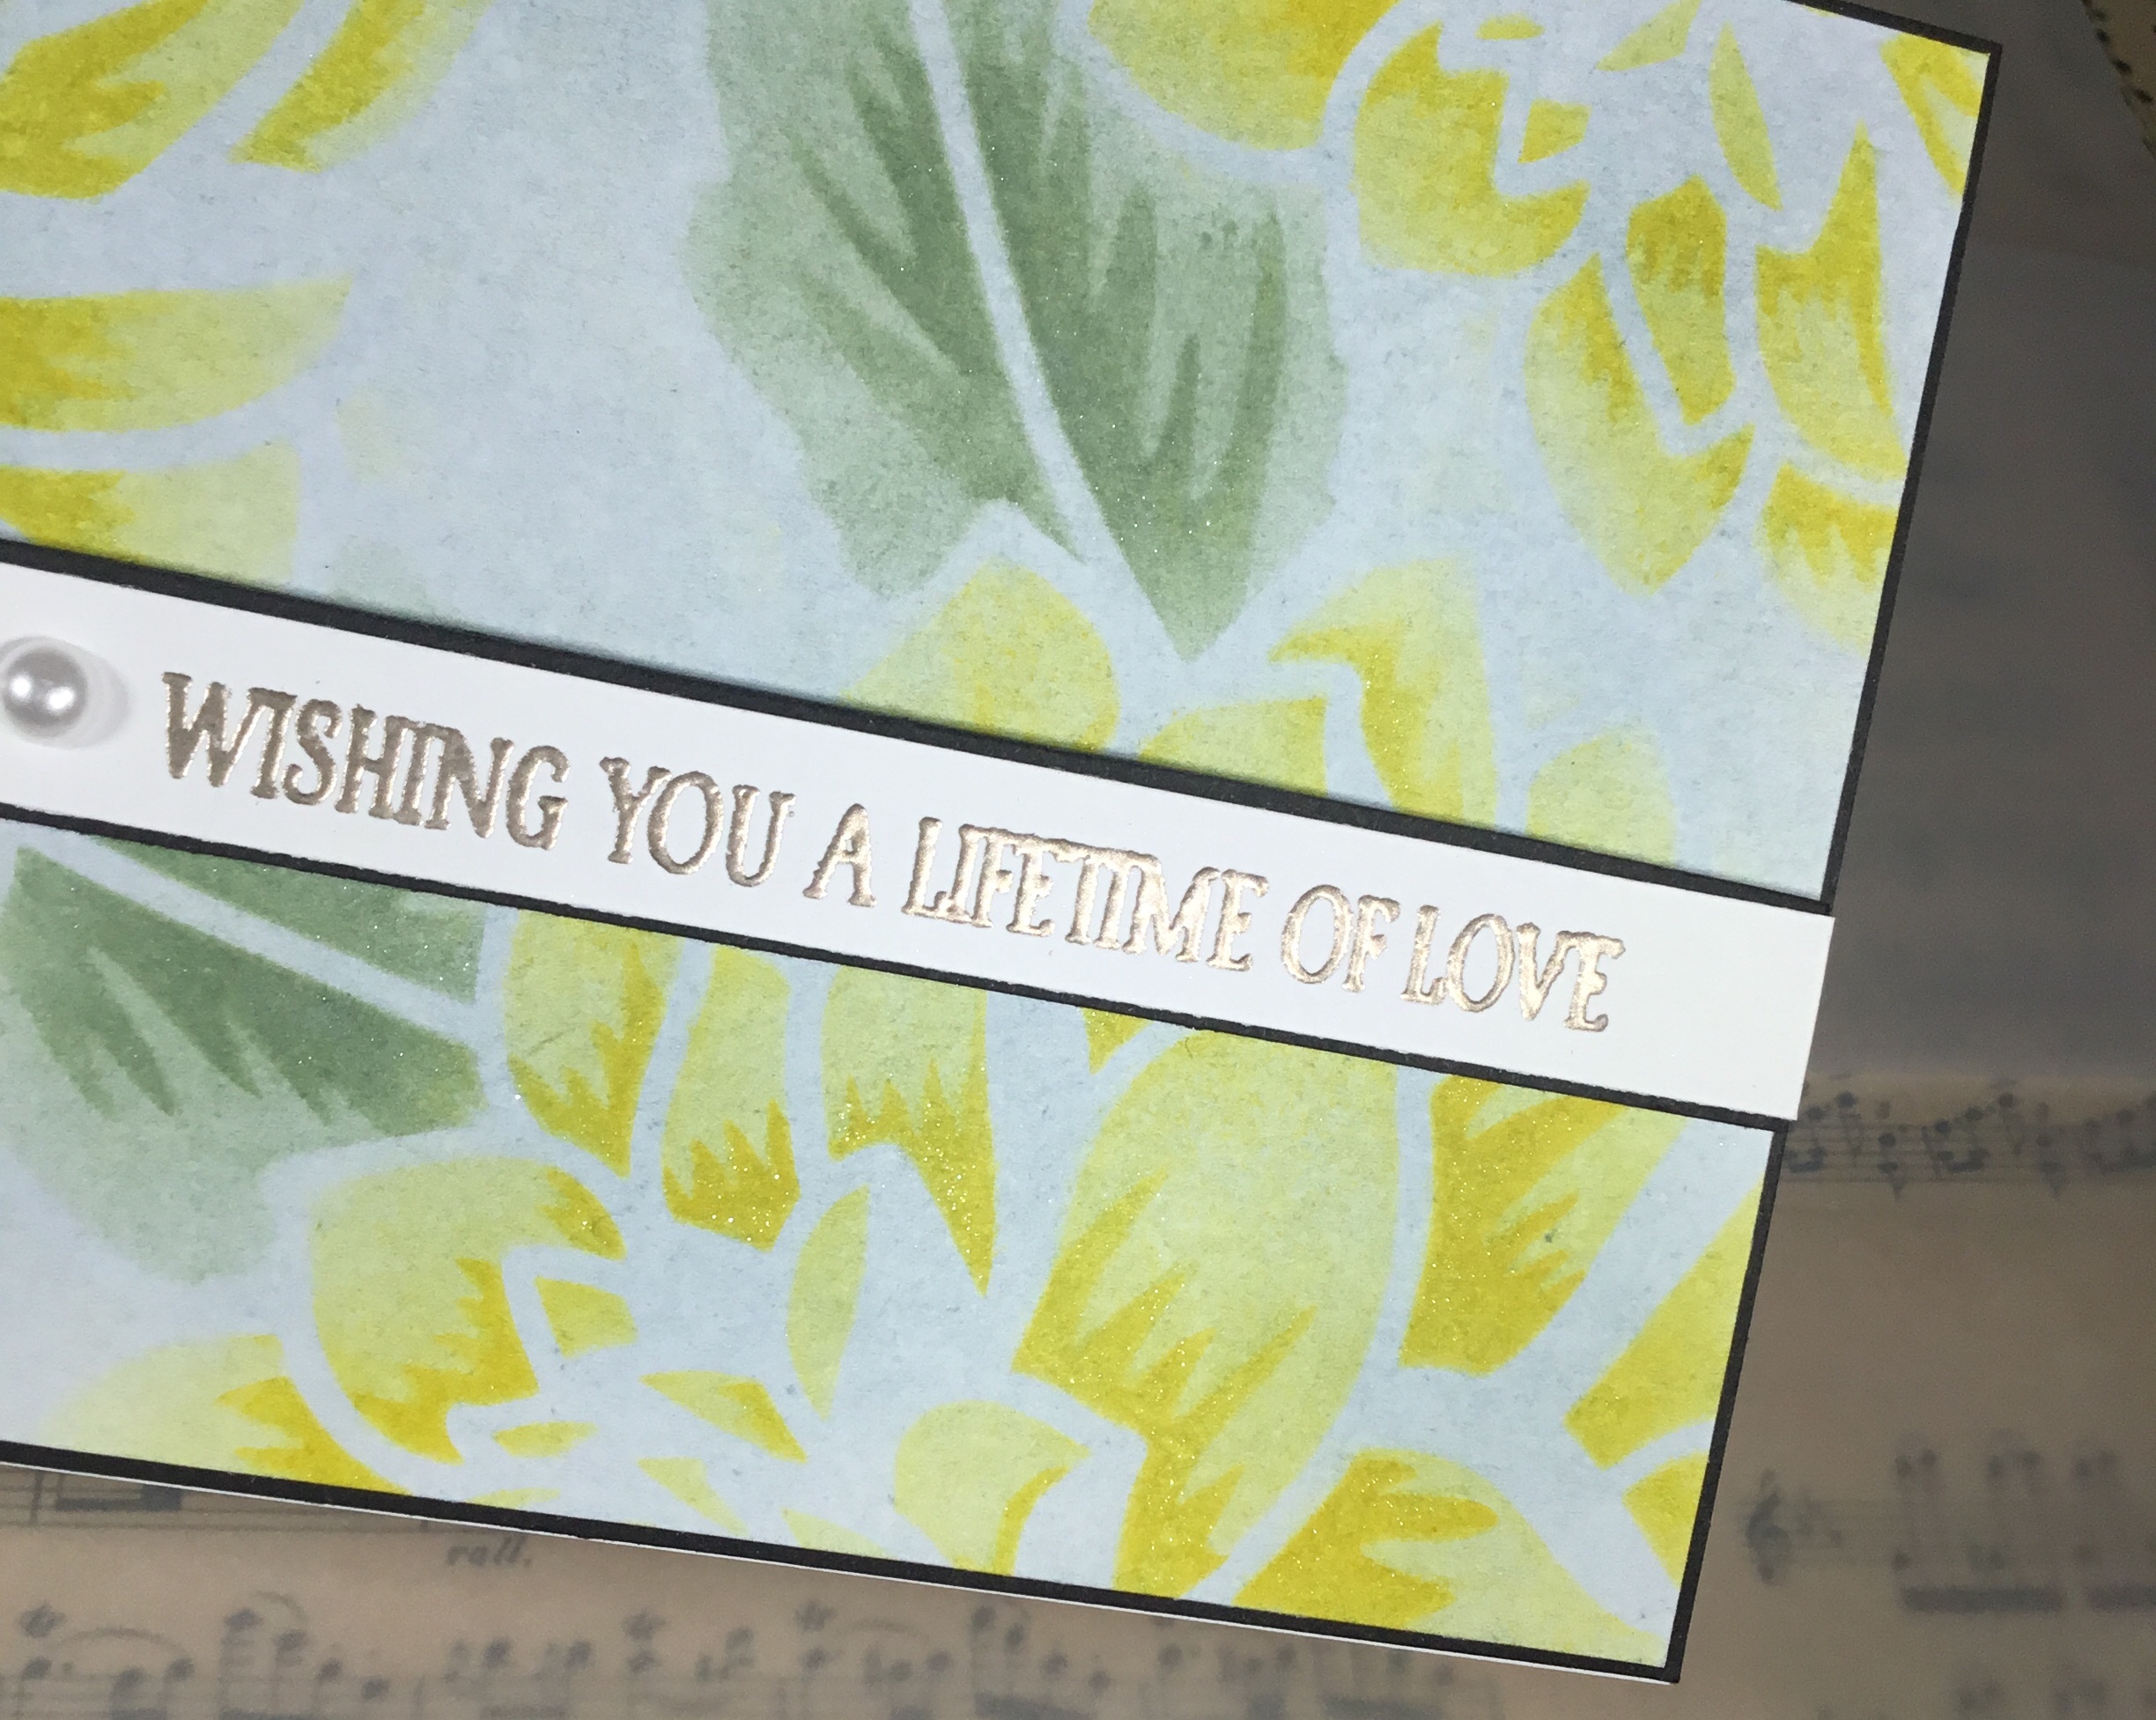
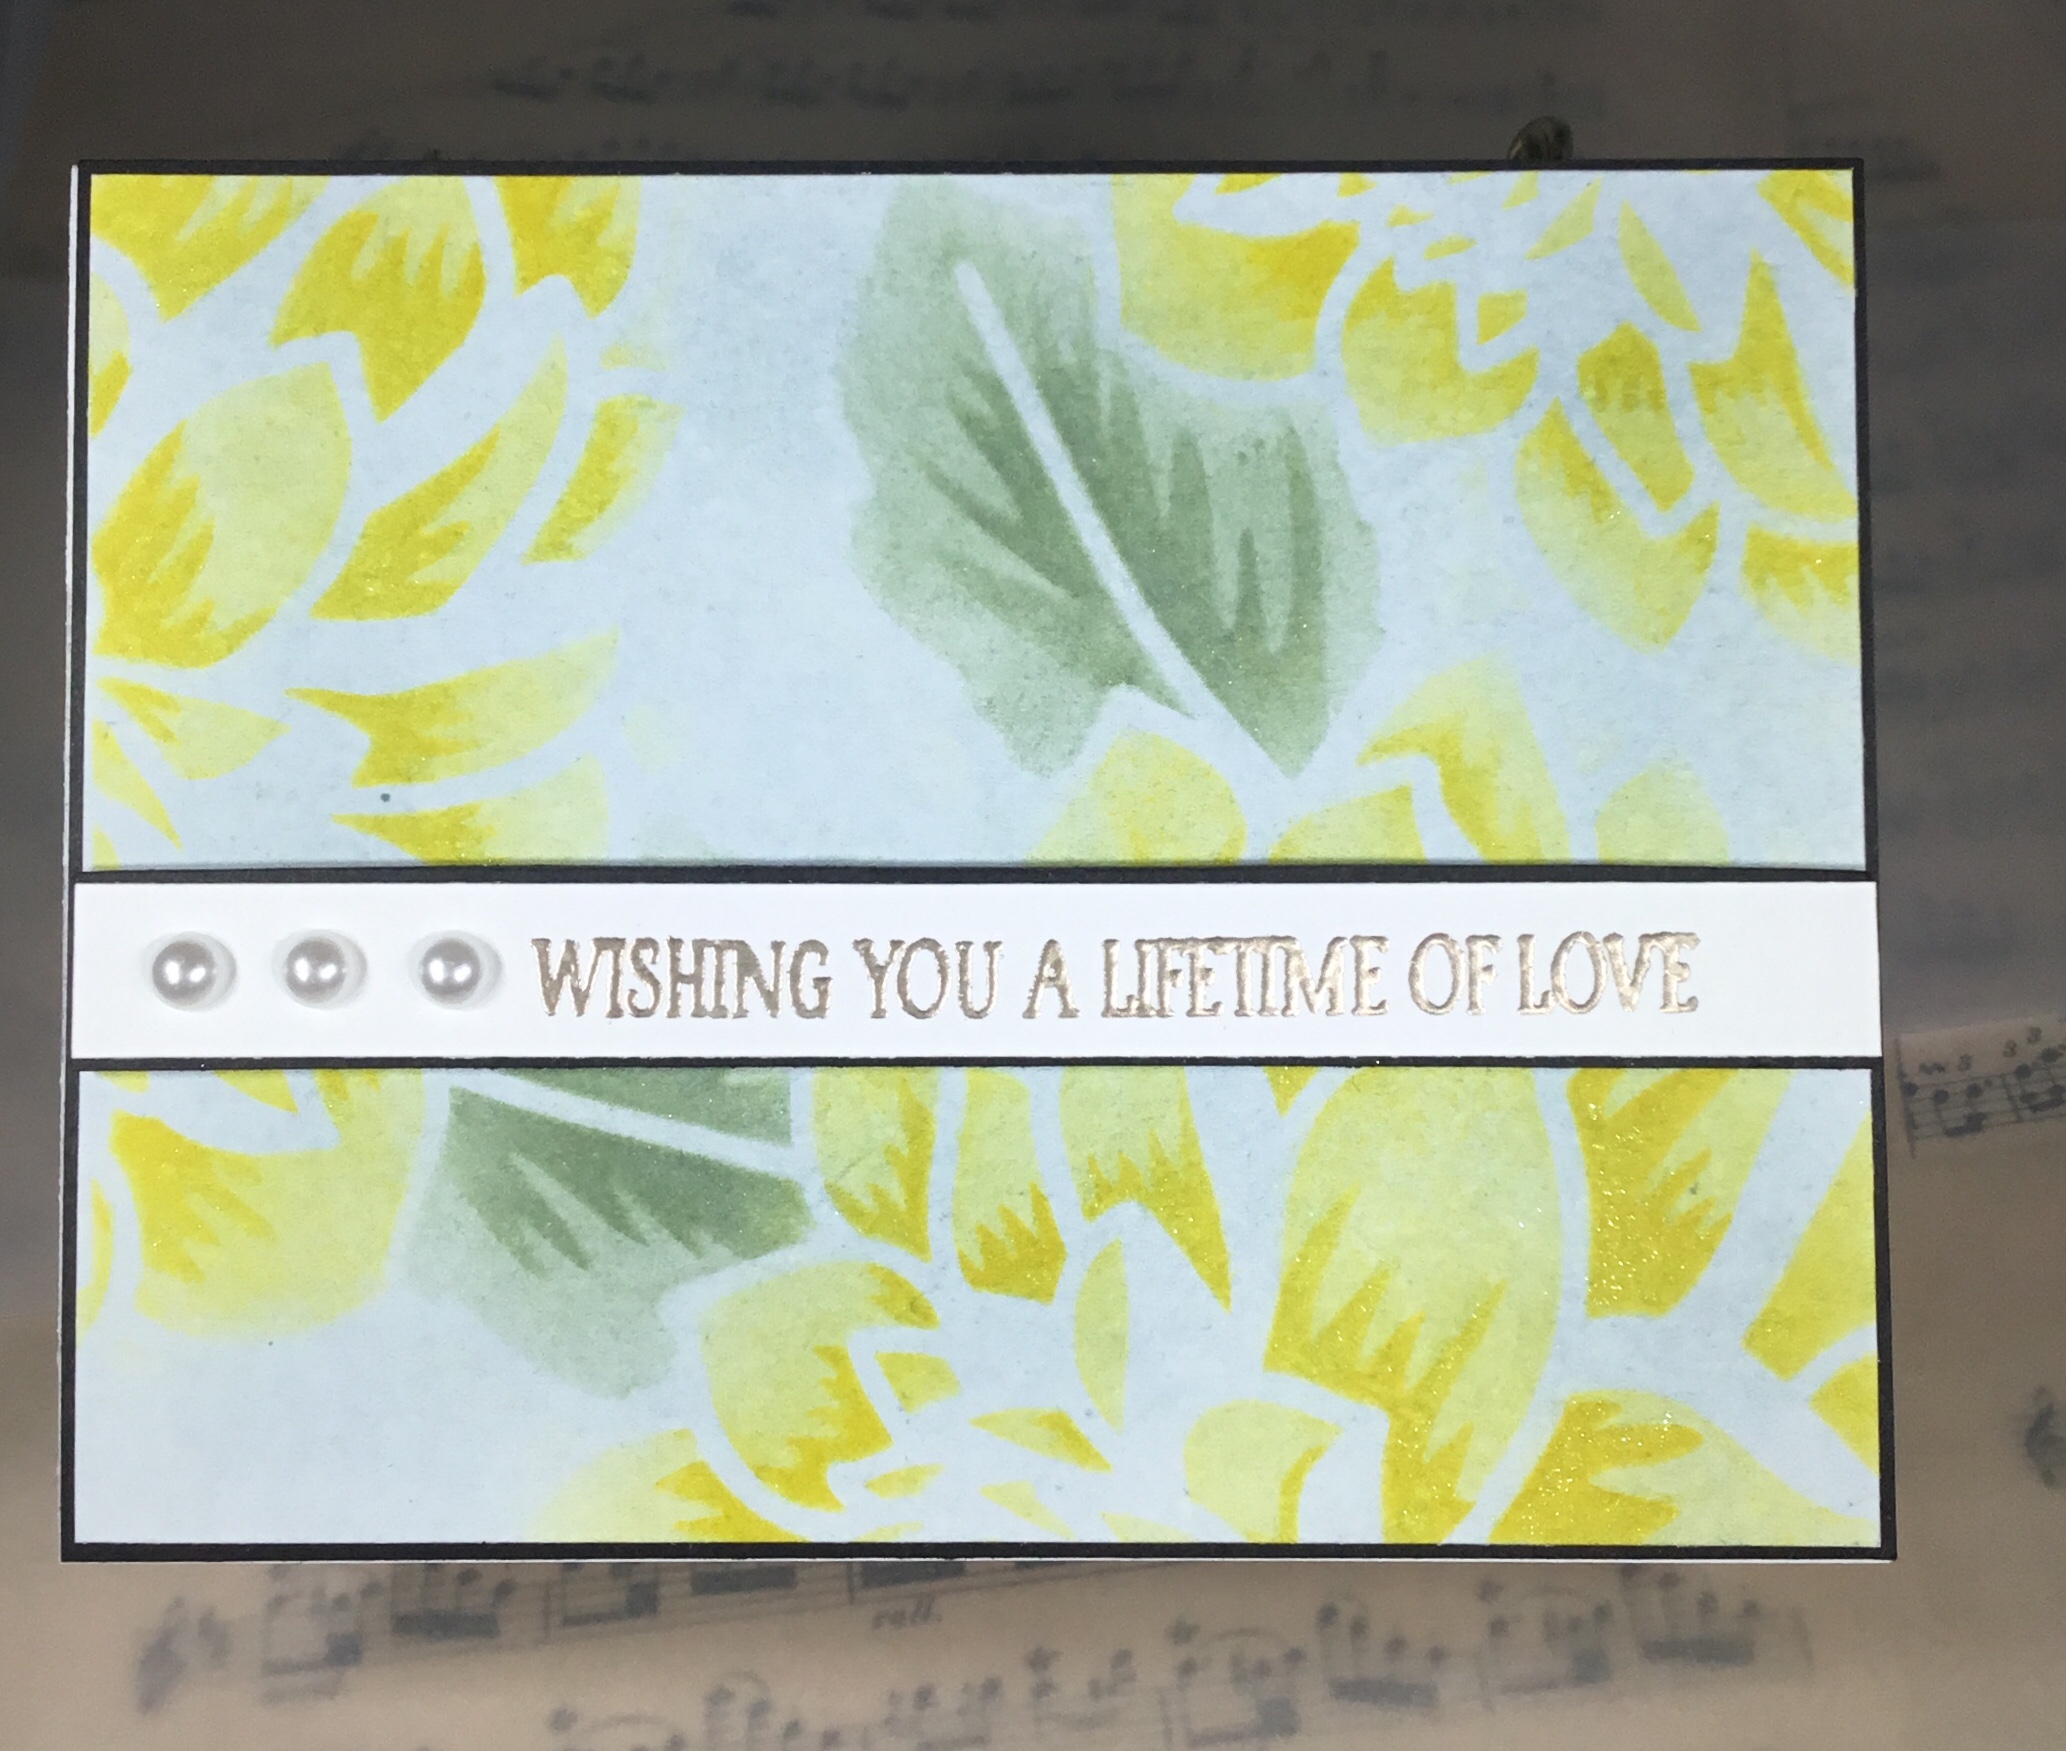
While these colors are not what I normally would be drawn to use, I really like the way this finished card came out, and how personalized this is for my niece and her fiancée. I have several pictures below from a few different angles, trying to capture the subtle shine.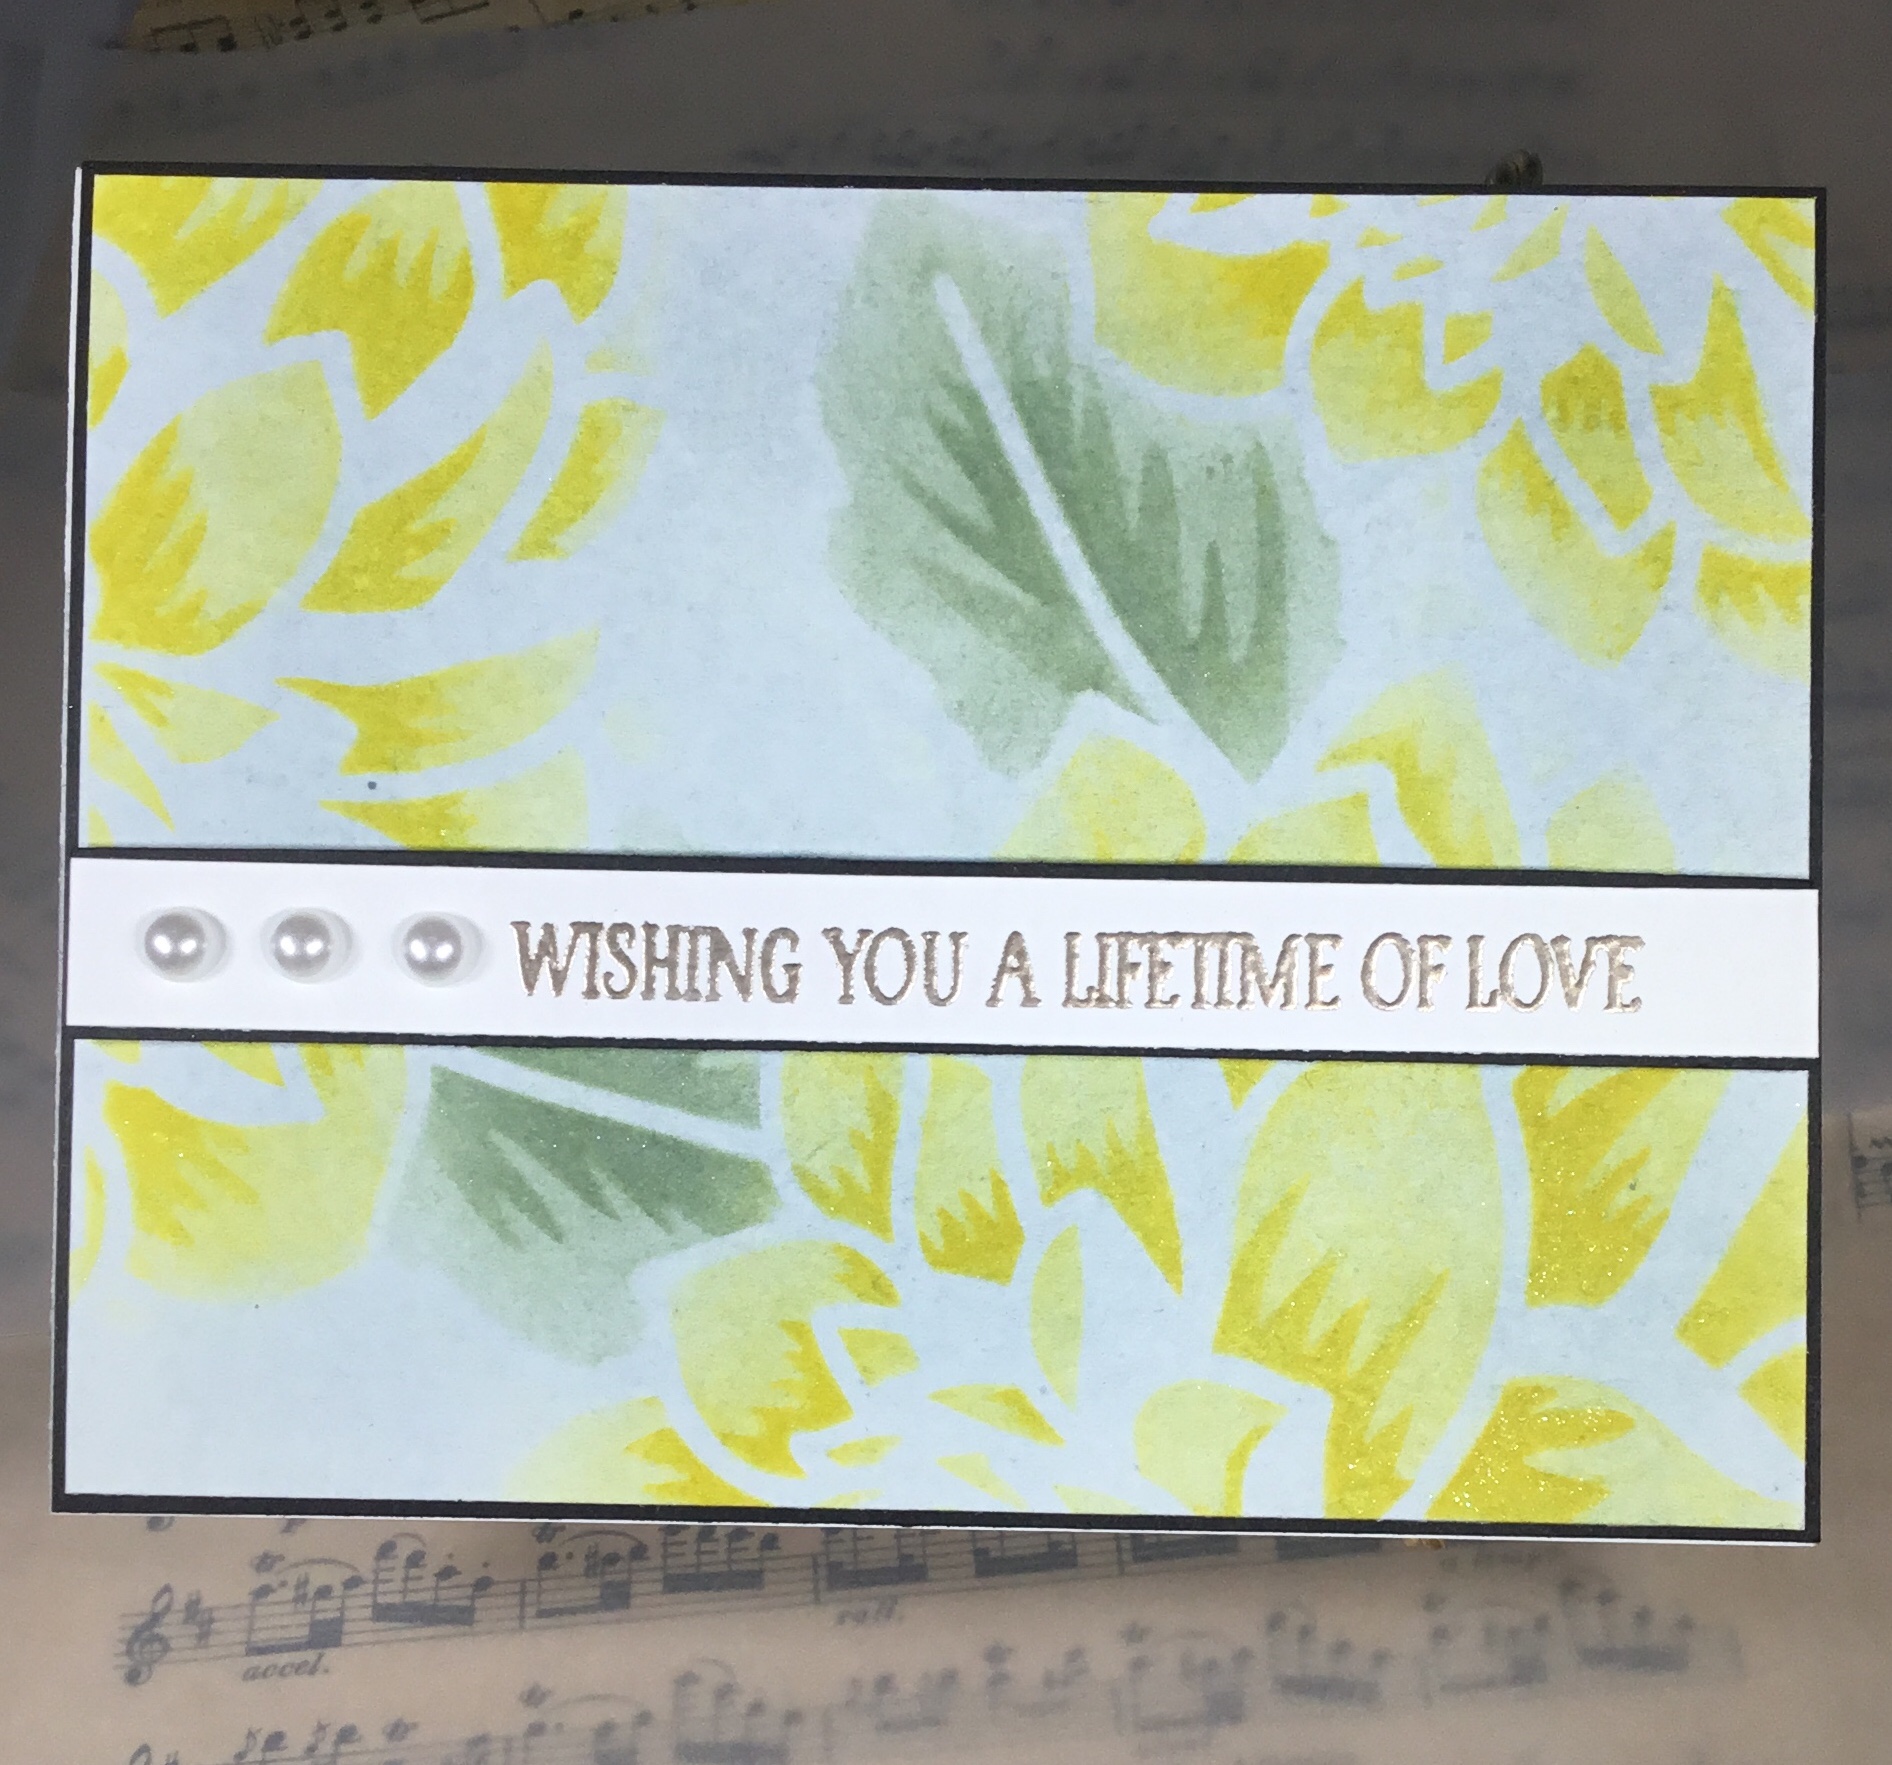
My inspiration for this card came from the stencil class, and wanting to try something new with my layering stencils, as well as my niece’s color combination and her personality, trying to create a card that would be perfect for her. My take away from this class is to not limit myself to just creating simple backgrounds or focal points with my stencils, but to continue to explore new ways to use my stencils, such as adding more detail, as in this card.
As always, thank you for reading my blog and I hope this inspires you to go out and create something!
Focus on the Sentiment


One Comment
Virginia Lu
Love the additional use of stencil. The stenciled background is gorgeous, Colette!! Thanks so much for entering your beautiful work in Altenew AECP assignment Gallery. Beautiful colors and design. Well done on your 2nd AECP project!