Metallic embossed die cuts
A few months ago, my sister and I went to a paper crafting mega meet and took a couple of classes and did a bit of shopping. I picked up a set of entwined circle dies from Elizabeth Craft Designs that I just fell in love with! Fast forward five months and I have finally used them.
The card I created is a 5.25 x 5.25 square card. To create this card, you will the Entwined Circles die set mentioned above, some white card stock (I use Neenah Classic Crest Solar White), embossing ink (I use Versa Mark), three different metallic embossing powders, a white glitter embossing powder, some blue ink for blending, a winter sentiment, some liquid adhesive (I used Simply Defined Stay Put) and foam tape for dimension.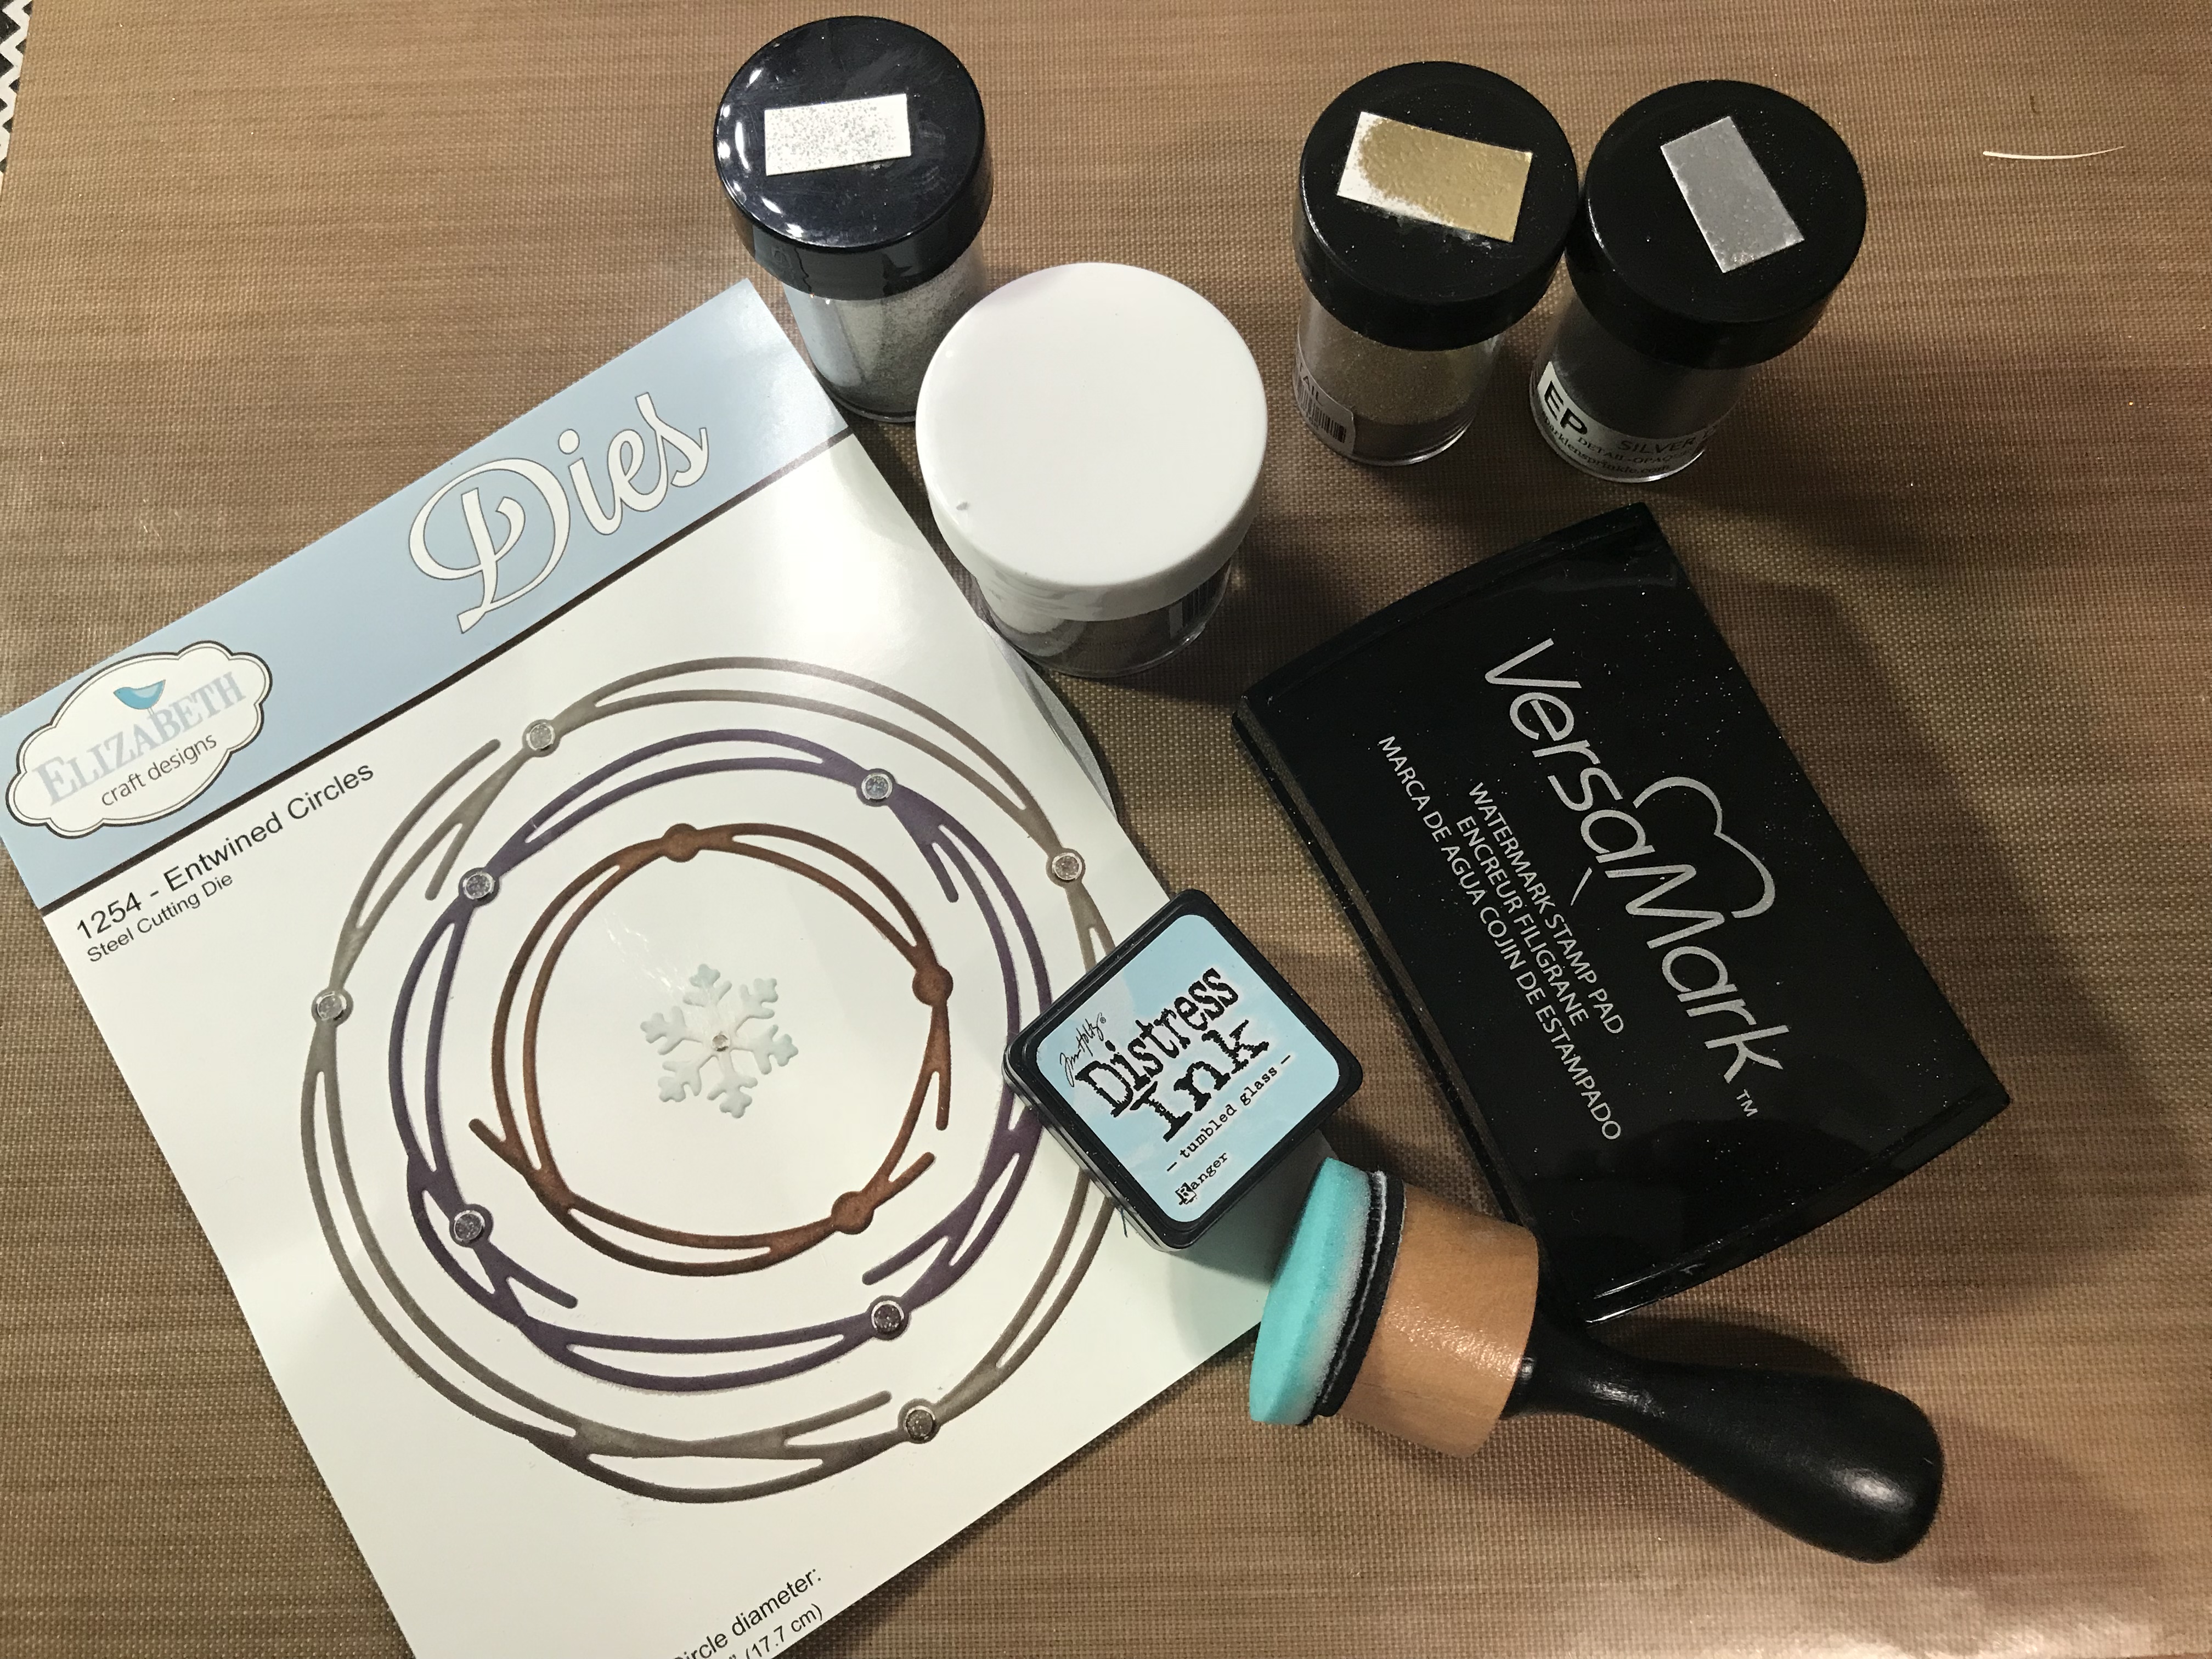
I cut out three sets of dies and snowflakes from white cardstock, and adhered the layers together using a liquid adhesive and a paint brush. 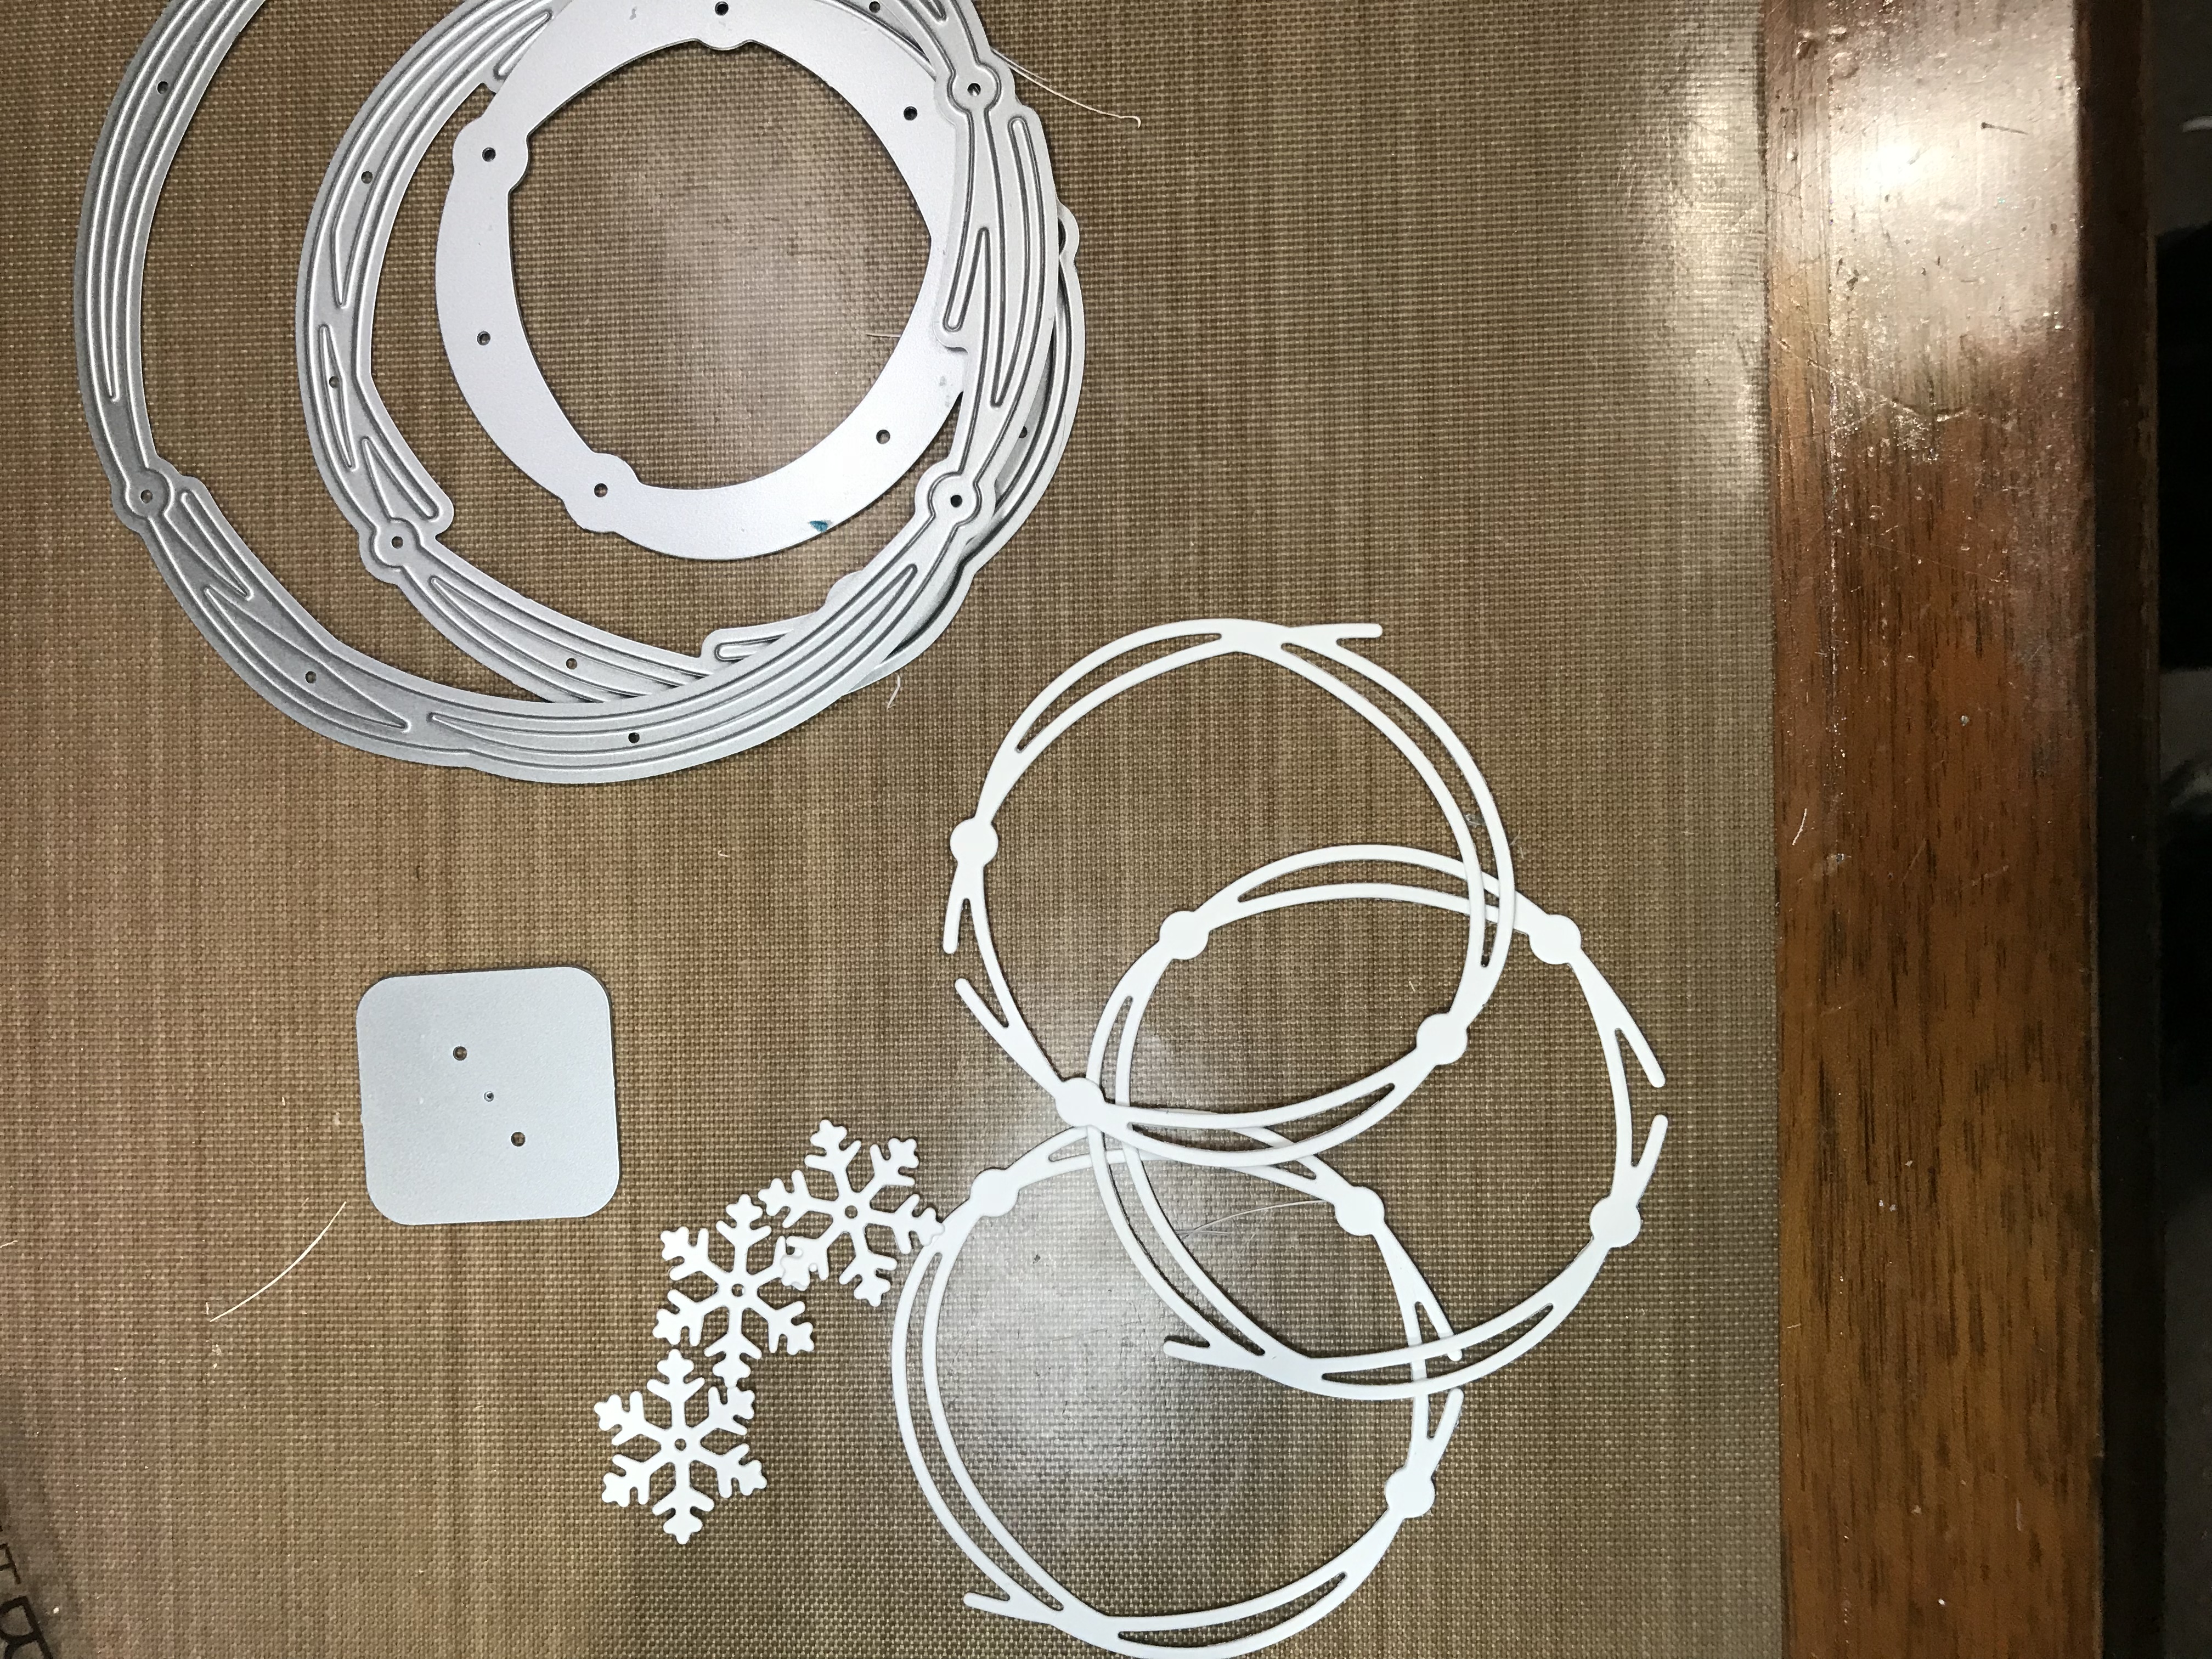
I then coated each die cut several times with Versa mark ink and some embossing powder. I used Sparkle ‘n Sprinkle’s gold and silver embossing powder, Altenew’s rose gold, and Sparkle ‘n Sprinkle’s Vanilla Ice embossing powder on the snowflakes.
I then cut a square of card stock, about 6″ x 6″ and ink blended it using Distress Ink in Tumbled Glass. I also spritzed it with a shimmer spray and then set it aside to dry.
I then set to assembling the card. I placed the three circles inside each other, then played around a bit with rotating them and placement of the snowflakes. 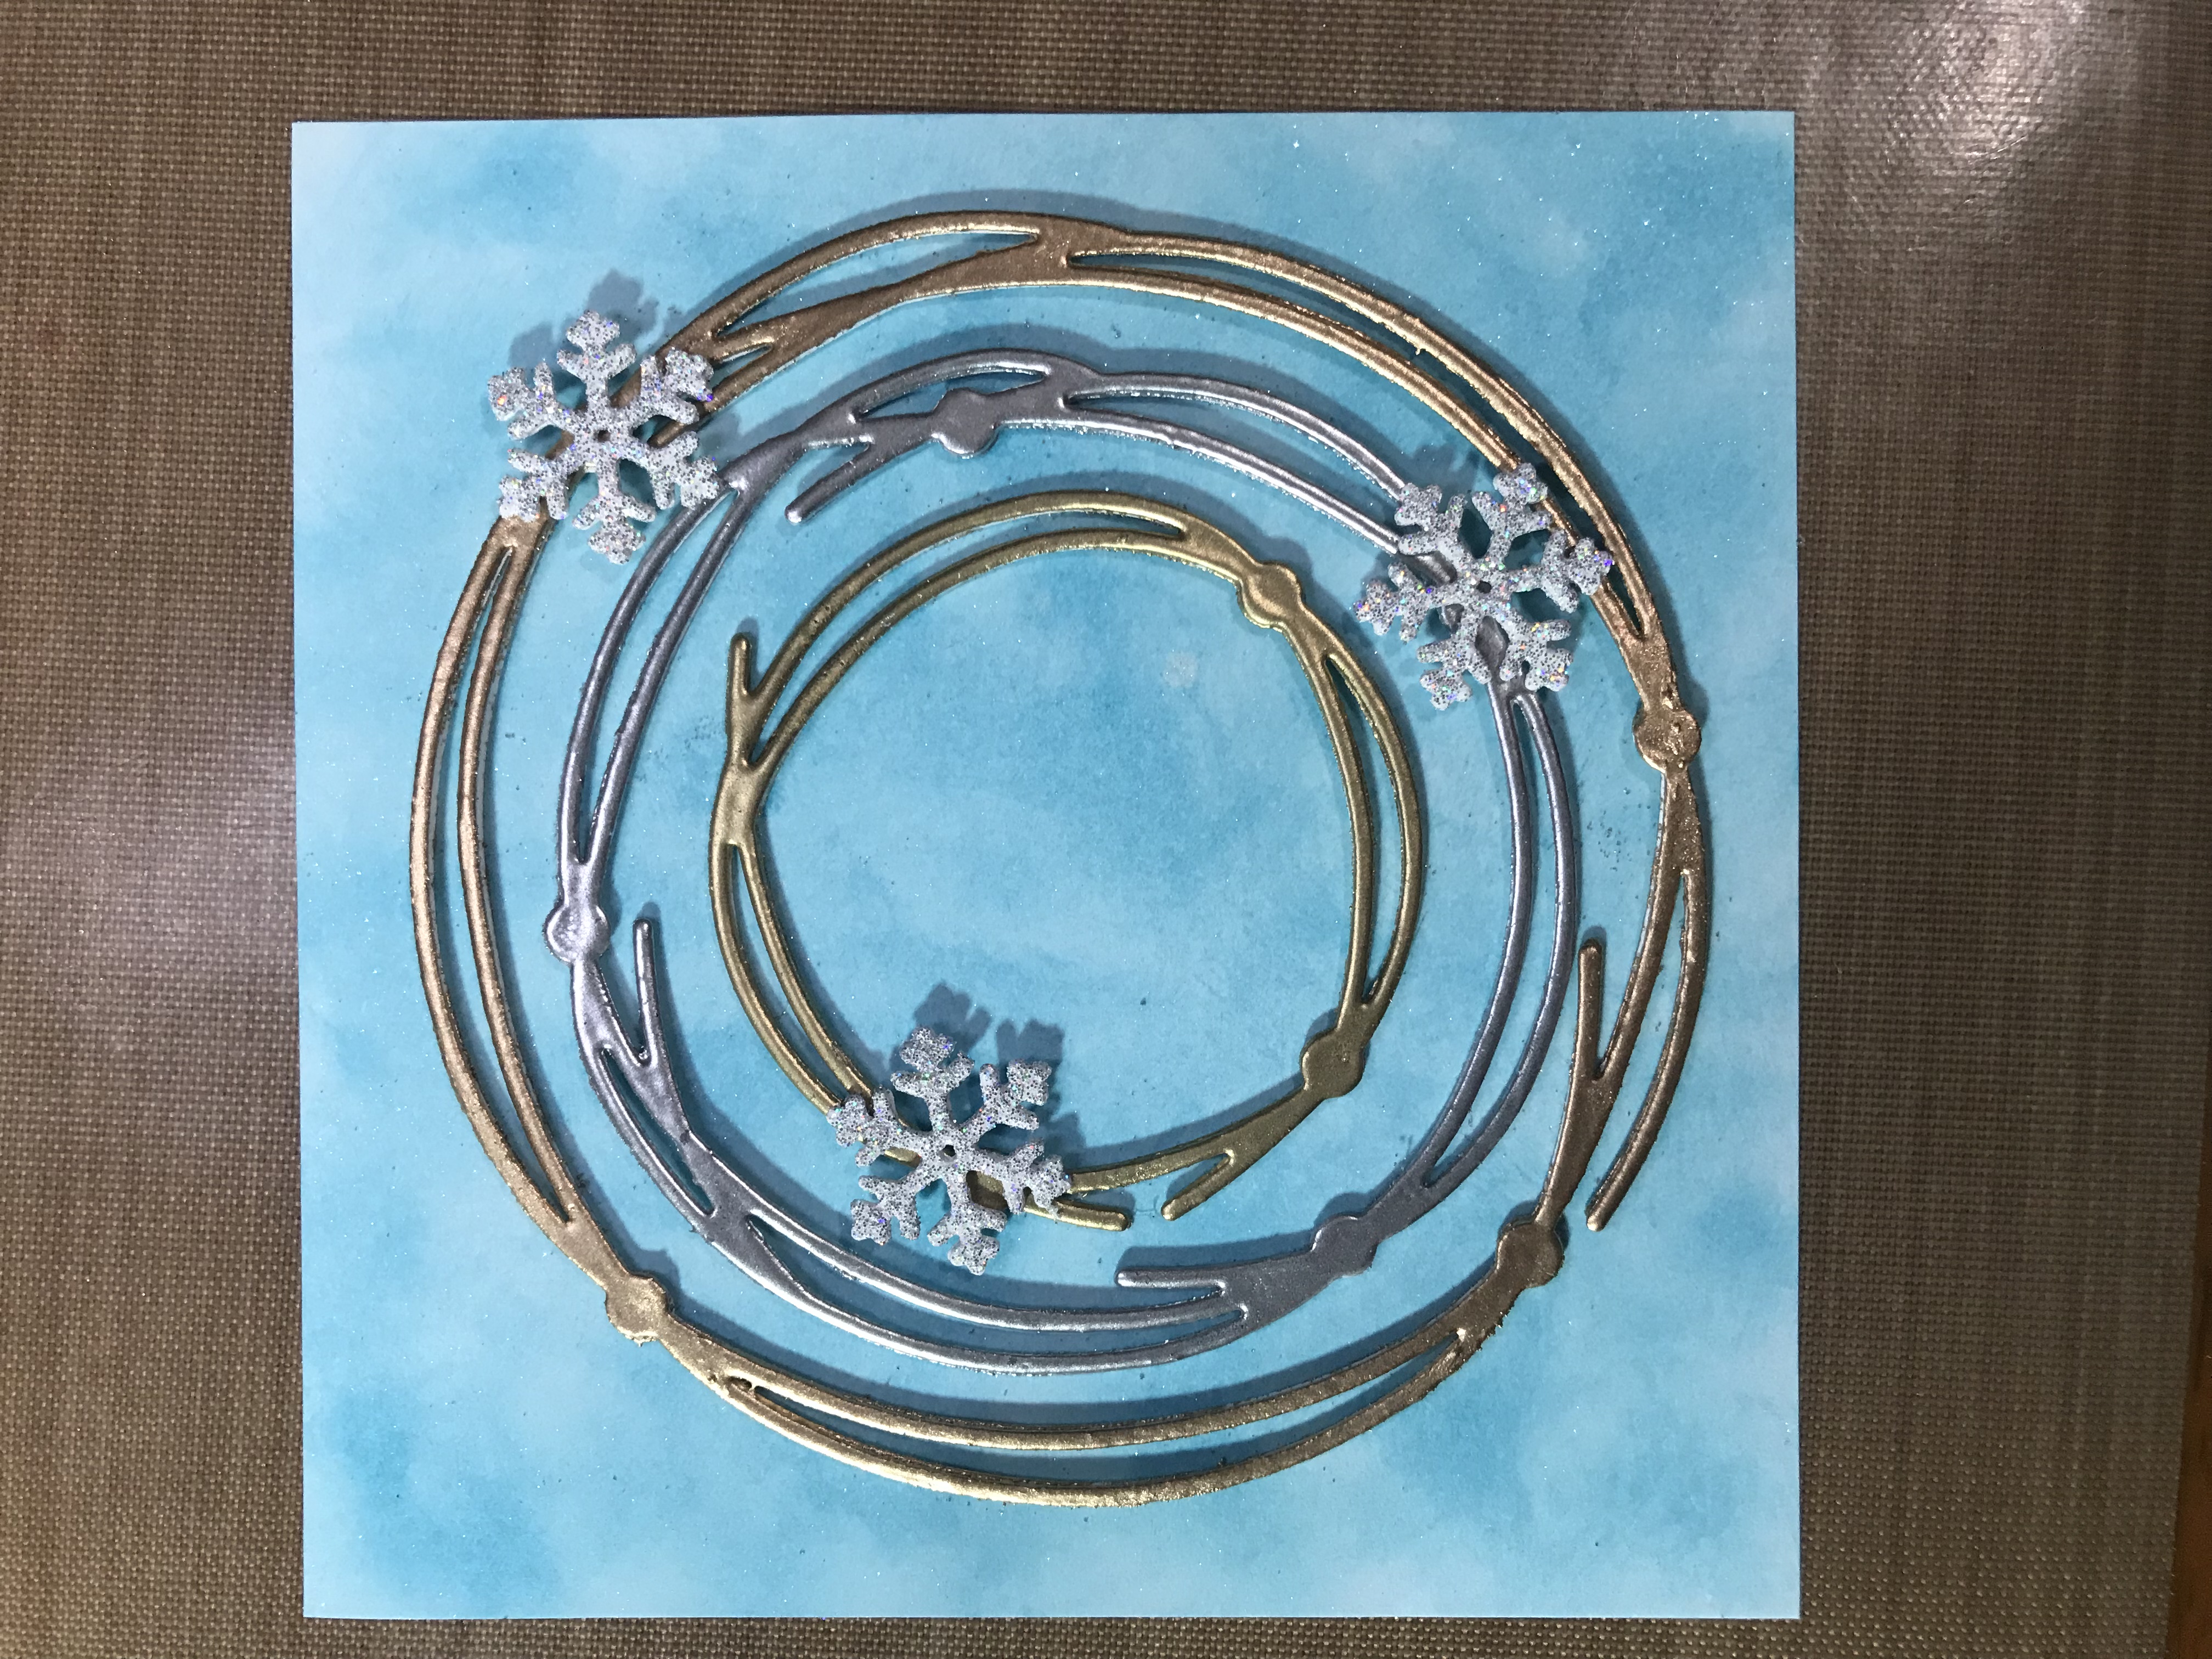
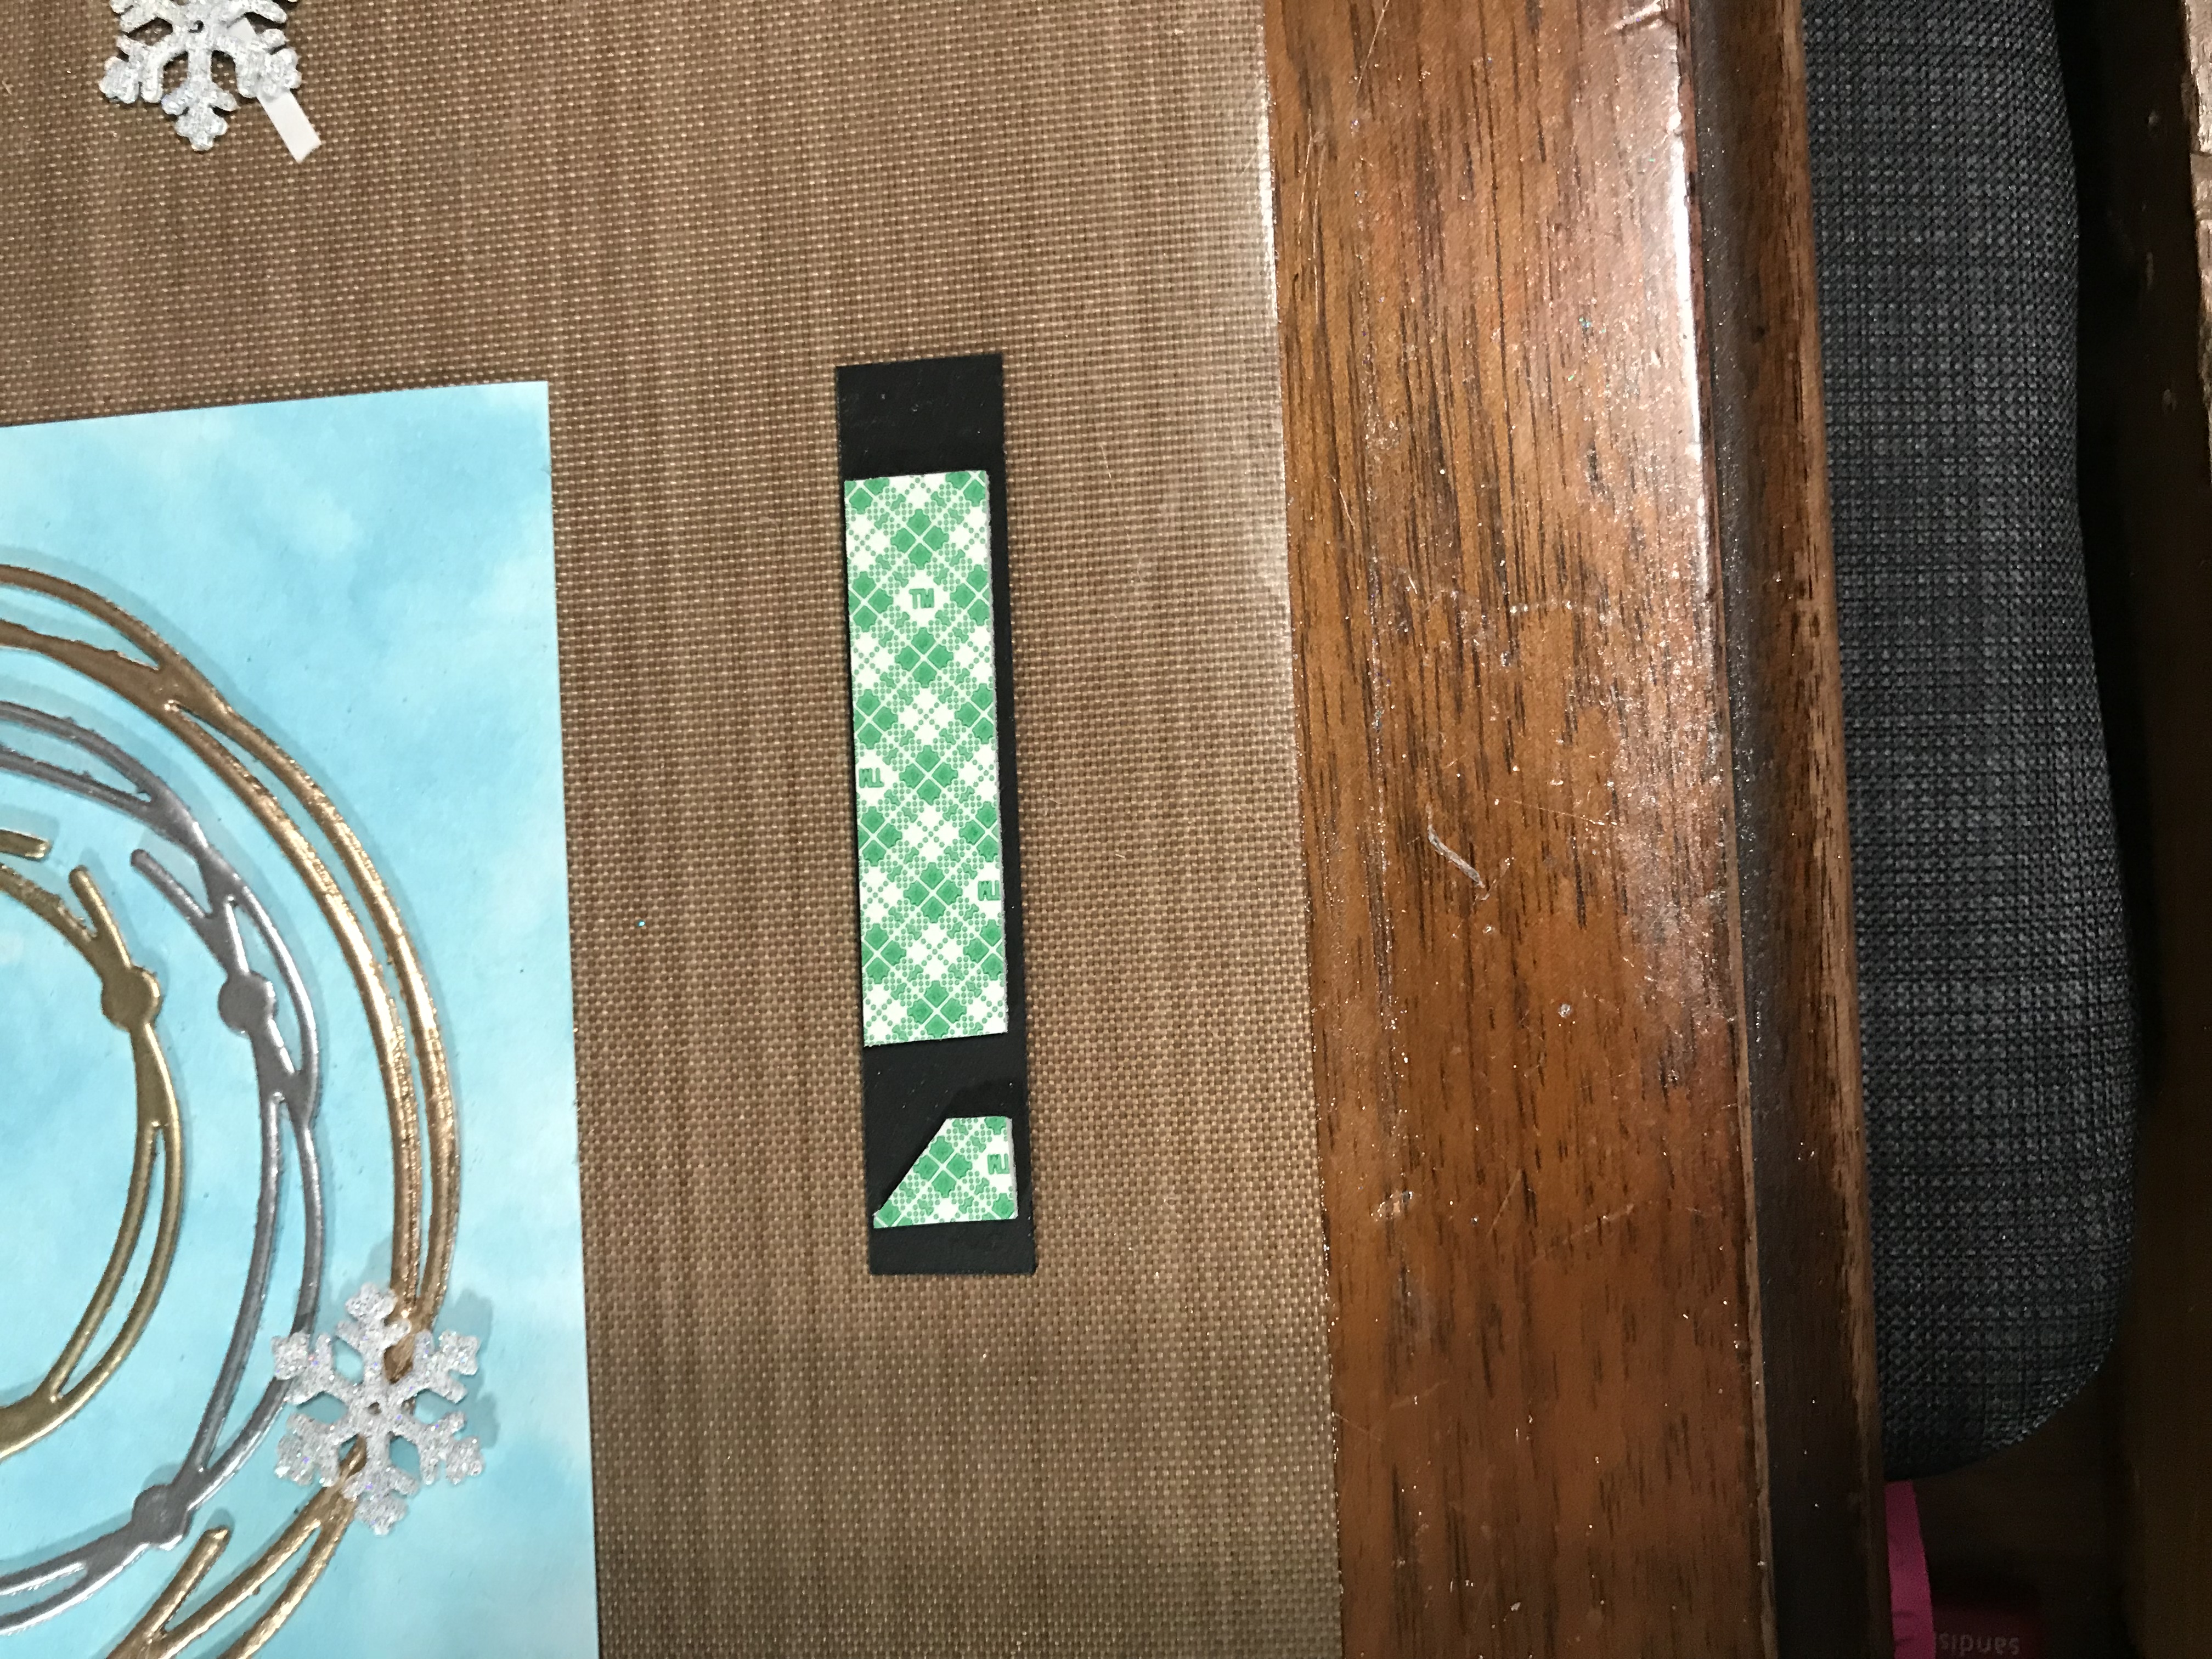
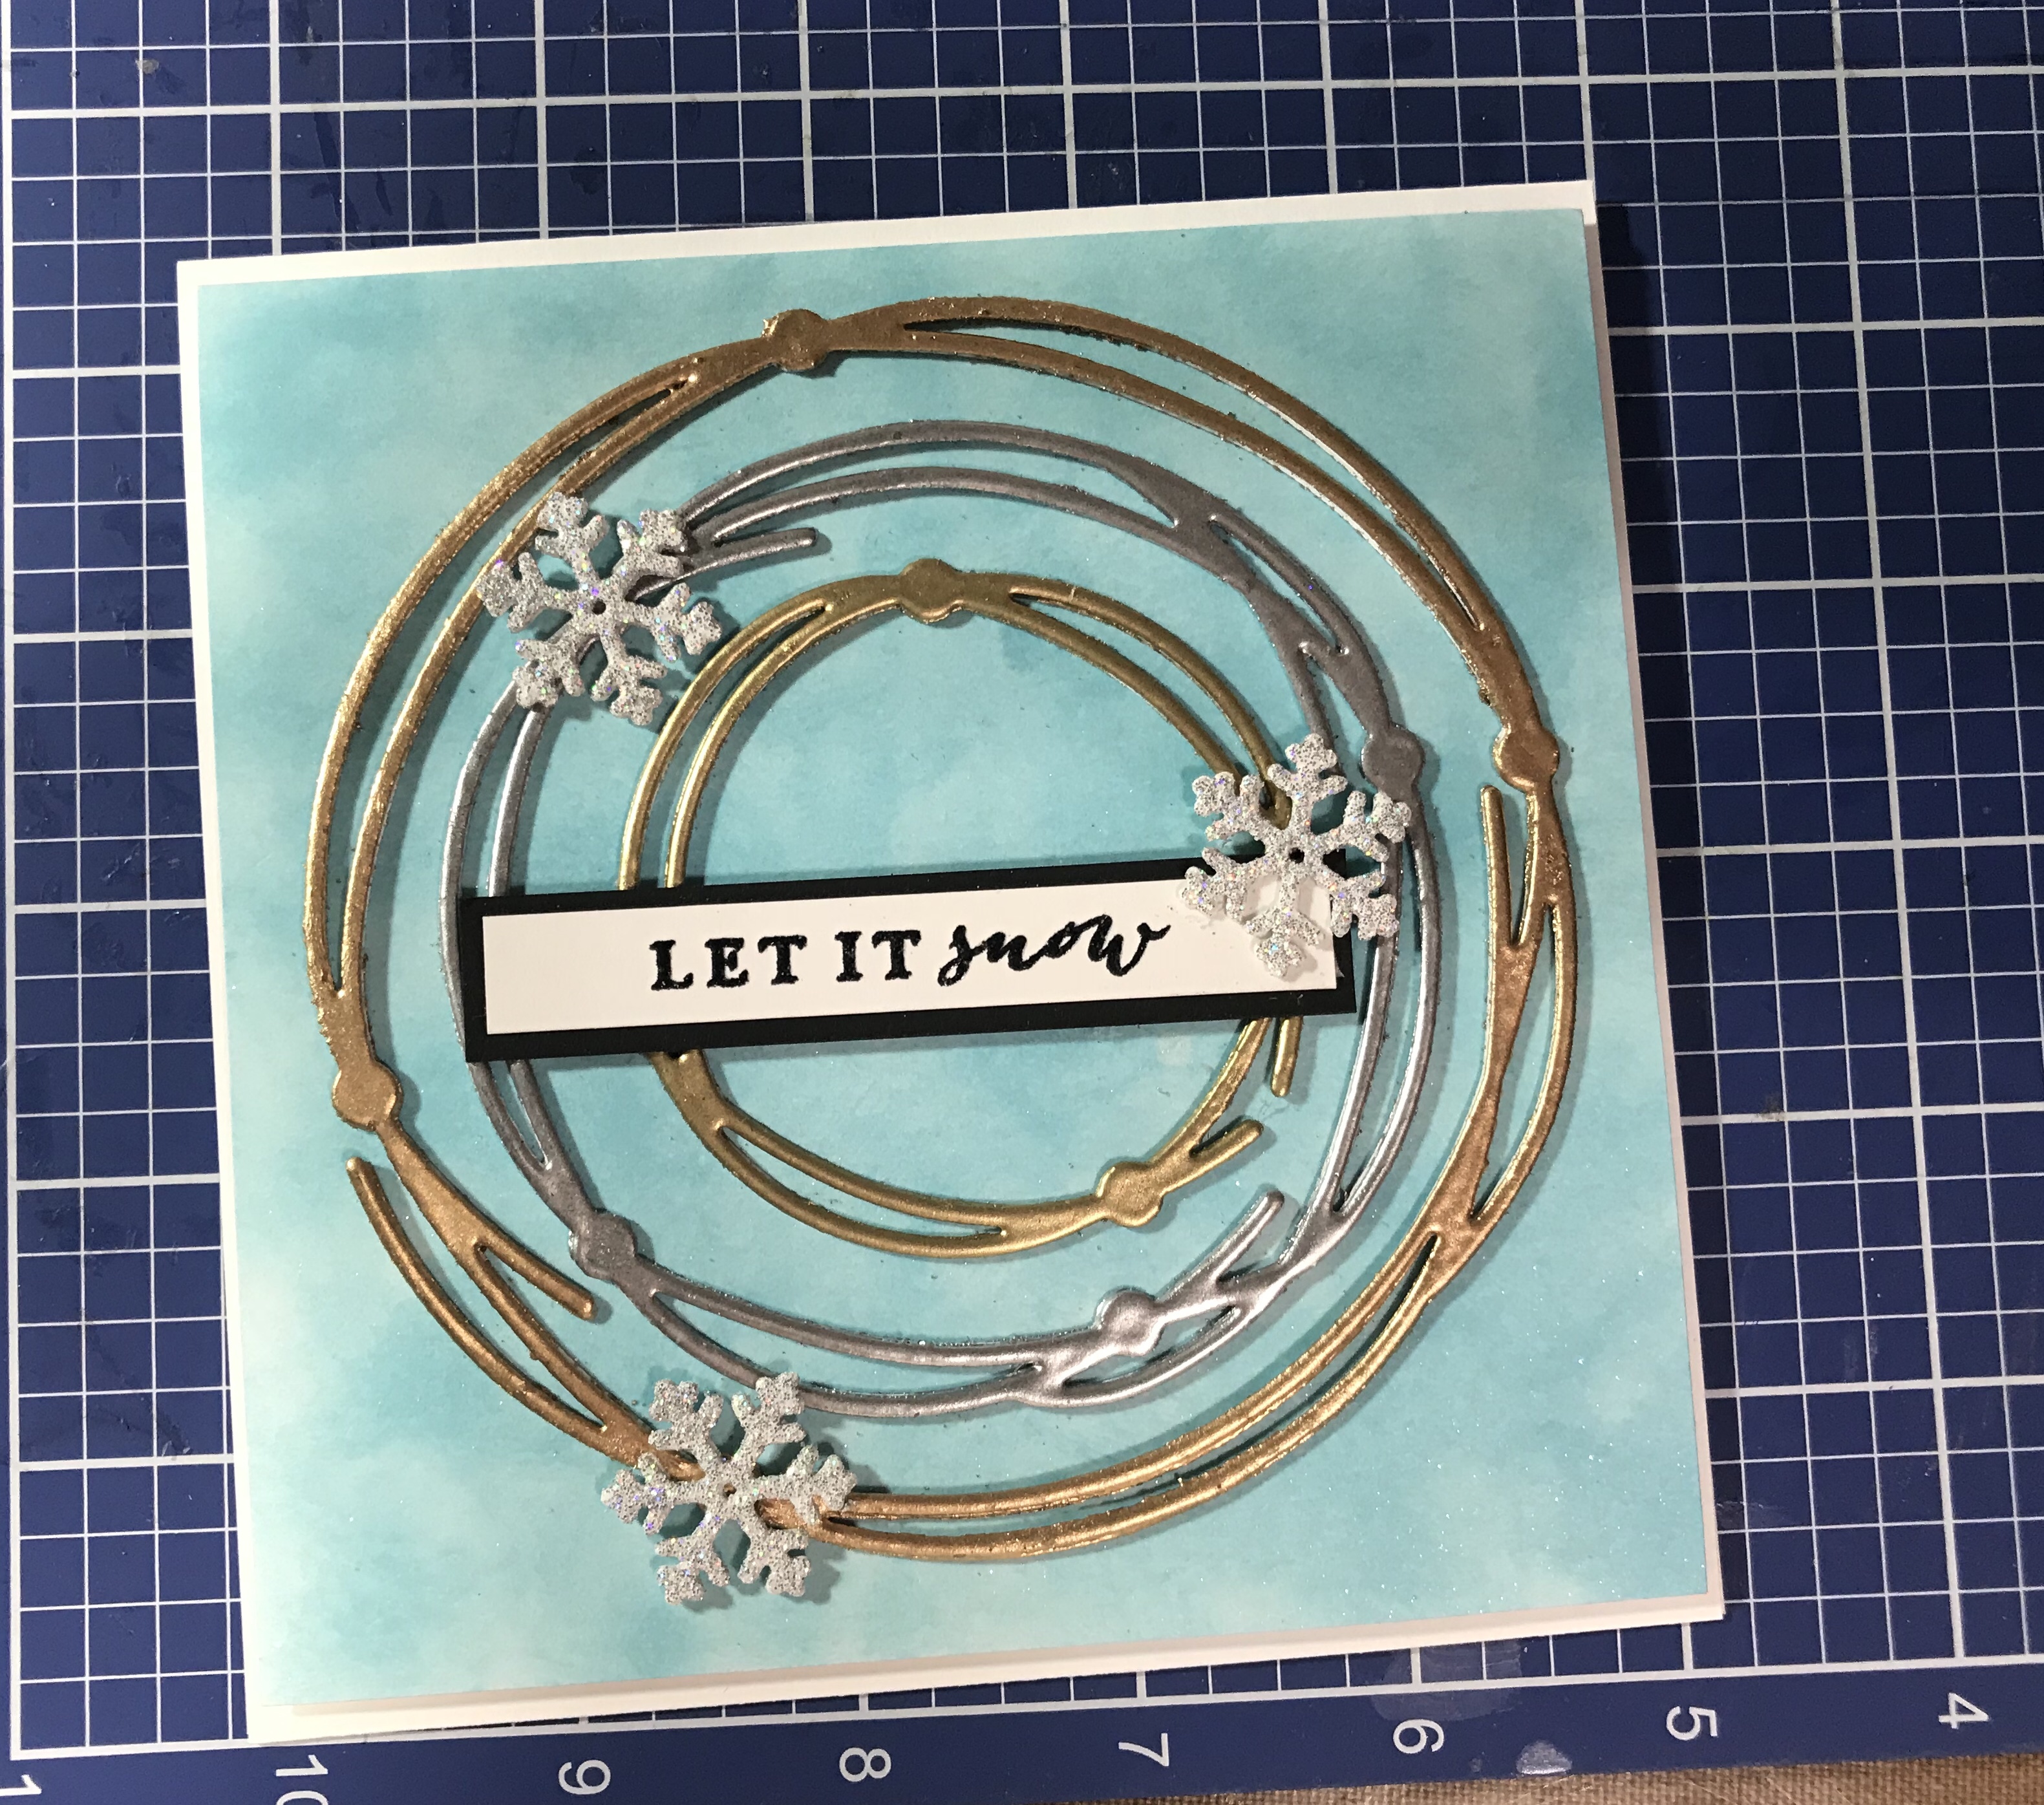
I adhered the die cuts using my liquid adhesive. It was at this point I decided it needed a sentiment. I used a sentiment fine a Hero Arts stamp set, Layering Christmas Tree, “Let It Snow”. I stamped it in Gina K’s Amalgam Jet Black Ink, then costed it with Sparkle ‘n Sprinkle’s clear embossing powder to give it some shine. I used foam mounting tape cut to fit between the die cut pieces so the sentiment would float on top of the circle.
And finally, I created a 5.25″ square card base. I trimmed the card front to a little smaller than 5.25″ so there would be a white border all around the card, and adhered the card front to the card base. All done!
As always, thank you for reading my blog post and I hope this inspires you to go out and create something!