Scene building
My final class for the level 1 certification was Seasonal Scene Building. This class was focused on building a scene from the stamps you have on hand. The classes focused on masking, oversized scenes, background building, windows and frames, etc.
Once again, I decide to use these classes to push my comfort zone a little. Two of my projects are the focus of this post. I have never created an oversized scene, or framed out a scene. Those were the two techniques I focused on.
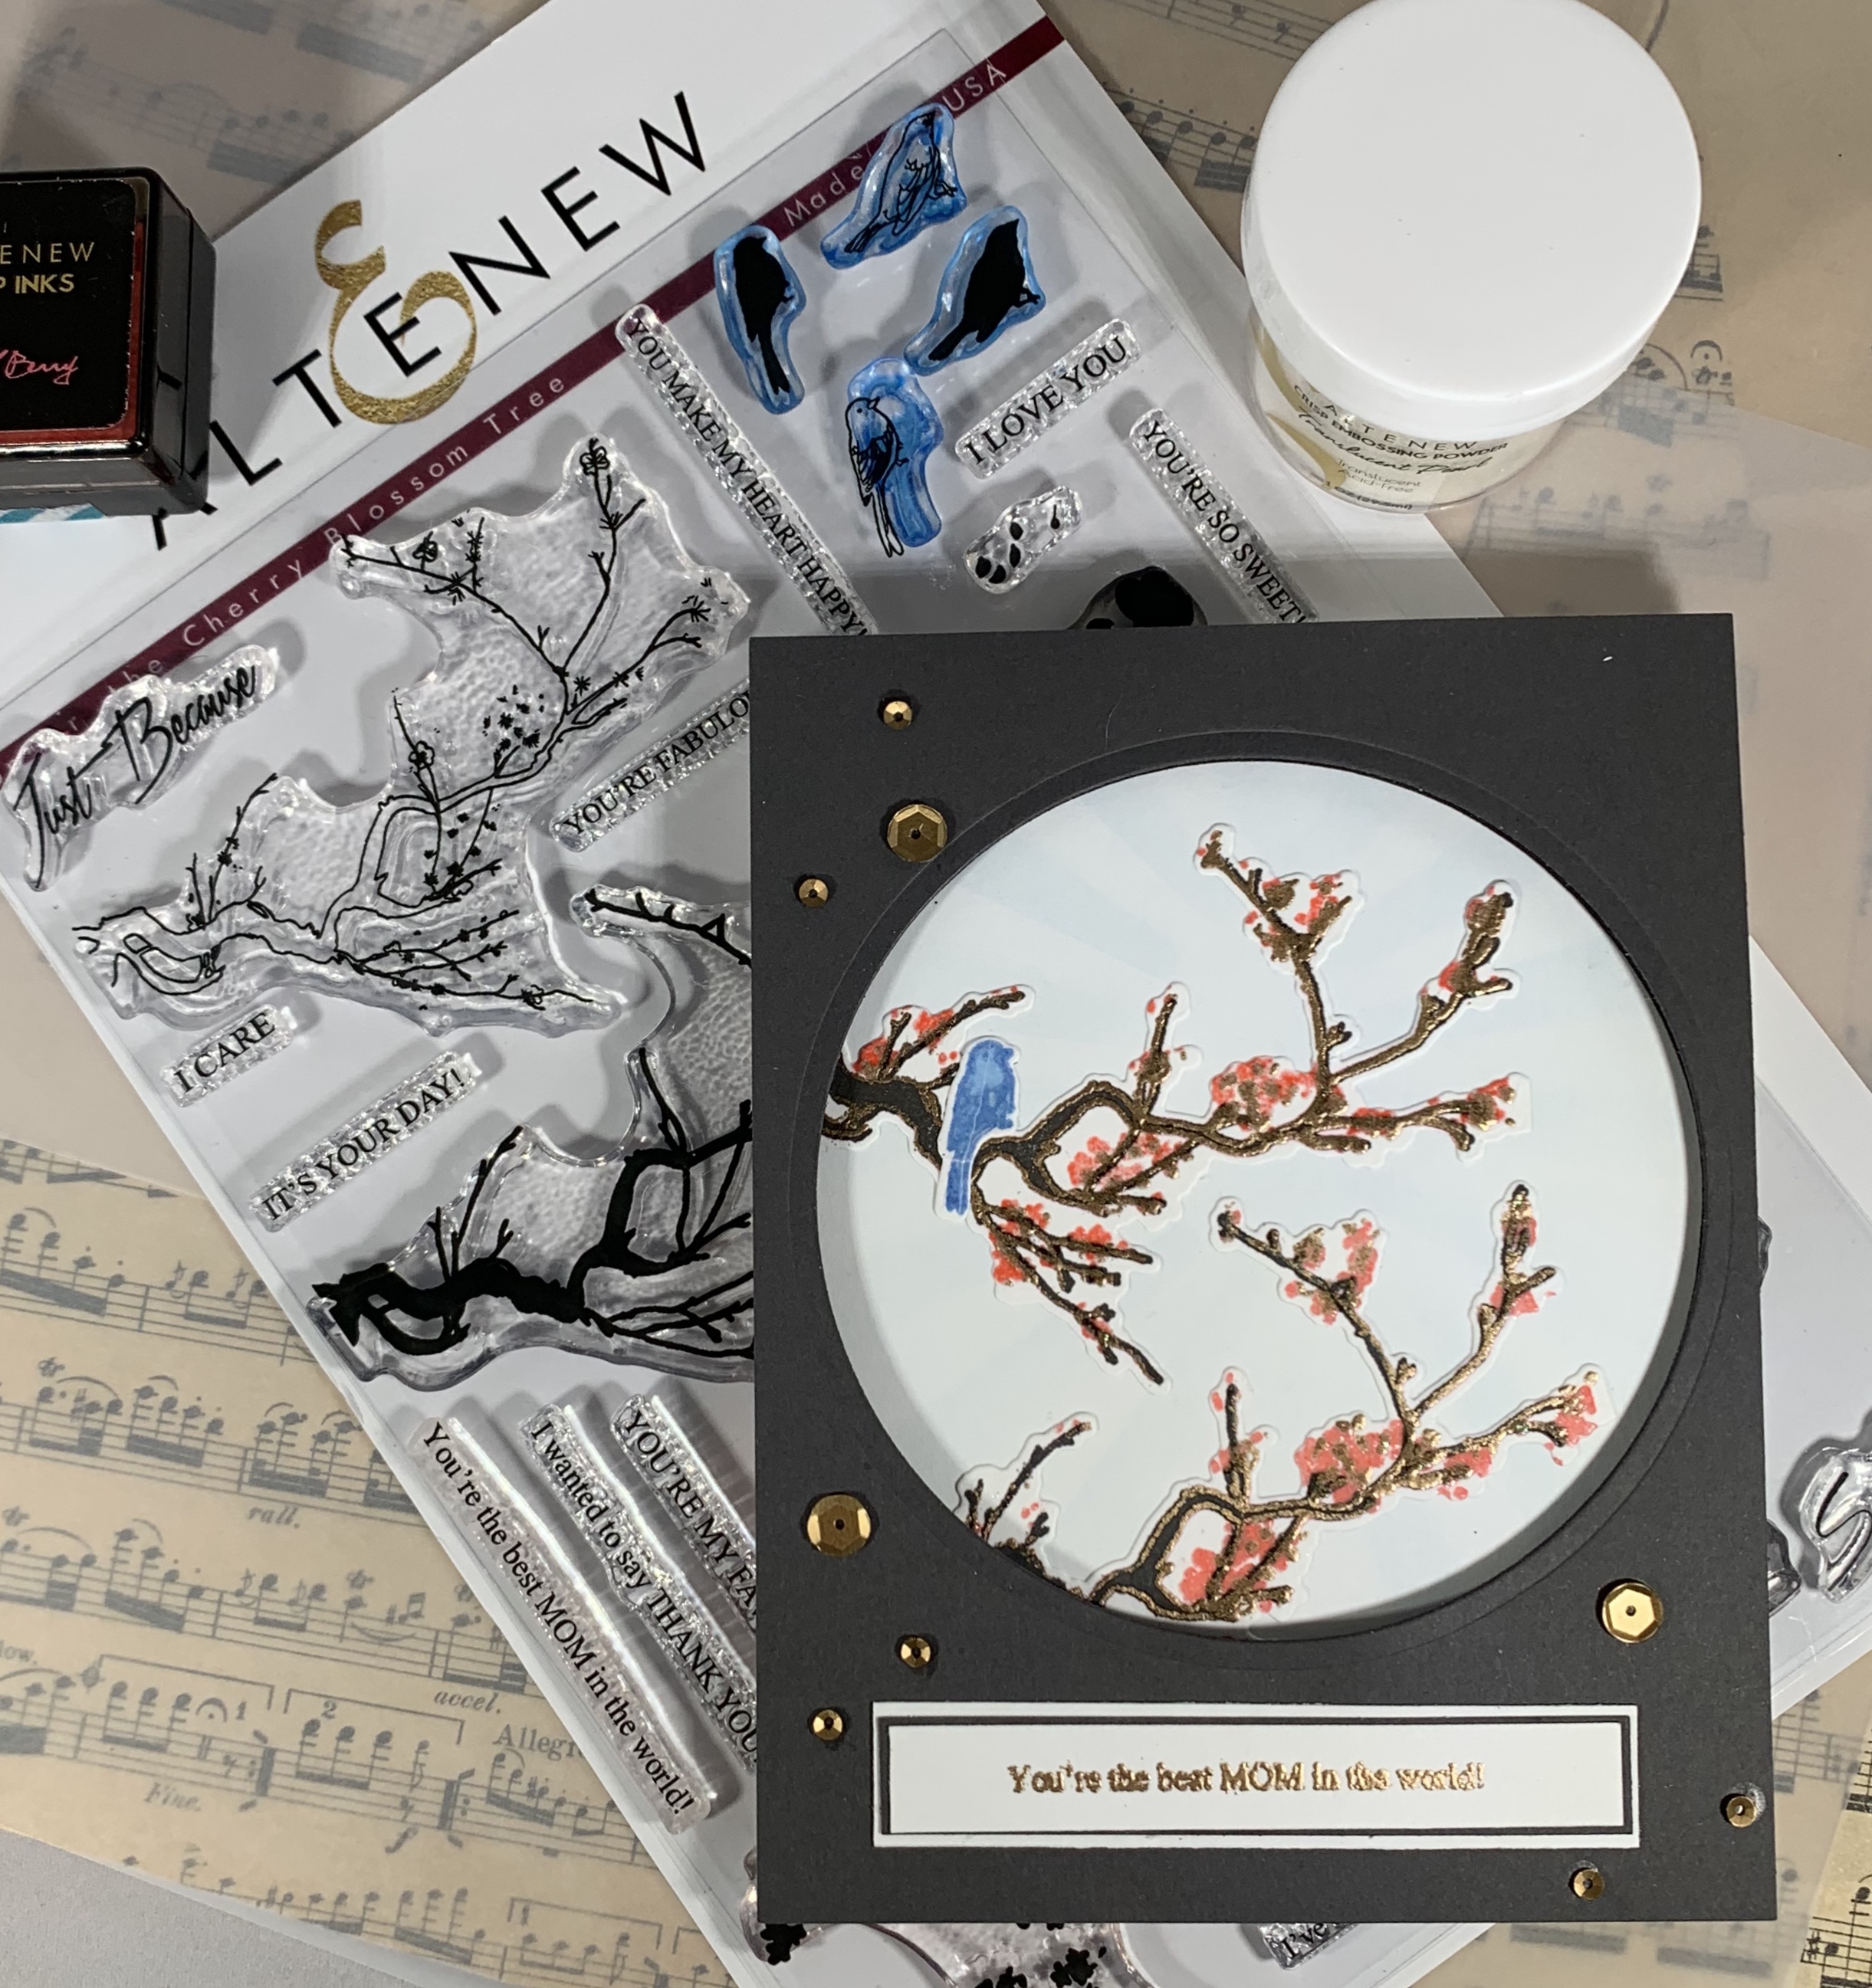
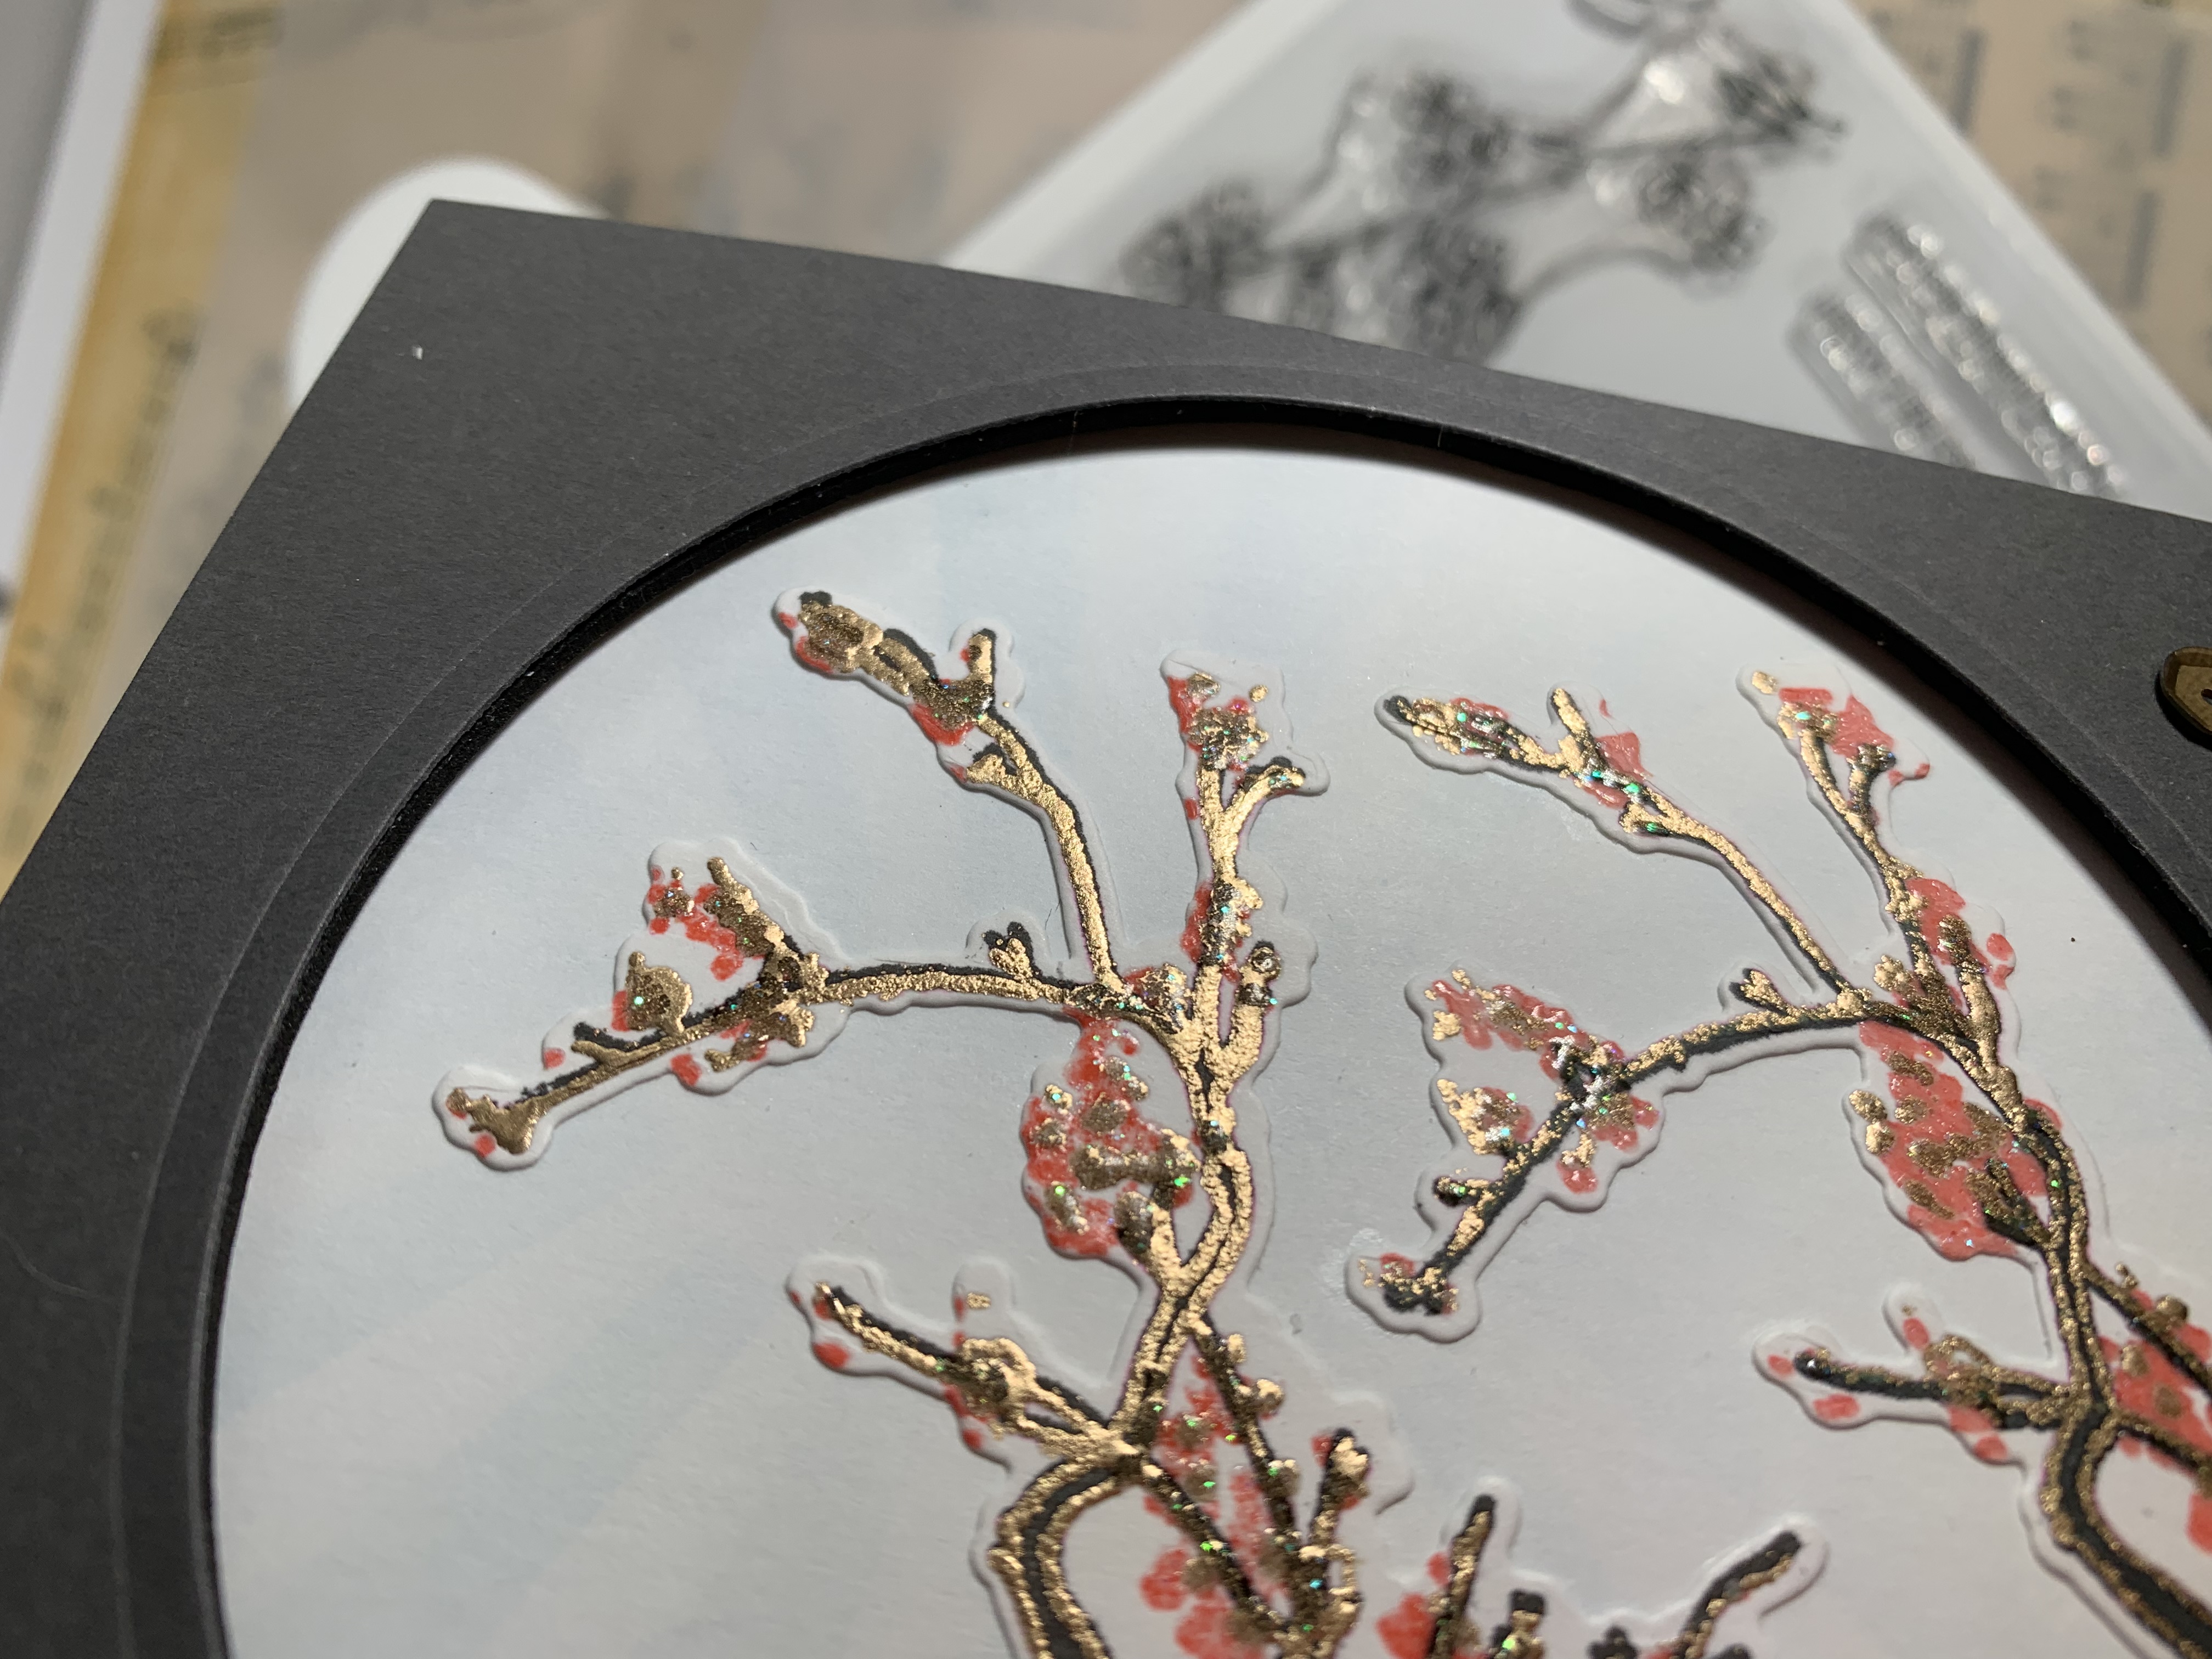
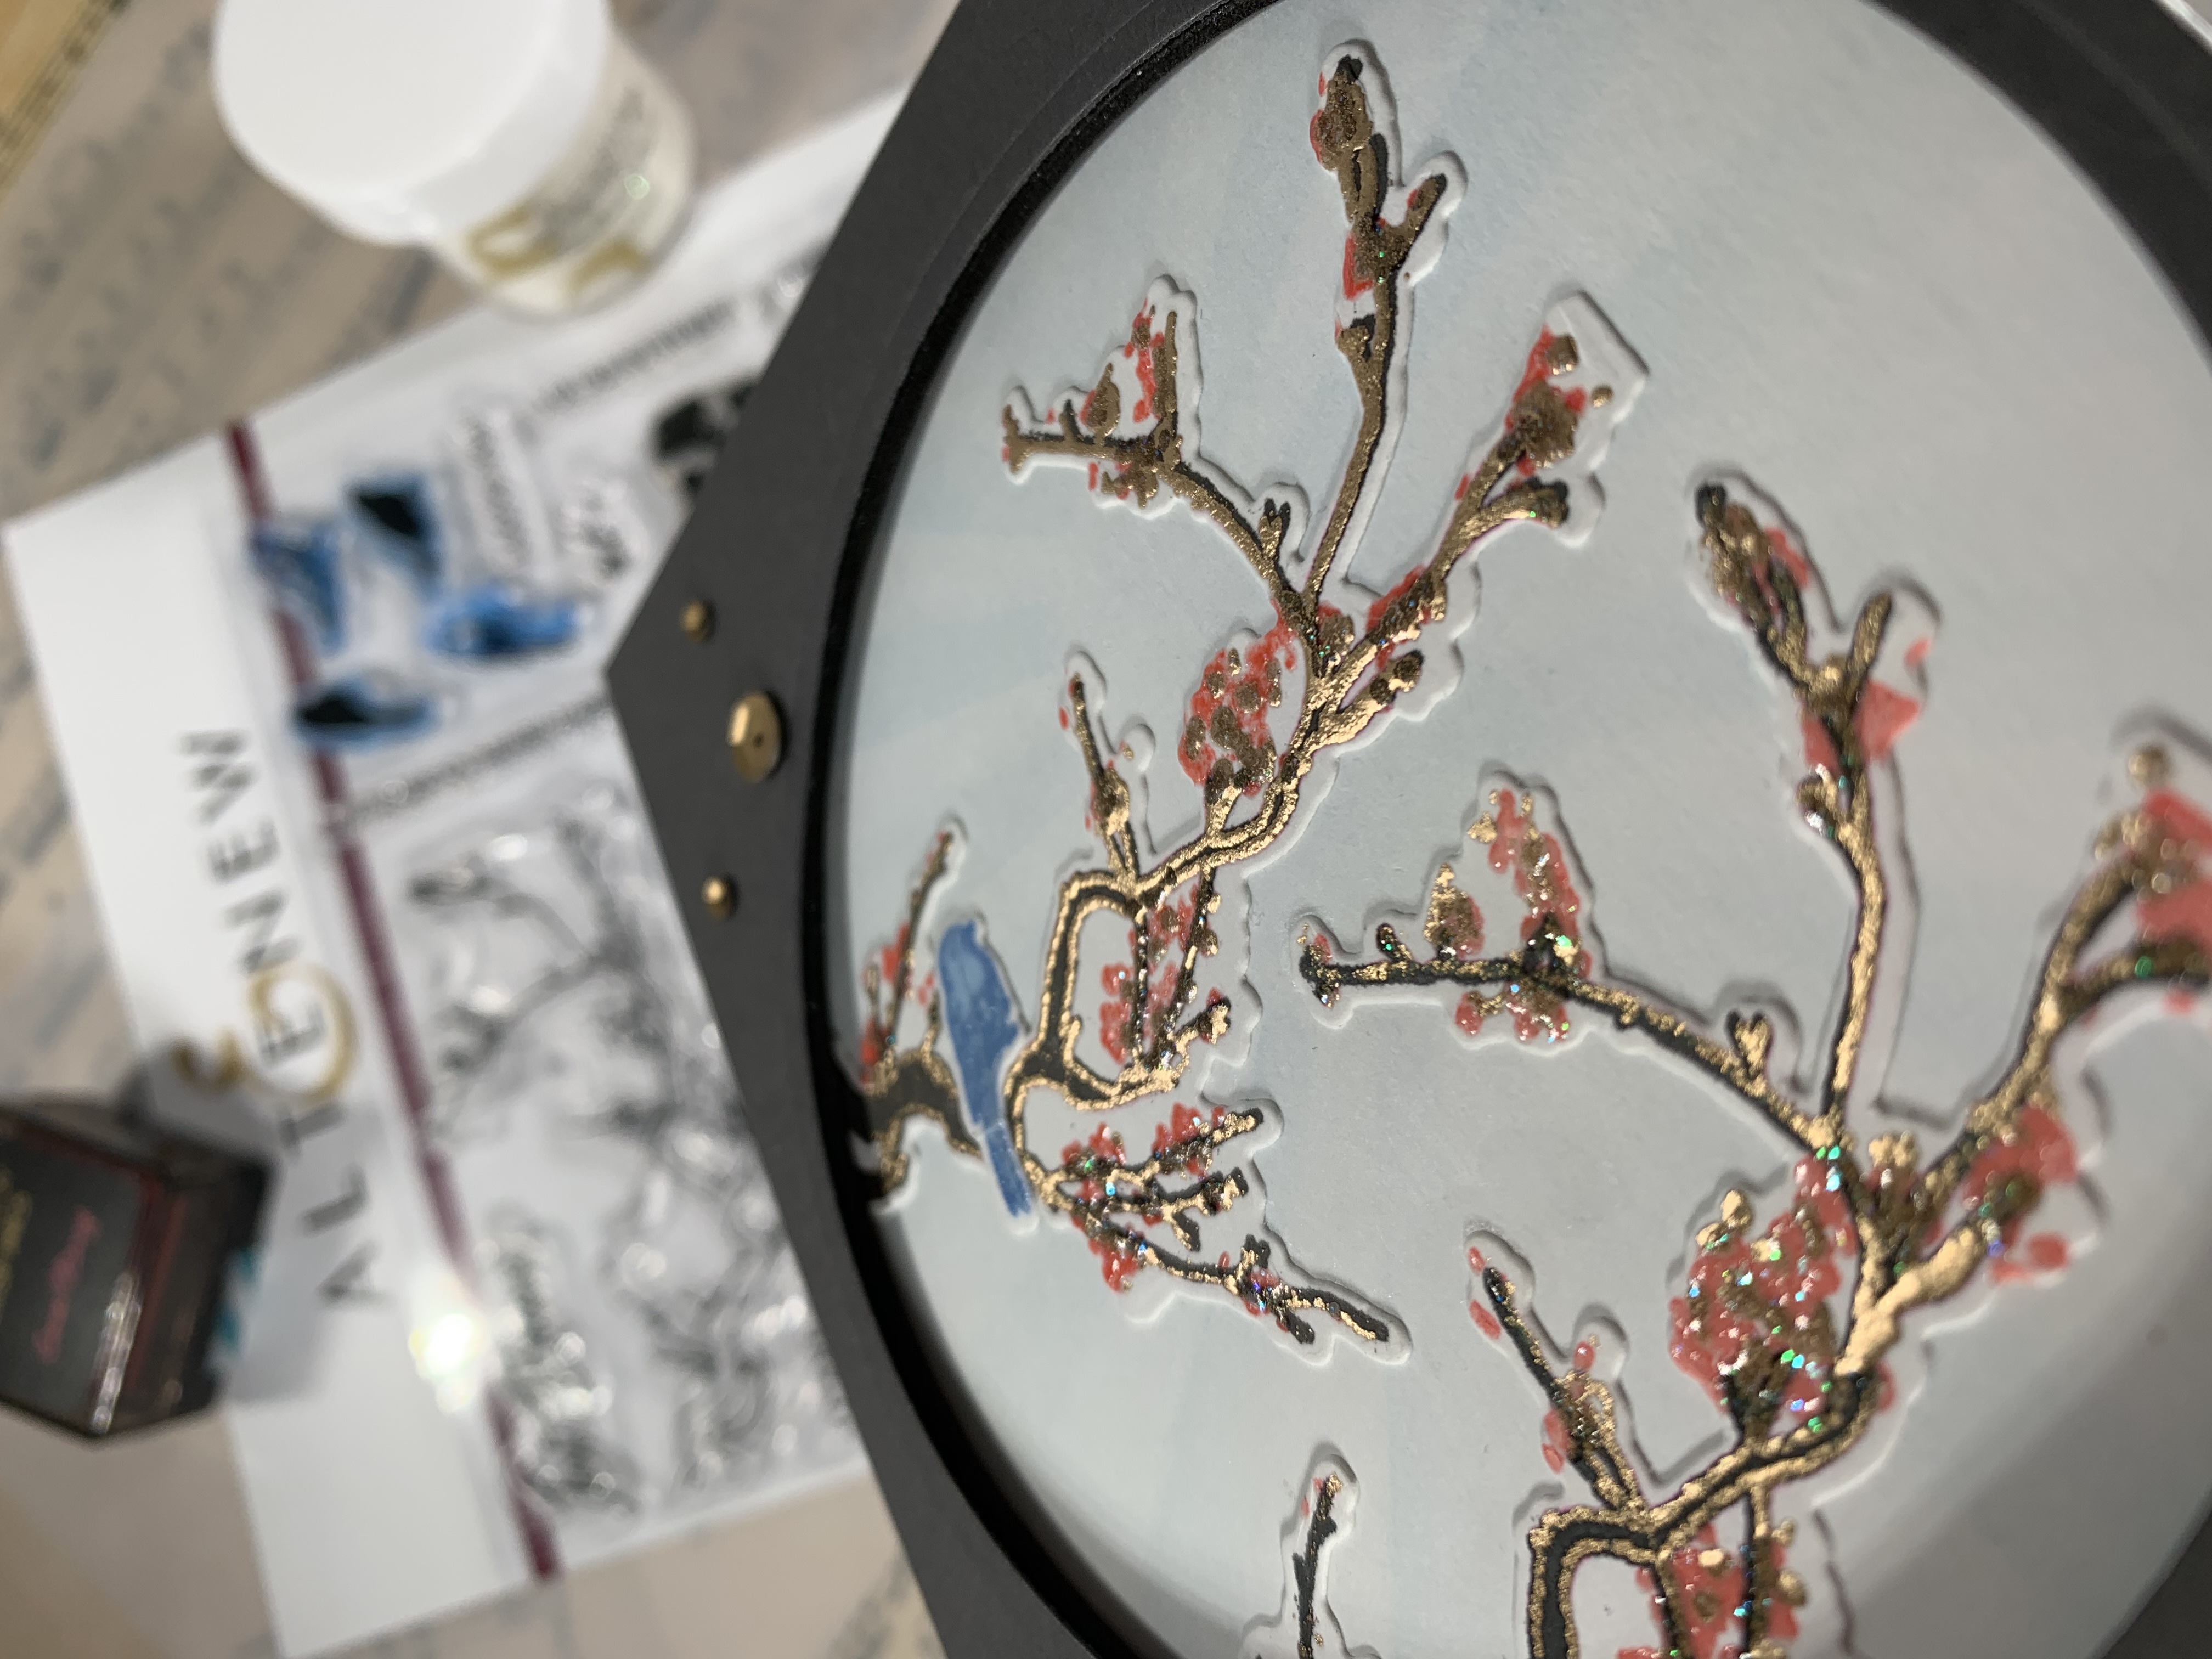
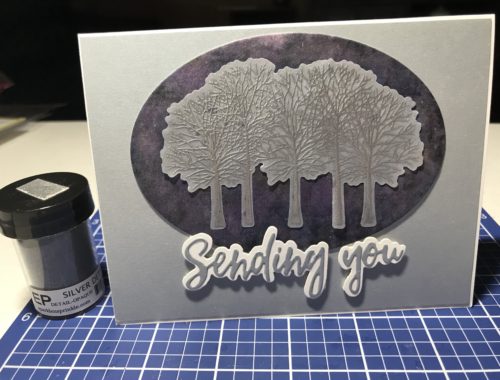
For the framed scene, I used Altenew’s Cherry Blossom stamp and die set, Coral Berry, Caribbean Sky and Sapphire crisp dye inks, and pearl and rose gold embossing powders. Other products used included tumbled glass distress ink, Gina K Designs slate ink and paper, a sun burst die cut from my Silhouette library that I used as a stencil, sequins from Honey Bee Stamps, and Neenah classic crest solar white card stock. I started my inking a piece of Neenah solar white card stock with tumbled glass distress ink, using my sunburst die cut as a stencil. I kept this very subtle, as I just wanted a hint of color rays. I then stamped and die cut two branches from the Cherry Blossom stamp set. I used Gina K slate ink for the branch, versa mark ink and Altenew rose gold embossing powder for the branches, and coral berry ink for the blossoms. I then stamped the blossoms with versa mark ink and pearl embossing powder to give the blossoms some shimmer. I also stamped a bird using Caribbean Sky and Sapphire crisp dye inks and cut it out using the matching die. Using the largest circle from my spellbinders Nestabilities set, I cut a circle from slate card stock as well as from a piece of black craft foam. On the inked piece of Neenah card stock, I arranged the branches and the bird, then adhered them using Stay Put adhesive from Scrapbooking Made Simple. I adhered the craft foam to the slate card stock, then placed them over the inked background. To finish the card, I stamped the sentiment “You’re the best mom in the world” from the Cherry Blossom stamp set, and embossed it in rose gold. I layered this on slate and white card stocks, and adhered it using double sided adhesive. I finished the cars with some sequins from Honey Bee Stamps. This card front took me a bit of time to finish off, but I am really pleased with how it came out, and I have my card finished for my mom!!!
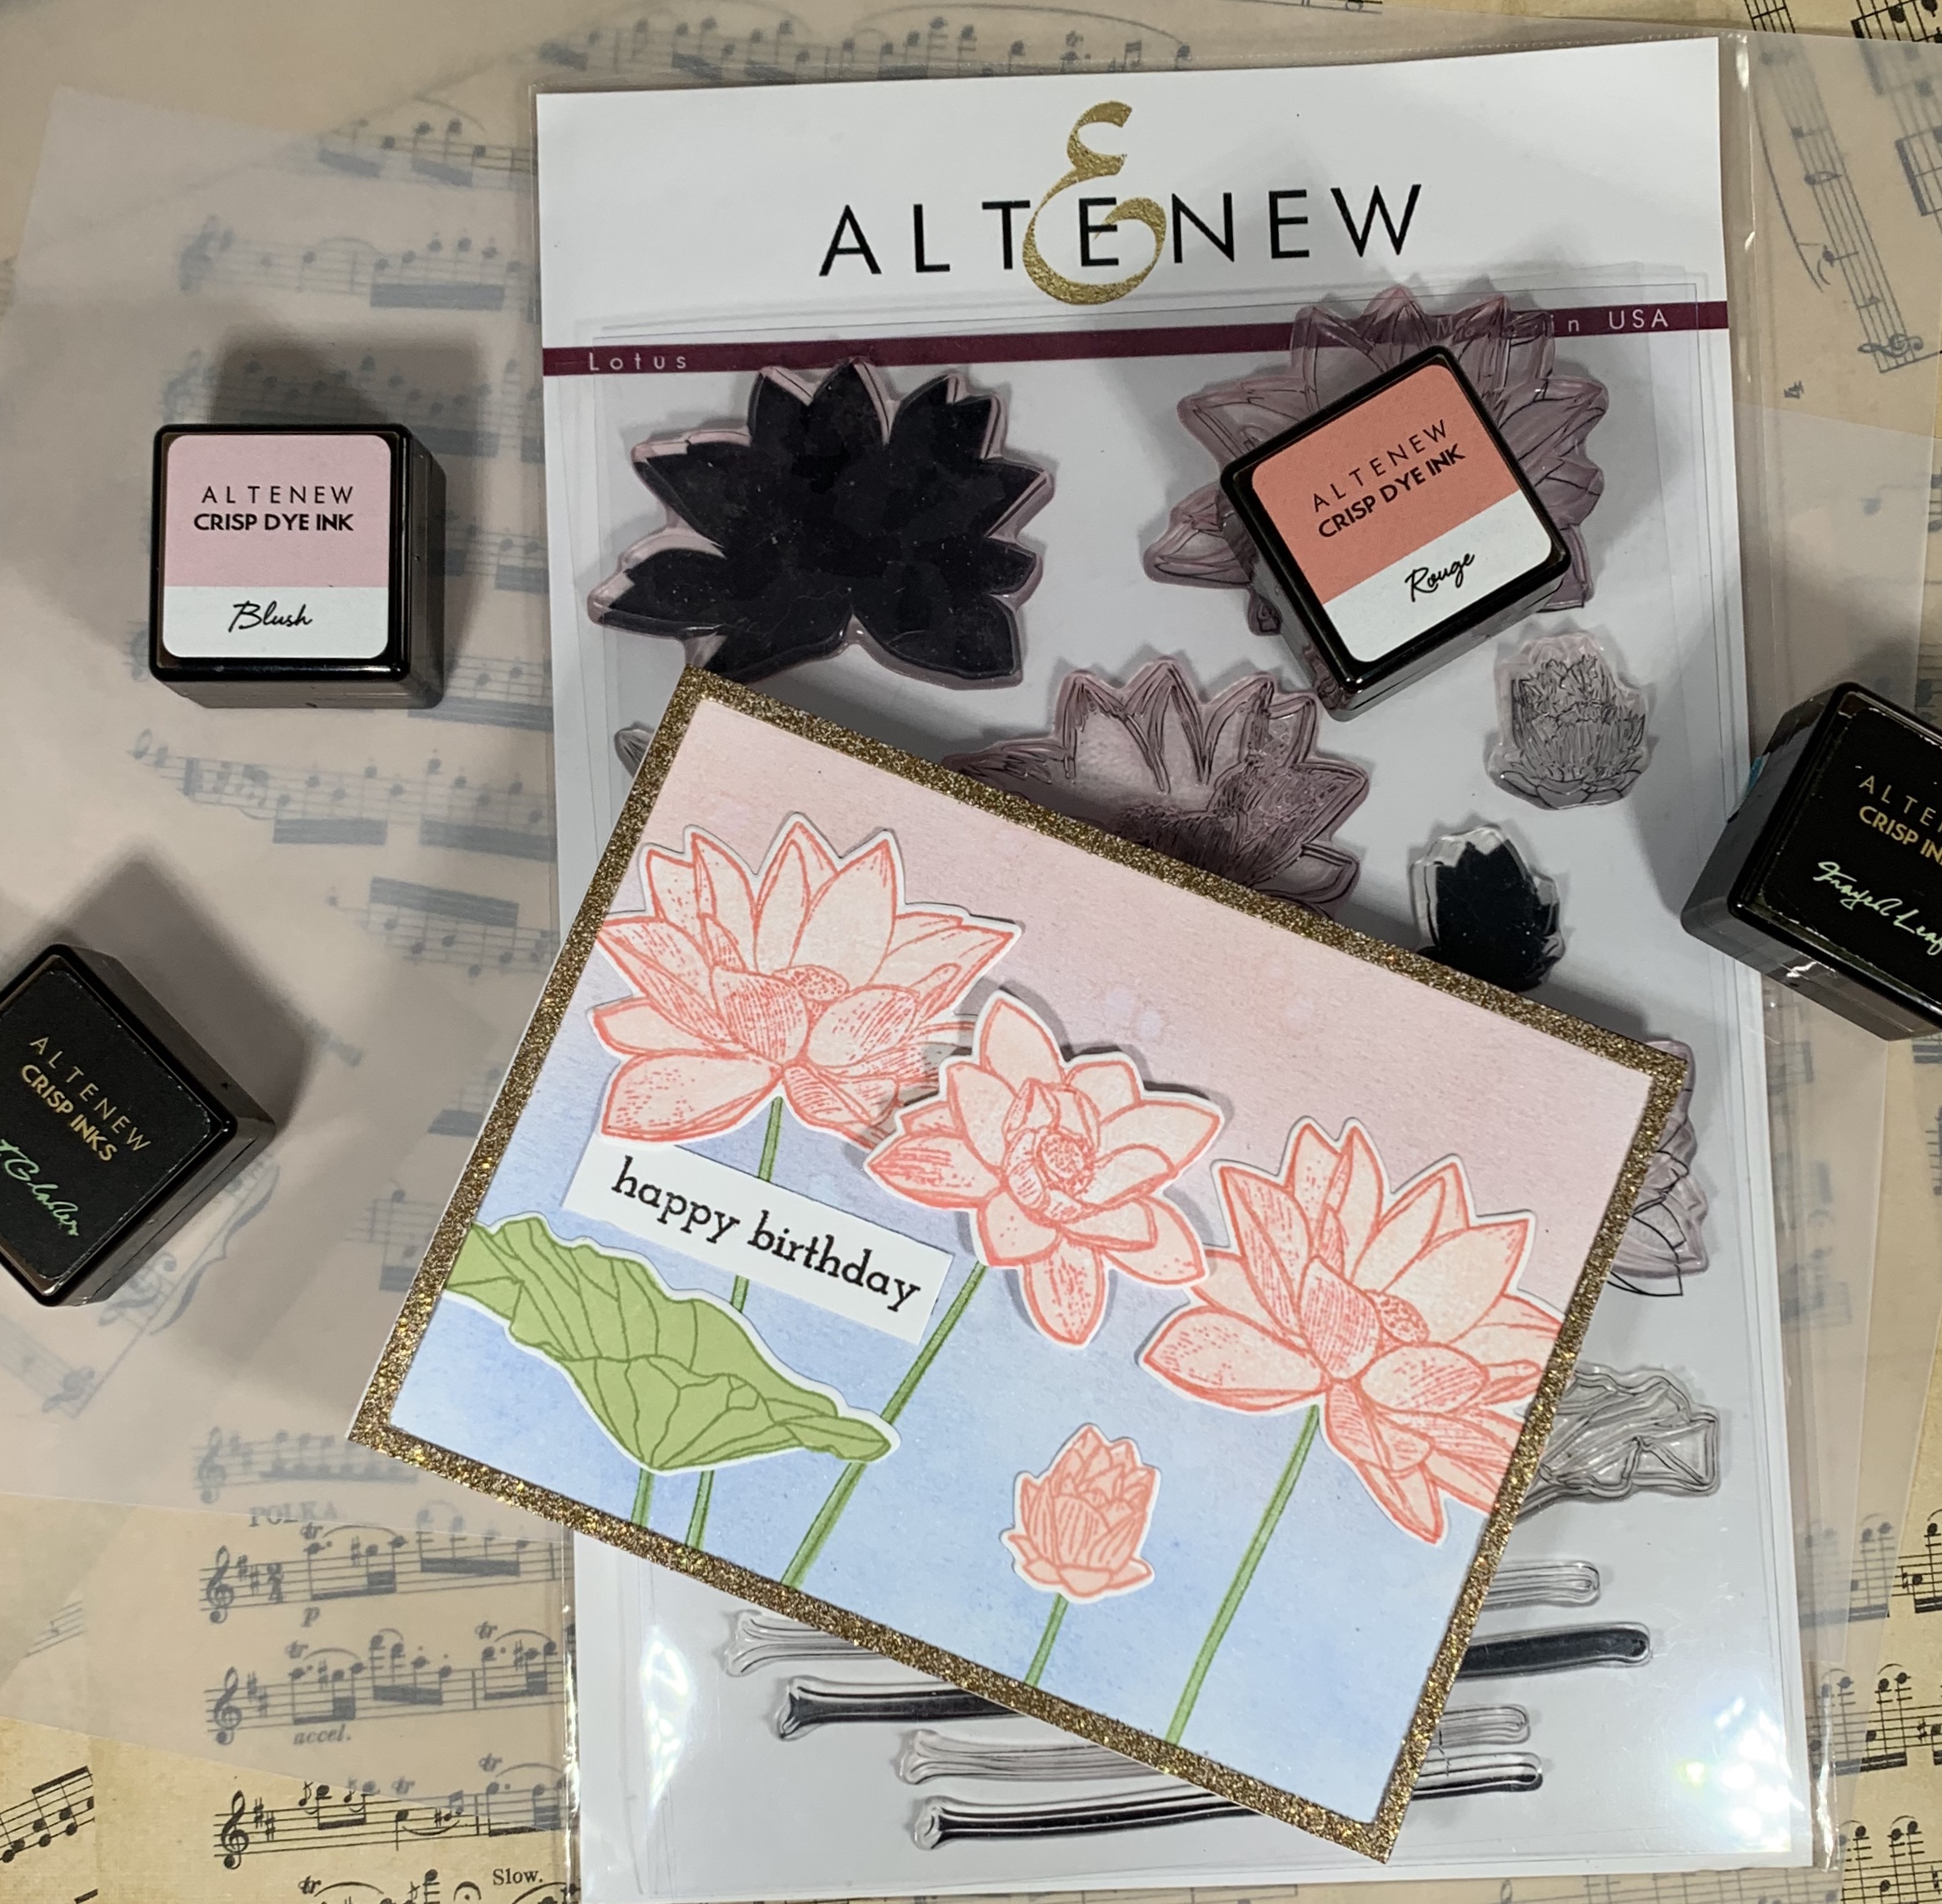
My oversized scene was created using lotus flowers from Altenew’s Lotus stamp and matching die set. I stamped several leaves and each of the flowers as I wasn’t sure exactly where I wanted to go. I stamped some flowers using blush and rouge crisp dye inks, and some in rose quartz and puffy heart crisp dye inks. I used frayed leaf and forest green inks for the leaves. I really loved the blush and rouge flowers, so I inked up some white card stock using Caribbean Sky and blush inks, which gave me the added bonus of a soft purple where the colors overlapped. I used a tsukeneiko shimmer spray on the entire background, then stamped the stems and adhered the blossoms and leaves. I embossed a frame in sand glitter embossing powder from sparkle n sprinkle, and adhered that around the edge of the card front. I stamped a small happy birthday in jet black ink on solar white card stock and adhered that to the card.
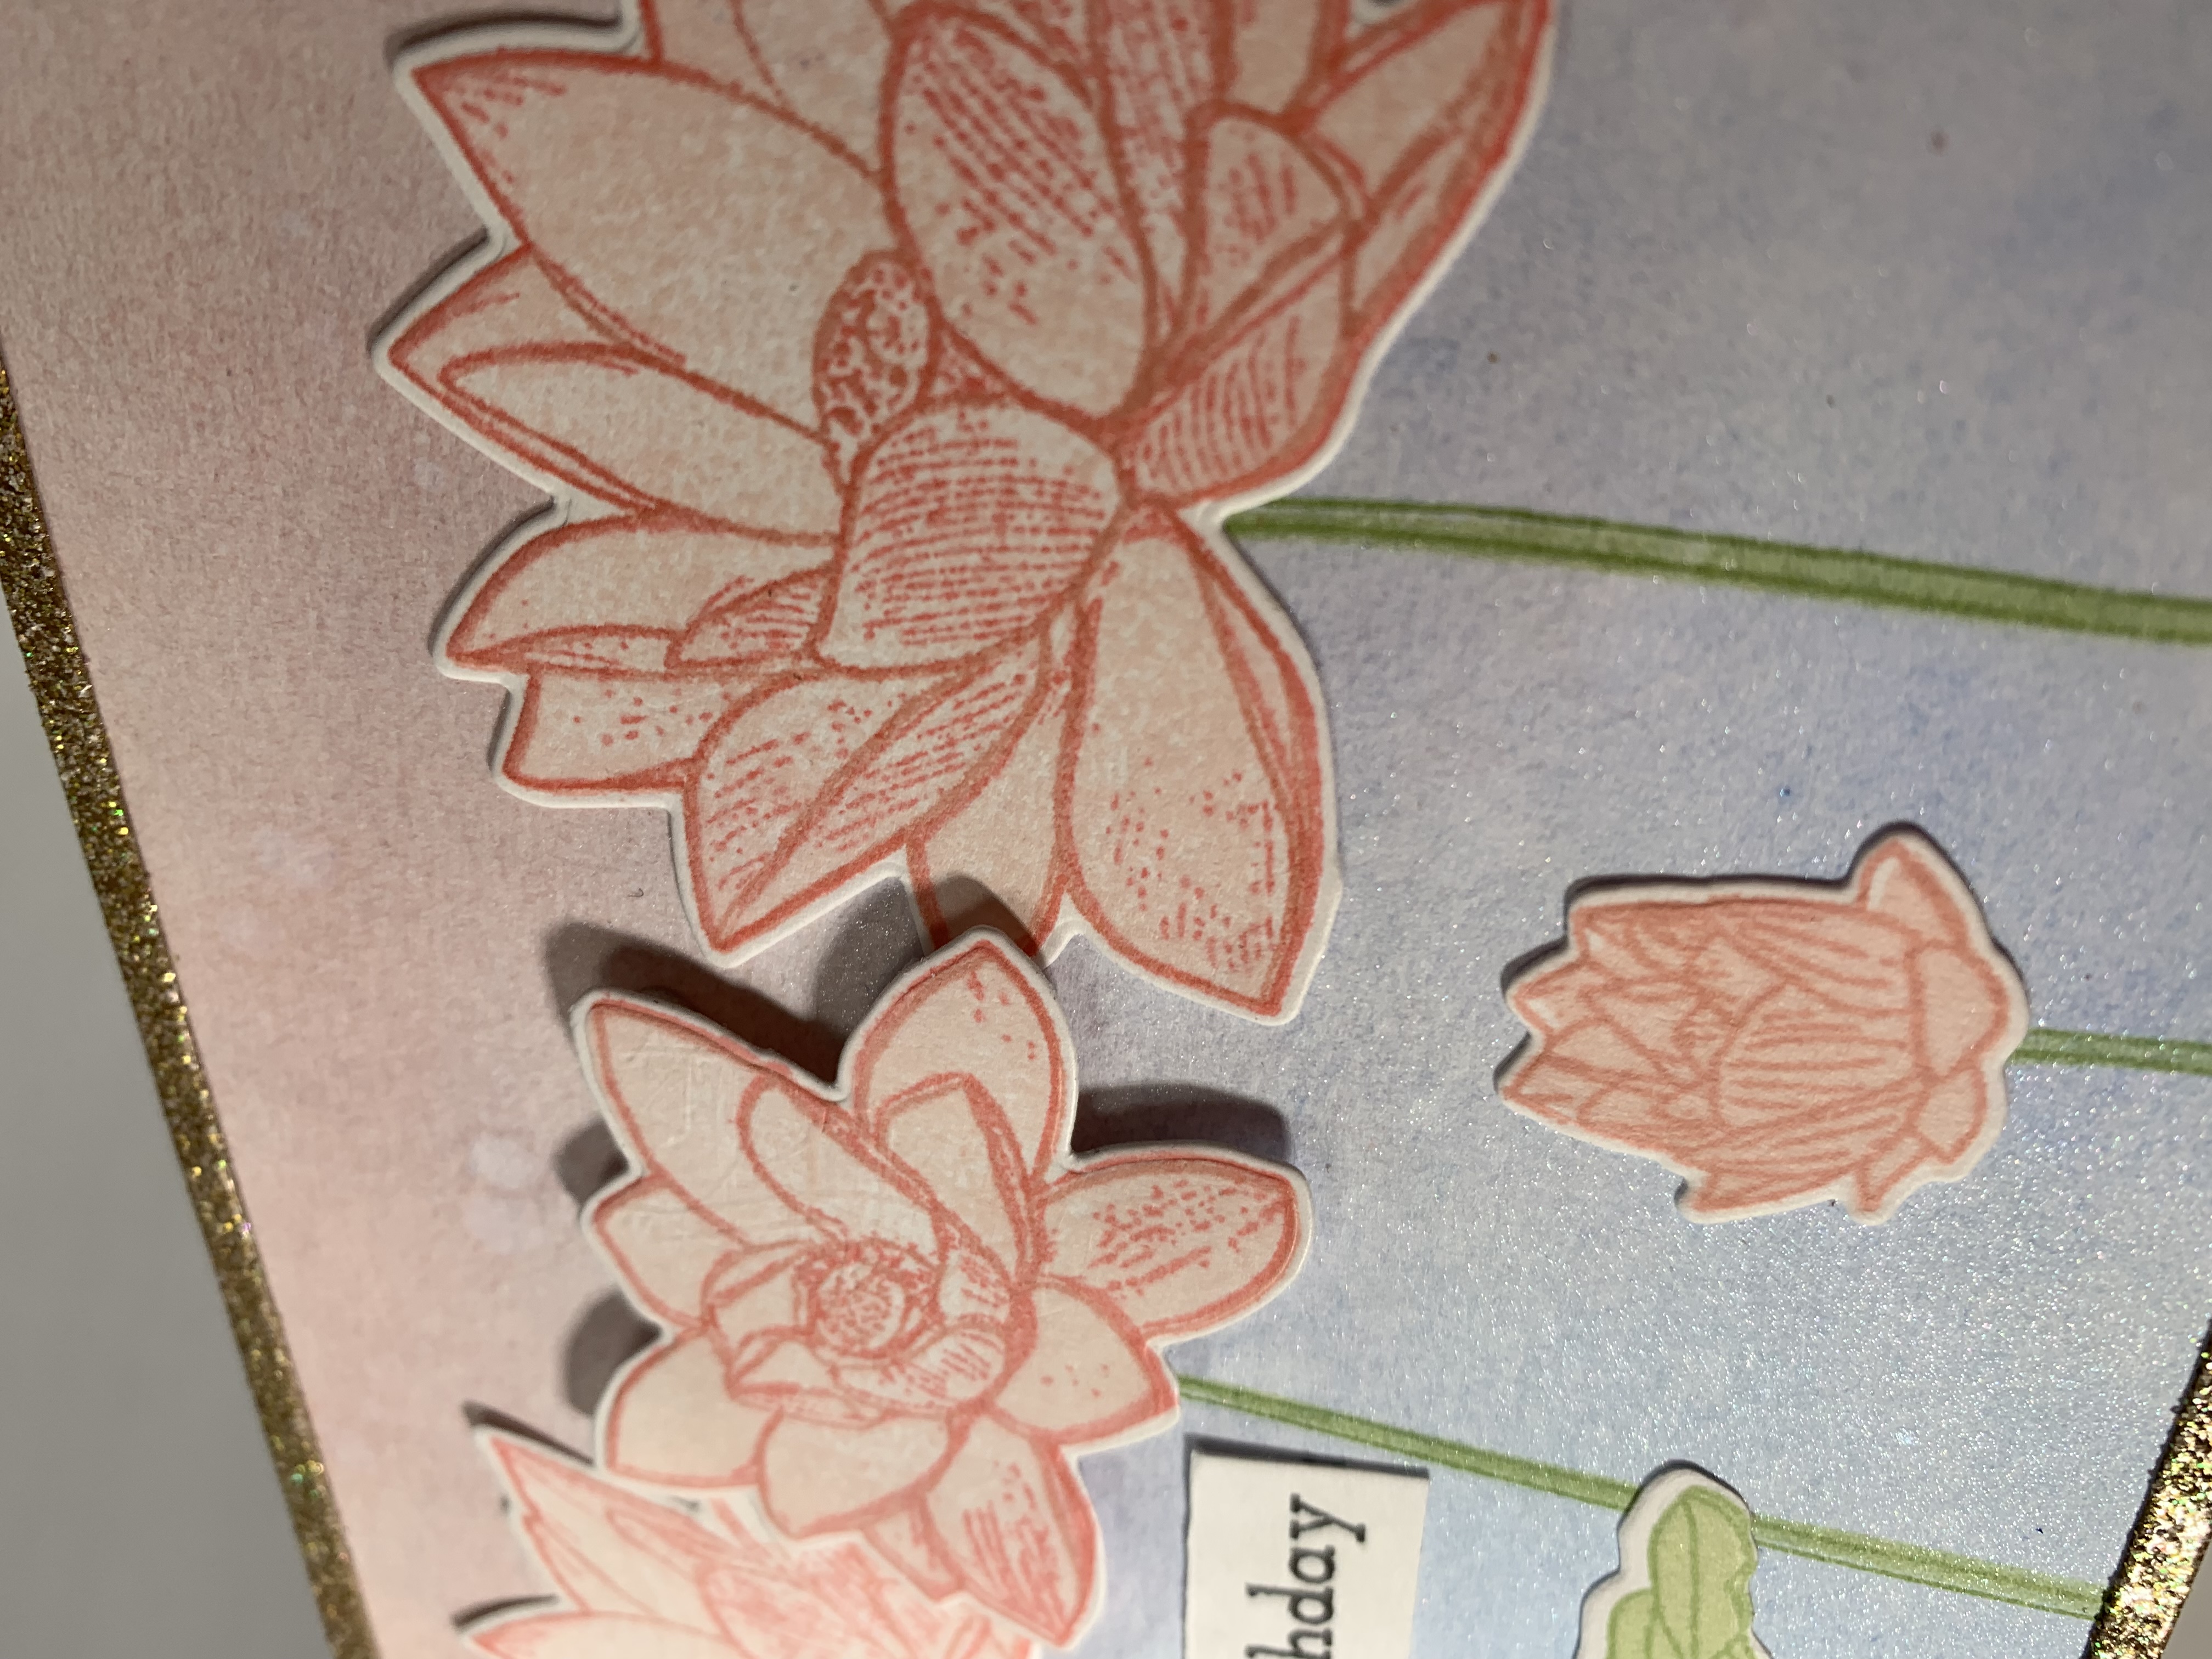
I am really happy with the way both cards came out. I love the subtle details in both backgrounds, that really can’t be seen in photographs. I also really like the way elements of the other classes come into play in both cards (ink blended back grounds, die cut elements, embellishments and bling, etc.
Inspiration for these cards came from the lessons contained within this class. So many awesome ideas shared by the instructor! Take aways would be to continue working on scene building, and to not be afraid to mix elements from different stamp sets.
As always, thank you for reading my blog, and I hope this inspires you to go out and create something!

All about layering (stamps....)2!

4 Comments
Virginia L.
Your scene is BEAUTIFUL! Love your use of circle die and colors! The layering you did with the gold-embossing is extra special! Thanks so much for entering your beautiful work in Altenew AECP assignment Gallery. Beautiful colors and design. Well done!
admin
Thank you. The circle frame card was fun to create.
Erum Tasneem
What a beauty! Look at that shimmer! Both the cards are absolutely beautiful! But the first class is absolutely something!
So gorgeous!
Thanks so much for entering your beautiful work in the AECP assignment Gallery. I love your write-up and descriptions! Please keep up with your excellent work!
admin
Thank you, Erum!