
All about layering (stamps….)2!
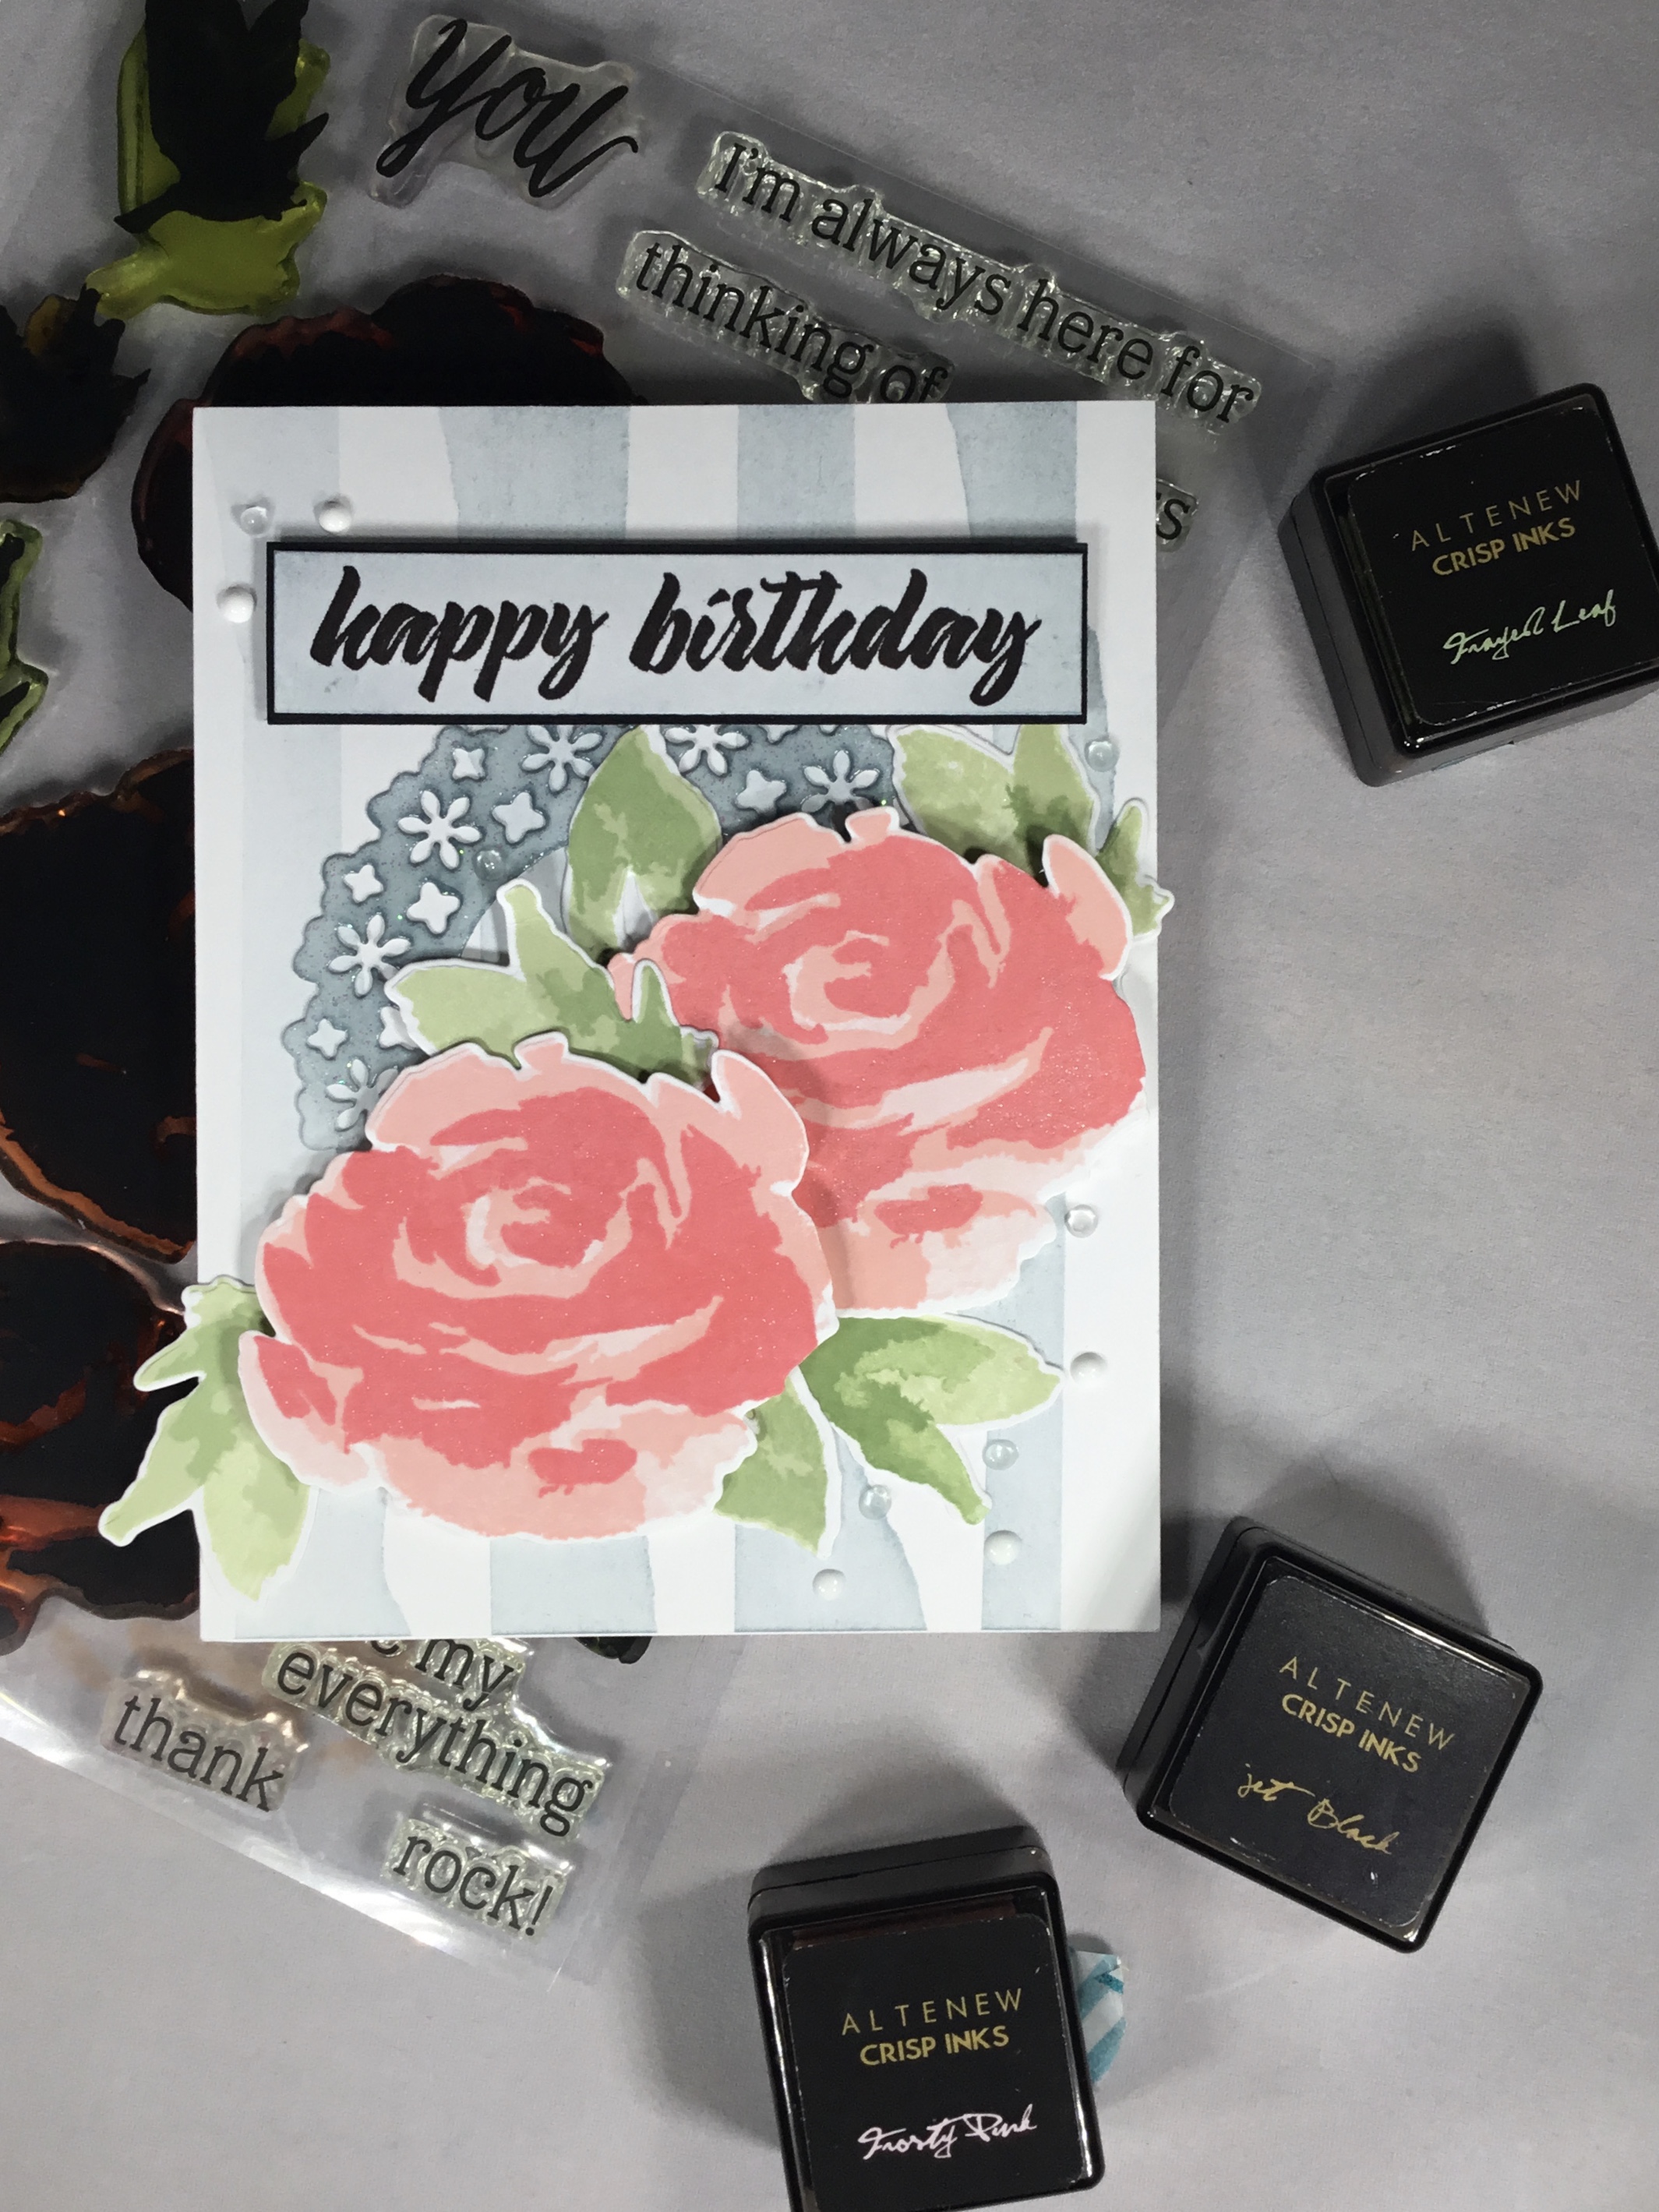
So the second class on layering stamps was equally helpful in assisting me in lining up the layers of the different stamps. For this project I used the painted rose stamp set. I have always struggled with lining this stamp set up, so I wanted to conquer it! I stamped so many of these painted roses trying to get it right….then I took this class and things clicked. I love the loose watercolor feel of this set. There isn’t a distinct outline stamp, which creates a softer feel. So for this project, I wanted something softer and more “romantic”. I also wanted a card with several layers, and some stripes. I love stripes….. ❤️….but since I don’t own a striped background stamp, I had to be creative. I grabbed my roll of painters tape and started pulling off long strips. It came off in jagged tears which was perfect! I applied the tape to my card stock, then inked up the card stock with weathered wood distress ink, and peeled off the tape. I just loved the way this came out!
I had stamped a few roses and leaves using my Altenew crisp dye inks, then die cut the images out. Using my Spectrum Noir crystal clear shimmer pen, I added some shimmer to the roses. I also inked a piece of white card stock with weathered wood distress ink, then stamped happy birthday using the Altenew birthday builder stamp set and jet black crisp dye ink , and cut it into a strip. I mounted that on a slightly larger strip of Gina K black onyx card stock.
From the same piece of inked card stock, I die cut the tonic studios floral circle frame, then heat embossed it with Altenew pearl embossing powder (which I love due to the glitter in it!!!) to give it some shimmer and shine.
Time to assemble the card. I adhered the floral circle die cut near the center of the card, and arranged two of the die cut roses and four of the leaves over it using foam adhesive to add dimension. I then mounted the happy birthday strip at the top of the circle floral die, using foam adhesive again. I pulled out my Nuvo drops in dew drop and white to add some dimensional accents and I was finished.
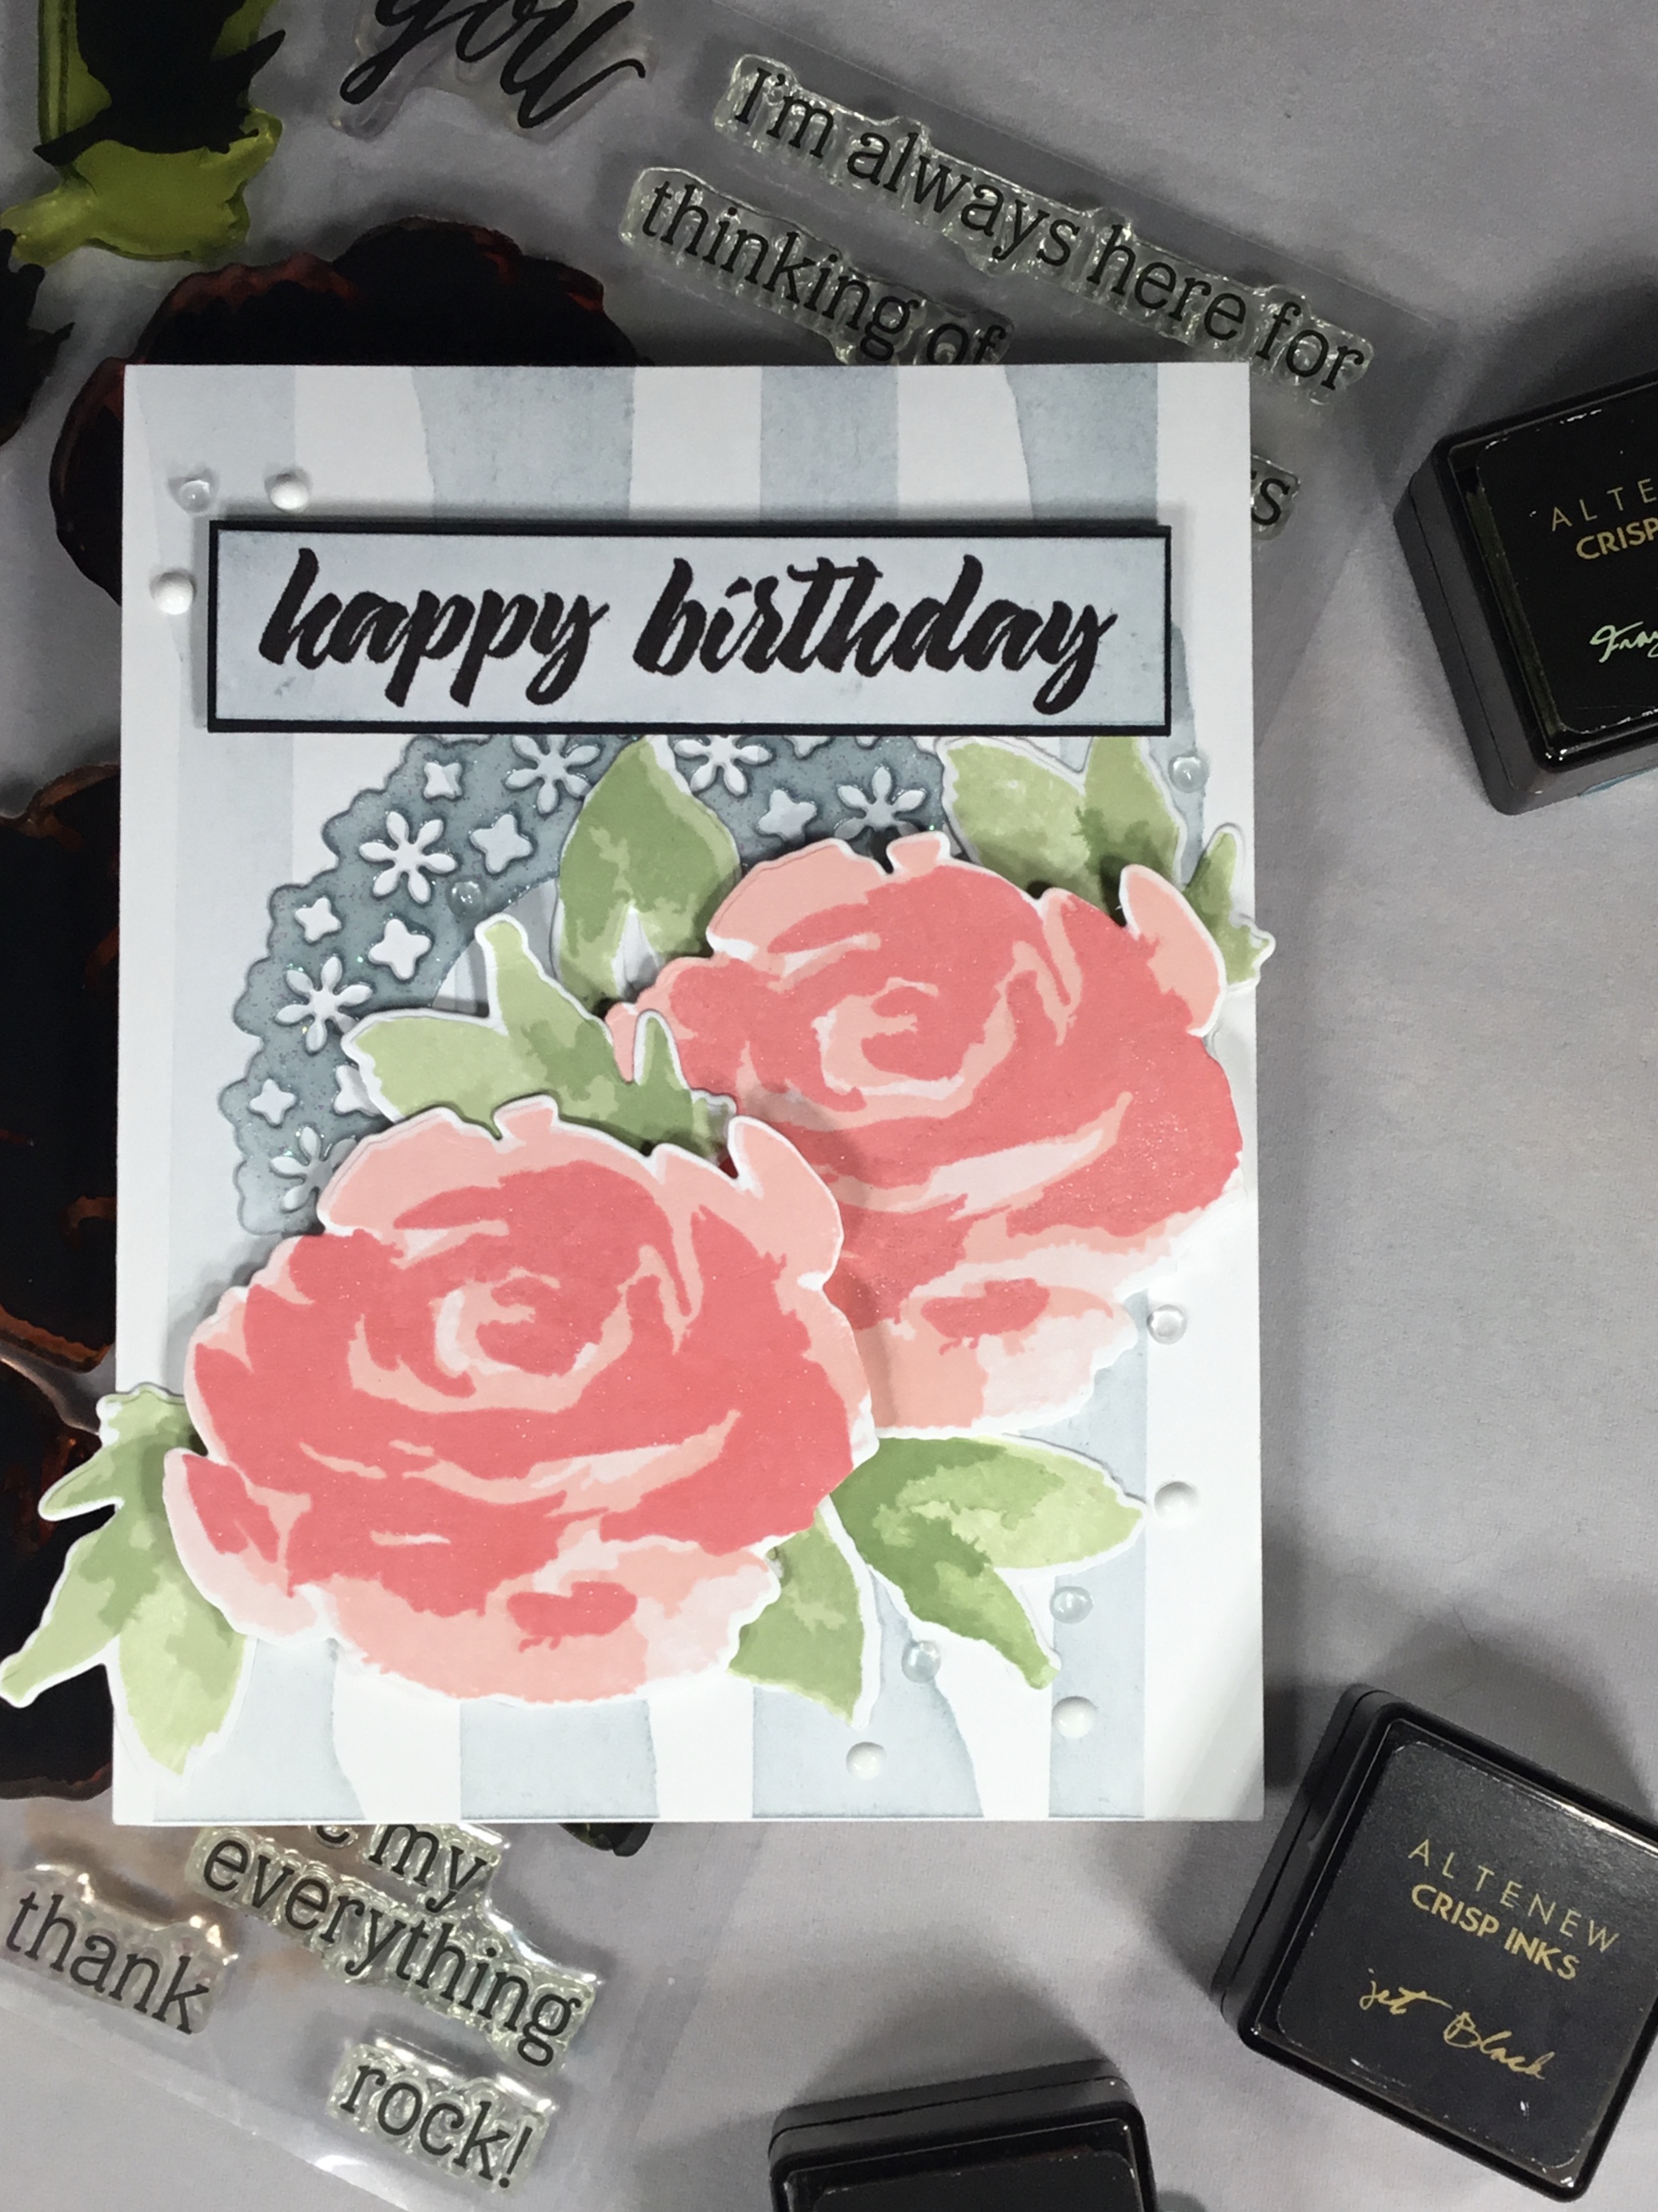
I love all of the layers in this card. It is definitely outside of my comfort zone to create something like this, but I think I will try to do something similar in the near future.
Takeaways: again, lining up layering stamps is getting so much easier! (And this card doesn’t have a definite outline like the Golden garden stamps have, yet another reason why I chose this set).
Inspiration: The first lesson in this class has an example card that is full of layers, and I decided I wanted to try to create something with several layers. And stripes!!! I wanted to try and make my own striped background.
As always, thank you for reading this post and I hope this inspires you to go out and create something!

All about layering (stamps)...1
You May Also Like
All about layering (stamps)…1
Vellum Butterflies.
3 Comments
Erum Tasneem
What a gorgeous card! Doesnt look like you struggled ever with this set, truly! LOVE the inked background, thats very clever! The colour on the background looks lovely against that of the flower.
I am so glad that you entered your beautiful work in the AECP assignment Gallery. Thank you for sharing your creative process! Fabulous job!
Virginia L.
Beautifully layered and design, Collette! Love your share on takeaways and inspiration! These reflections are vital to your progress! BRAVO on those stripe background… I thought they were pattern paper! 🙂
Thanks so much for entering your beautiful work in Altenew AECP assignment Gallery. Beautiful colors and design. Well done!
admin
Thank you, Virginia!