Ink removal for a striking background
Good Morning from Michigan. It is a crisp fall day and I am planning on apple picking this weekend. Nothing better than fresh applesauce. One would think that would inspire me to make an apple related card but I don’t have any apple stamps. This technique would actually be very cool with an apple stamp, may have to buy one just so I can see how this would look. Could add some green and yellow areas for granny smith, and golden delicious apples.
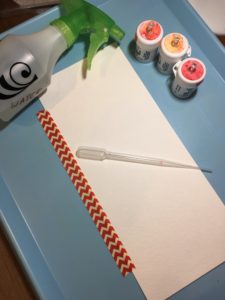
Supplies today that are a must: Brusho crystals ( or whatever brand you have), water, watercolor paper, low tack tape, waterproof working surface, paper towels, Versamark Ink, clear and white embossing powder.
Supplies that could be useful: paint brush, water dropper, gloves, stamp positioning tool, scoreboard and a powder tool for static.
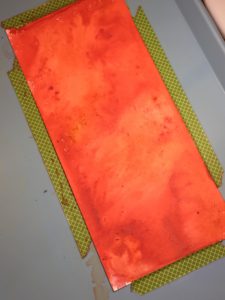
Cut your watercolor paper to a size larger than you need it and tape it down with low tack tape to a waterproof surface. I use an old plastic tray that was handed down to me. It is large with raised side that are just high enough to keep water in but low enough to make working with it easy. A lot of people use Brusho Crystals in a cardboard box with high sides to help keep the spread of the floating crystals contained. I just try and wipe my desk down when I am done to clean up the stray crystals. I choose the dry to wet method for color application. I sprinkled my crystals onto dry paper and then sprayed with water. Then I added more crystals and water as I felt it was needed. Once you have a very vibrant background put it off to the side to dry completely. I let mind dry overnight, so I usually will make several backgrounds and let them dry then make a batch of cards the next day.
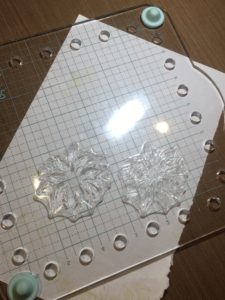

Once completely dry you can use your antistatic tool if you would like, although mine is homemade and it picked up some of the bright colors from the Brushos onto the fabric of my anti-static tool. I don’t think I will use it next time as this doesn’t need to be extremely detailed and can be a misty background. Stamp your chosen stamps using Versamark Ink in a random pattern over the brightly colored paper and heat emboss with clear embossing powder. I like it when images hang over the edge as it gives more depth to the background.
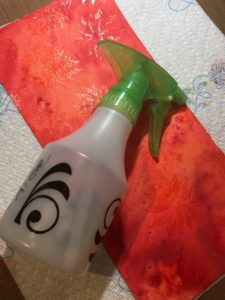
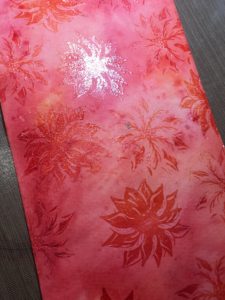
Place your brightly colored and heat embossed background on paper towels and spray liberally with water. Use fresh paper towels to dab up the excess water. Repeat this process until you have lightened the surrounding areas to the point you can easily see your stamped areas. Let dry again. This time you can just let it sit for a few minutes unless you really soaked your paper.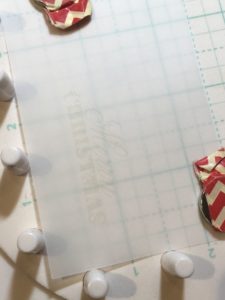
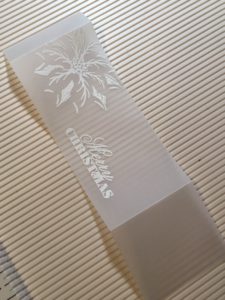
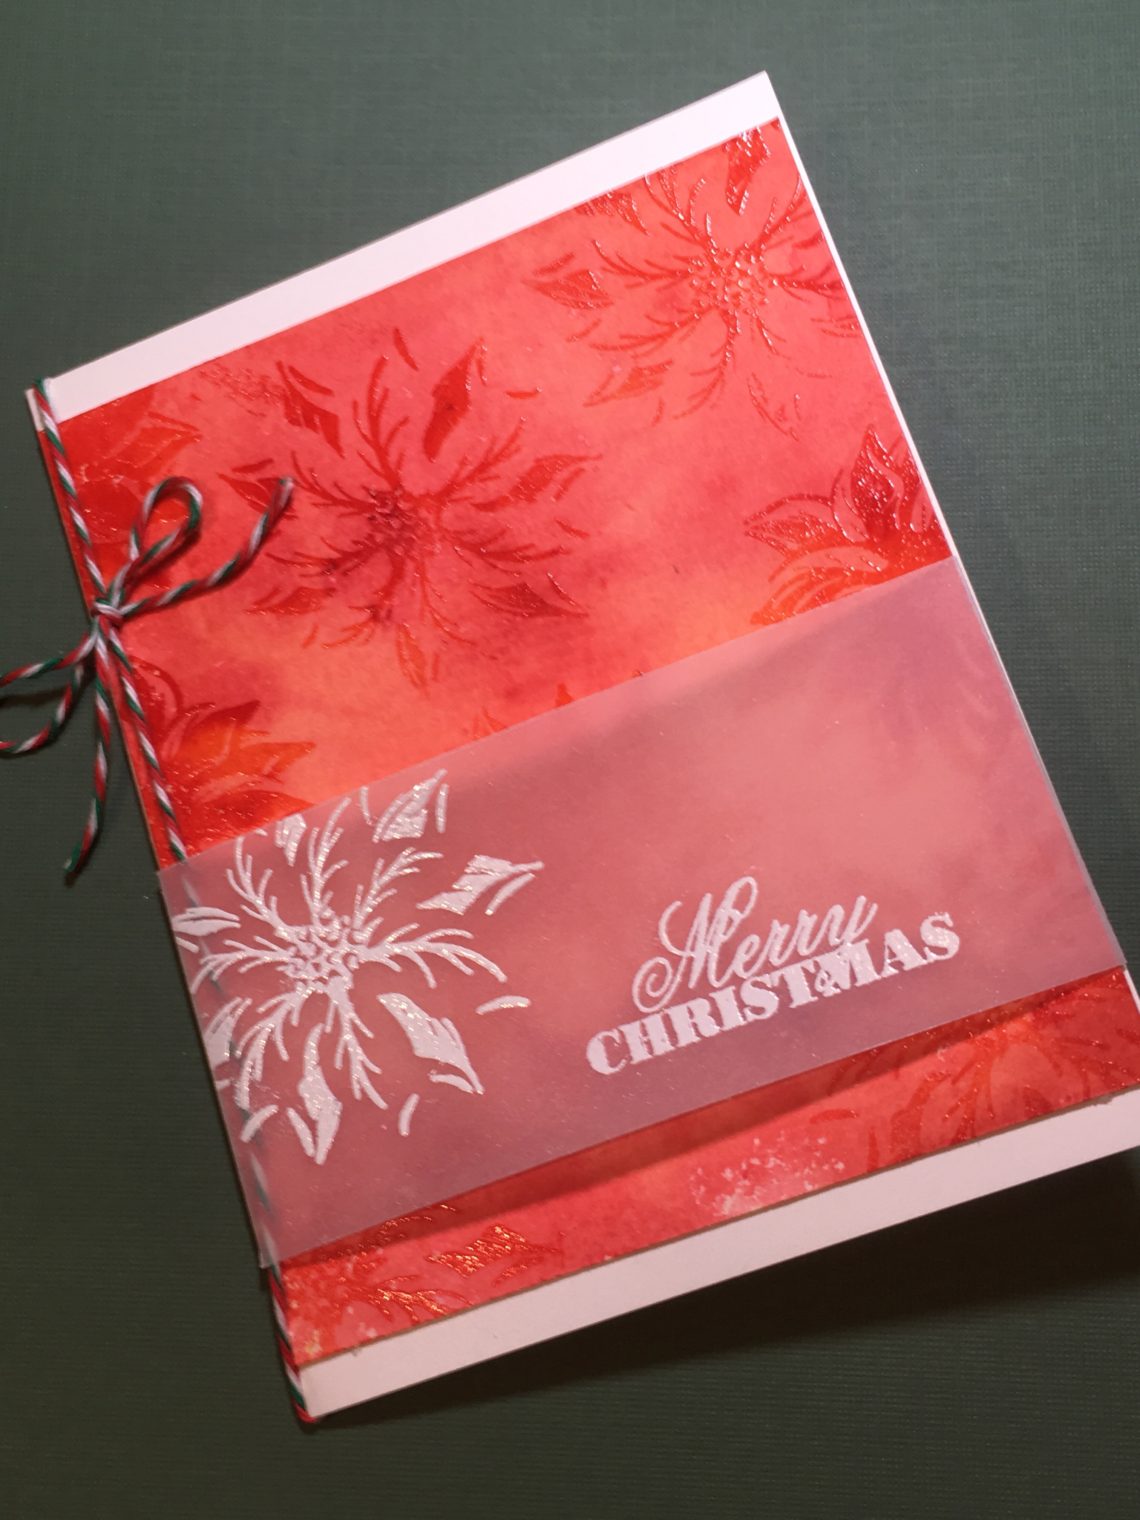
Cut your paper to the size you want for your card base. Take a sheet of vellum and cut it to the height you want it but cut the edges long so they can fold over the background paper. On this step I would use your anti-static tool if you have one so the image and sentiment are crisp. Stamp your focal image and sentiment in Versamark Ink and heat emboss using white powder this time. Score your vellum paper so it will fold around the background image. This allows for you to tape the vellum on the back of the card so the adhesive doesn’t show.
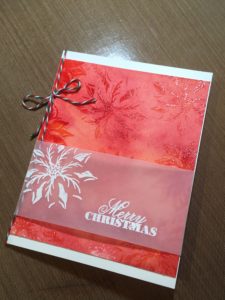
Attach the vellum to the background before you attach the background to the card base. I added matching bakers twine for an accent. Here is the finished card. Thanks for spending time with me today. Let me know what stamps you have in your stat that you think would work well for this technique!