Subtlety versus contrast simply by changing one step.
I was playing with Distress Oxide inks one day making some backgrounds and I decided to see what would happen when I simply changed the order that I did my steps in. It was an interesting to see how one simple change in order would allow you to create a very subtle background or one that was more dynamic depending on what you were wanting. I am always looking for a way to make my craft items more versatile and this is a nice way to help do that.
The supplies I used were Distress Oxide Inks Gina K designs stamps, clear embossing powder, versamark ink, sponge daubers, water, paint brush, paper towel, and good quality cardstock or watercolor paper.
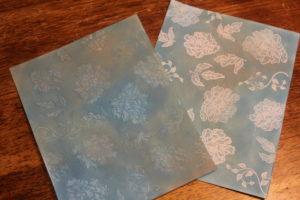
For the subtle background I did the following:
- Using your sponge dauber, ink up your cardstock in distress oxide colors of choice, I used broken china, iced spruce and peeled paint. Let the ink dry
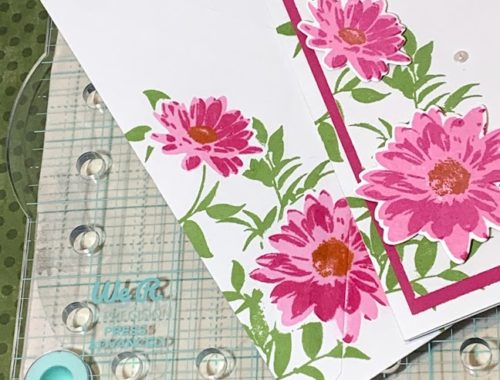
- Once dry use your anti-static tool on the paper, then stamp up your flowers in a random pattern using versamark ink. I used Gina K Designs Sunshine and Love Stamp Set.
- Sprinkle with clear embossing powder, tap off the excess and heat set the powder. I still love watching it change from powder to a solid.
- Take a paint brush dipped in water and paint the water onto the flowers wherever you want ink removed.
- Dab the wet areas with a paper towel to lift the ink from the wet areas. Continue to do this until you have removed as much ink as you want for the effect you are looking for. Since it is oxide ink the water will also react in those areas to make the flowers look oxidized.
For the more dynamic look I simply changed the order of the steps.
- Use your anti-static tool on your white cardstock, then stamp up your flowers in a random pattern using versamark ink. I used Gina K Designs Sunshine and Love stamp Set.
- Sprinkle with clear embossing powder, tap off the excess and heat set the powder.
- Ink up your cardstock in distress oxide colors of choice, I used broken china, iced spruce and peeled paint.
- Take a paint brush dipped in water and paint the water onto the flowers wherever you want ink removed.
- Dab the wet areas with a paper towel to lift the ink from the wet areas. Continue to do this until you have removed as much ink as you want for the effect you are looking for. Since it is oxide ink the water will also react in those areas to make the flowers look oxidized.
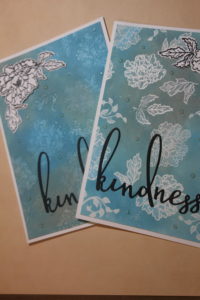
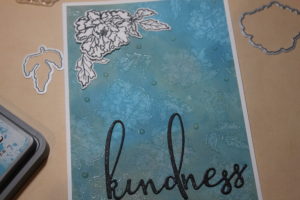
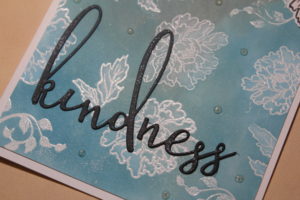
Above you can see the finished effect. One just gives you the subtle nuance that there are flowers in the background. The other card gives you a much more dynamic view of the flowers in the background. I finished it off with some die cut flower in black and white that have foam tape behind them to help add texture and dimension. I layered a large Kindness sentiment from Honey Bee Stamps in matching black cardstock to provide the focal point. Trimmed it all down to fit on a 5×7 card base. The final step some nuvo drops and a clear glitter marker on the sentiment to add some glitter and shine. Thanks for stopping buy.

Ink blending