More Inking Techniques
Hard to believe, but here we are, more than halfway through August already! In the midst of prepping my classroom and myself for school to resume, I have continued to try and experiment with new ideas and complete another Altenew class, Irresistible Inking Techniques.
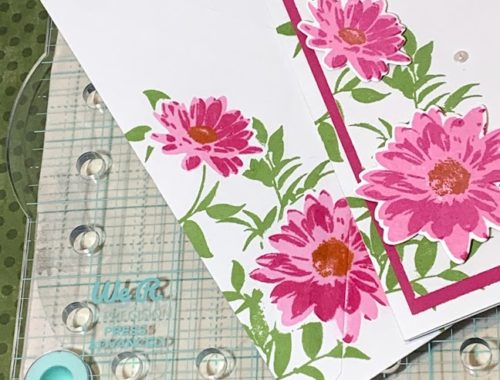
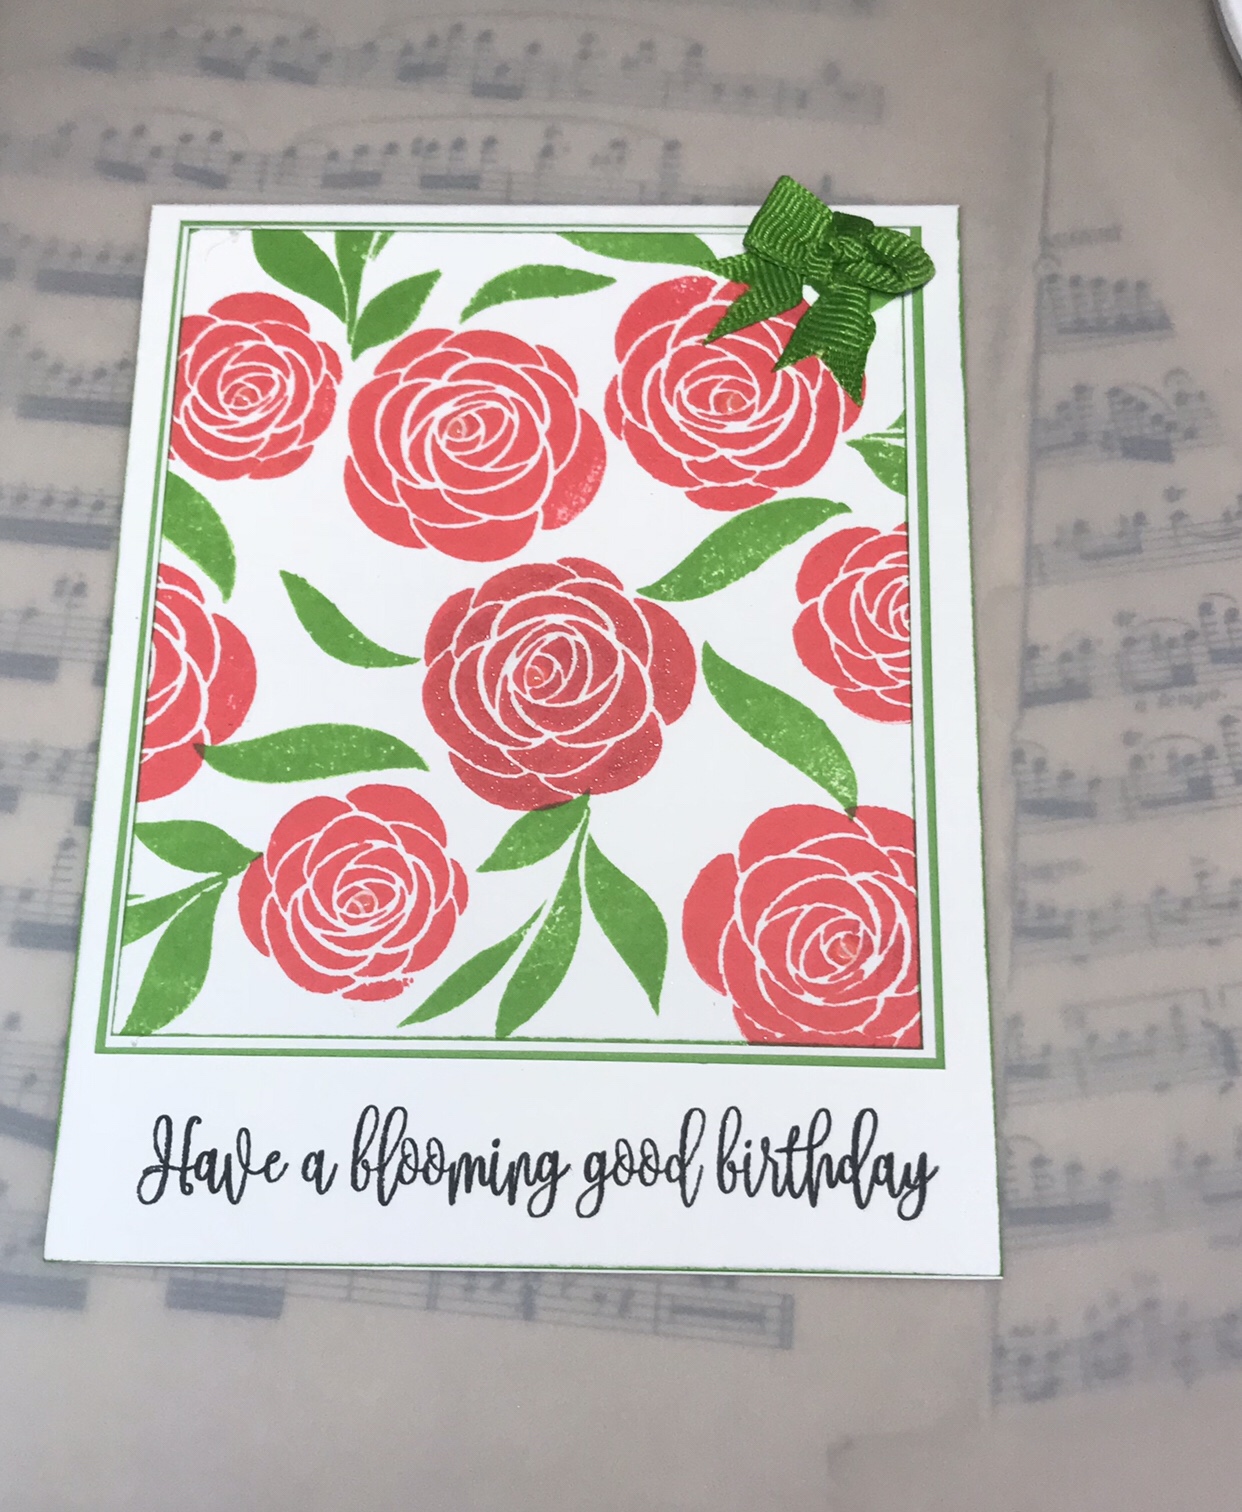
The first class was simple layered inking and direct to paper inking. The homework was to create a card using two different ink colors. I choose to perhaps take a little different approach to this, and didn’t use a layering stamp set. Instead, I used a small Gina K Designs stamp set, A Happy Hello, to create a background using two of the flowers and the leaves on Neenah Classic Crest Solar White card stock. I inked the flowers in Lipstick and the leaves in Lucky Clover. I randomly covered an entire A2 card front, then trimmed it down. I inked the edge of this panel with Lucky Clover, mounted it on a piece of Neenah Solar White, and then mounted all of that on a piece of Gina K Lucky Clover luxury card stock. I stamped the sentiment “Have a blooming good birthday” from Gina K’s set “A Wealth Of Wishes” in jet black amalgam ink. I shimmered the center flower with my Spectrum Noir shimmer pen, and added a drop of Nuvo crystal drops on the centers of the remaining flowers. I mounted this panel on a card base that I again inked with Lucky Clover.
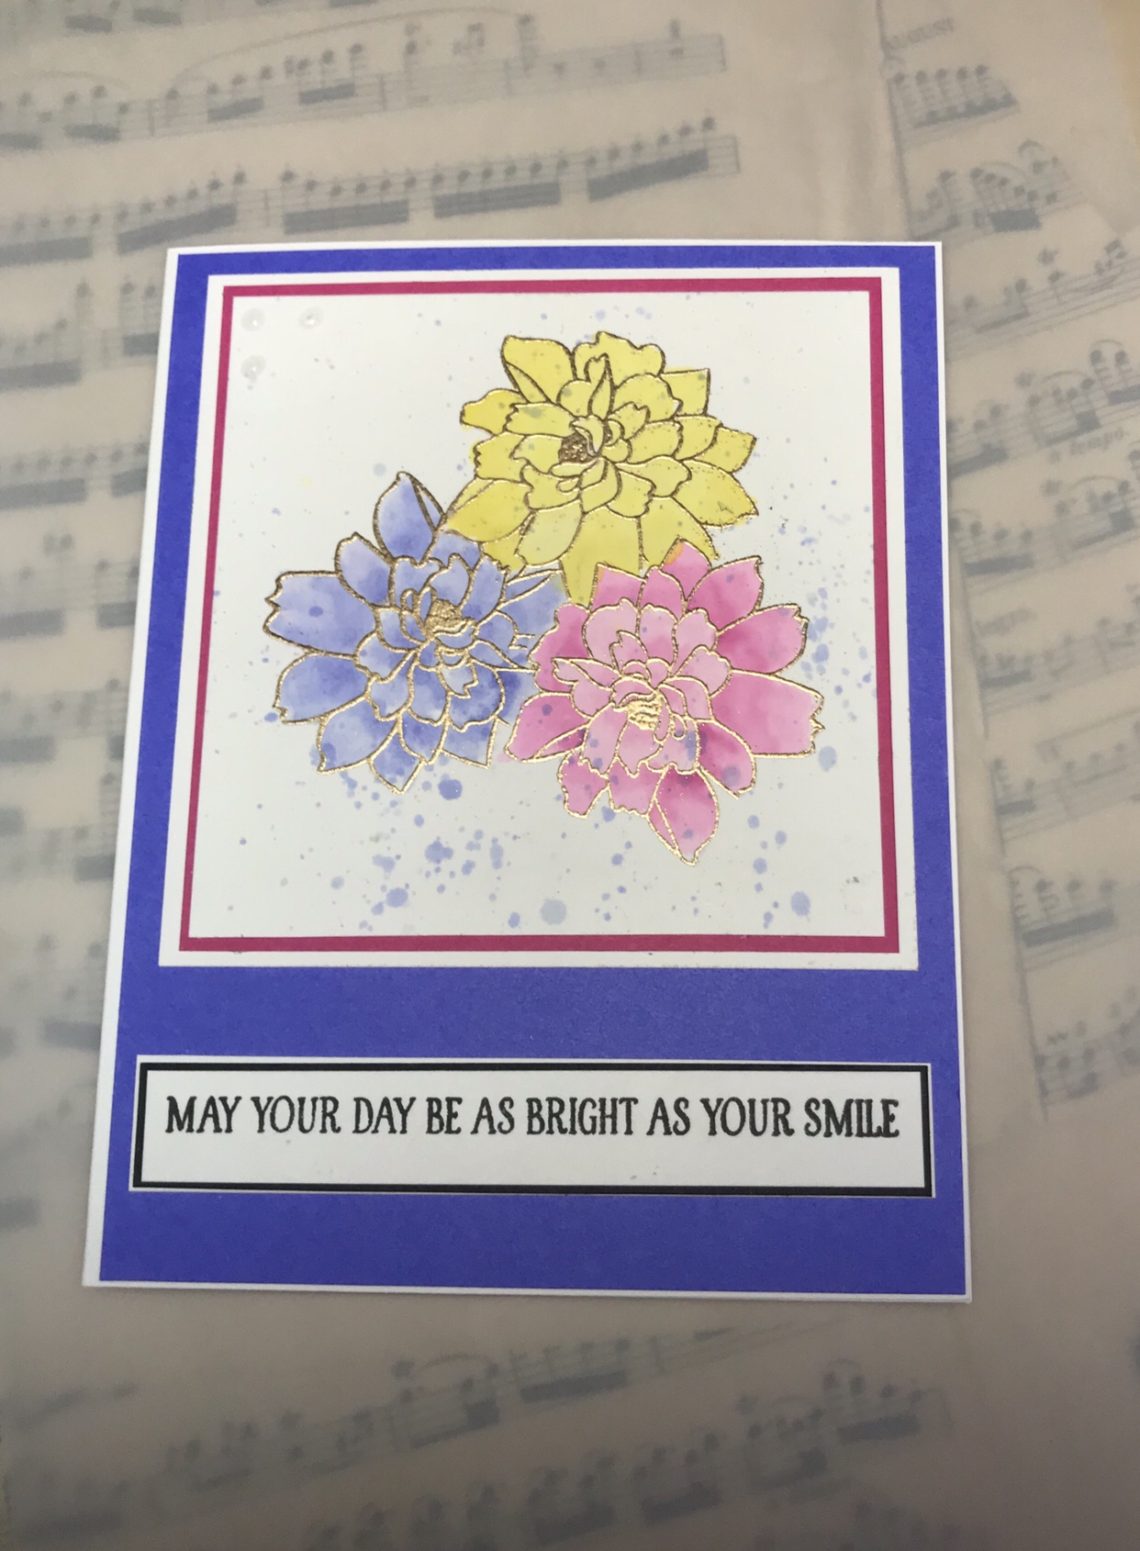
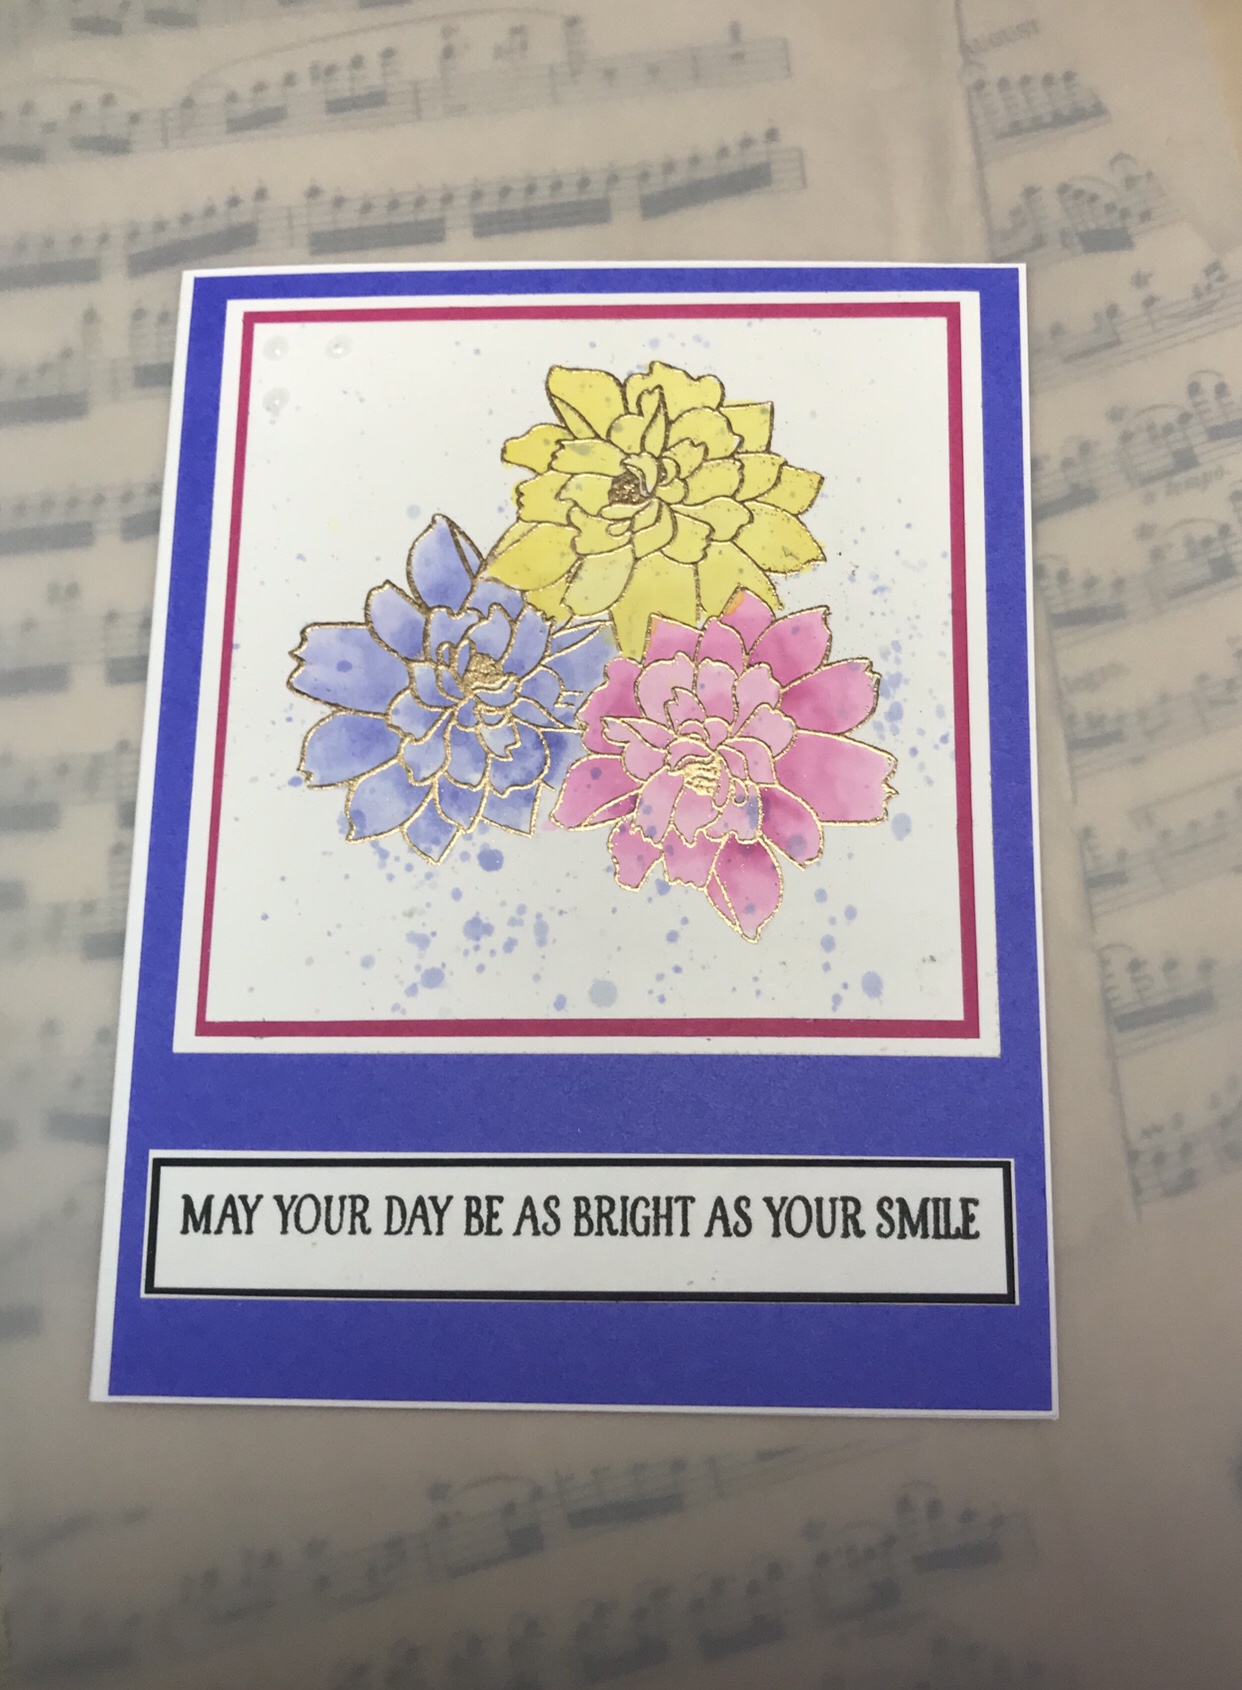
The second class focused on using inks as paints. I stamped the Lotus flower from Honey Bee Stamps three times using Versamark ink, Altenew rose gold embossing powder, masking off after stamping and heating each bloom. I then used Gina K inks in Wild Wisteria, Wild Dandelion, and Passionate Pink to paint the flowers. Following the instructor’s lead, I splattered some of the wild wisteria on the background. I then mounted this on a piece of Gina K’s Luxury card stock in Passionate Pink, mounting all of that on another piece of Neenah Solar White. I then placed this whole panel on a piece of Wild Wisteria card stock that was trimmed slightly smaller than A2. Again using my Gina K Wealth Of Wishes stamp set, I stamped the sentiment “May your day be as bright as your smile” on a strip of solar white card stock. I felt the sentiment was a little lost in all of the color, so I mounted the white strip on a strip of black onyx luxury card stock, and mounted the sentiment strip toward the bottom of the piece of Wild wisteria card stock. I then secured all of this on a card base. I added three drops of Nuvo crystal drops in clear to the top left corner of the flower panel, and that finished the card.
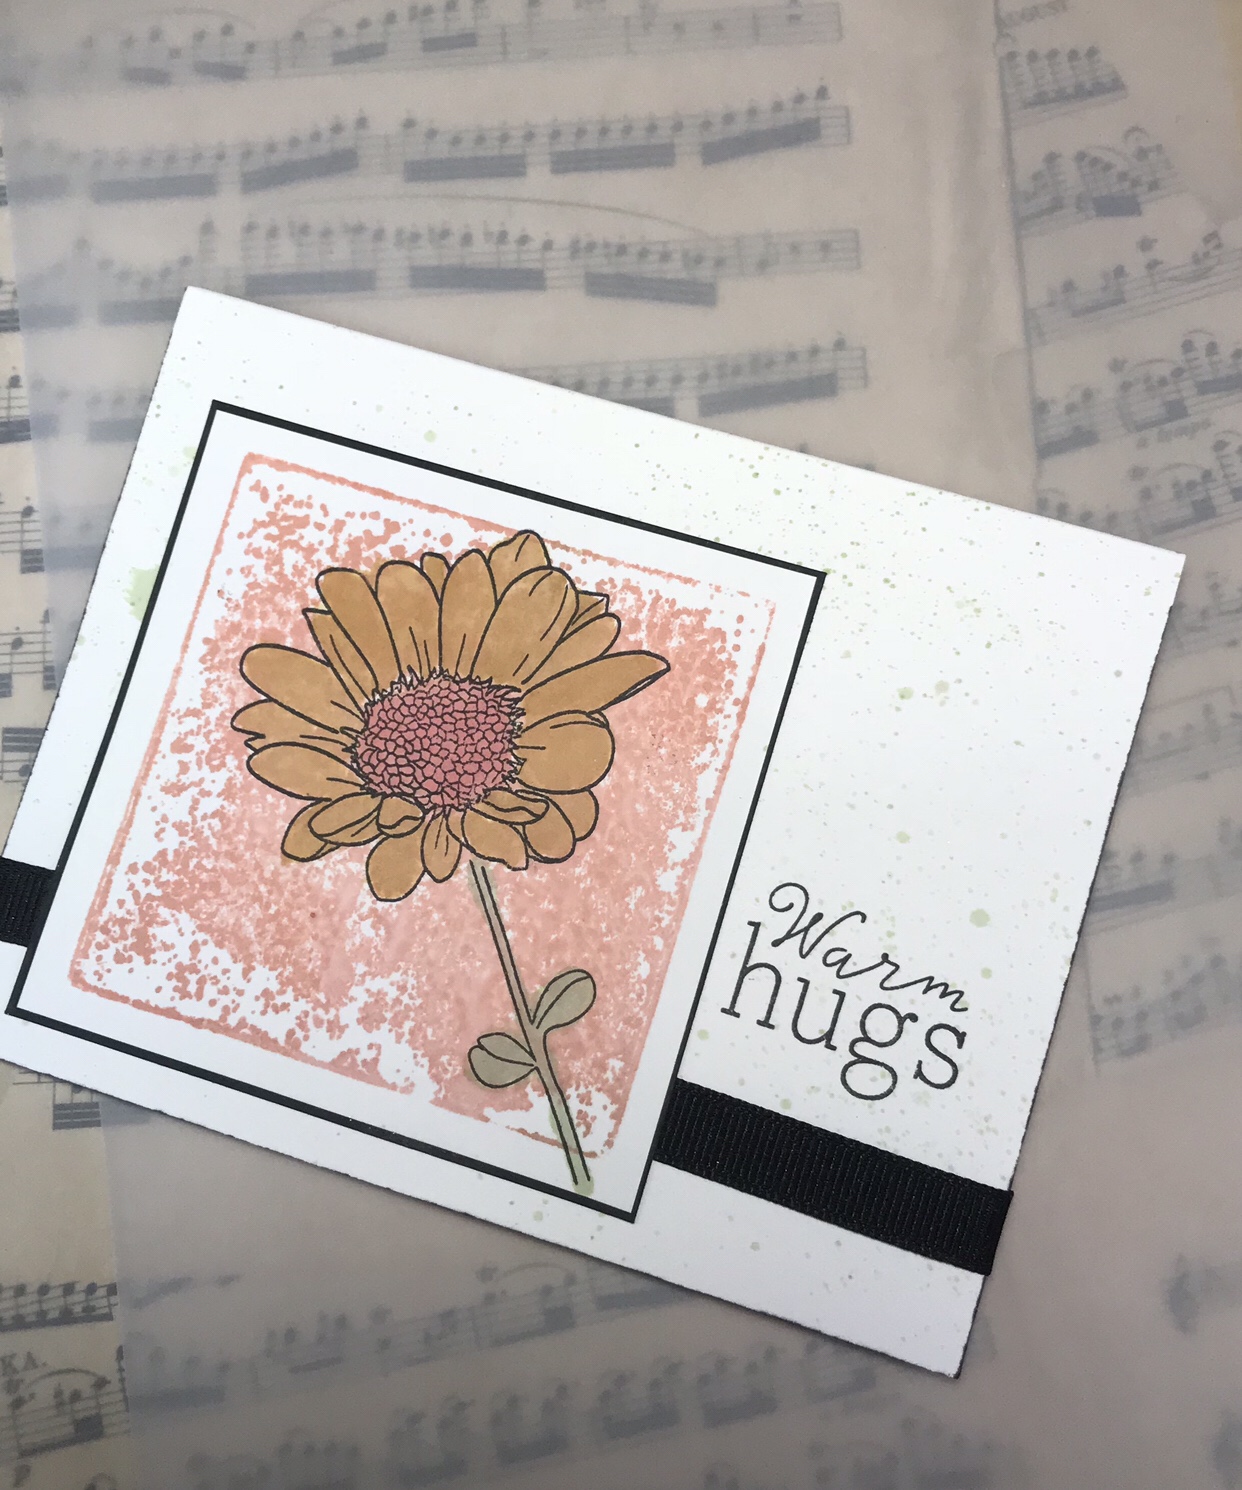
The third class used the technique of painting again, but added the frame of using an acrylic block to add ink to paper, creating a frame for the stamped image. I used Altenew’s Spring Daisy set for this card. I turned to my Gina K inks again, using peach Bellini to create the stamp blocked background. I then stamped the outline of the daisy in amalgam ink, and painted it using Sweet Corn. The stem of the daisy was painted using Altenew Frayed Leaf ink. I inked the edge of this panel with amalgam ink. The card base I flicked with more of Altenew’s frayed leaf ink, and added a Power Poppy sentiment “Warm hugs”, from her “Nice Things to Say” set, stamped in amalgam ink again. I added a strip of black ribbon, following the instructor’s placement, then mounted the flower image on the left side of the card.
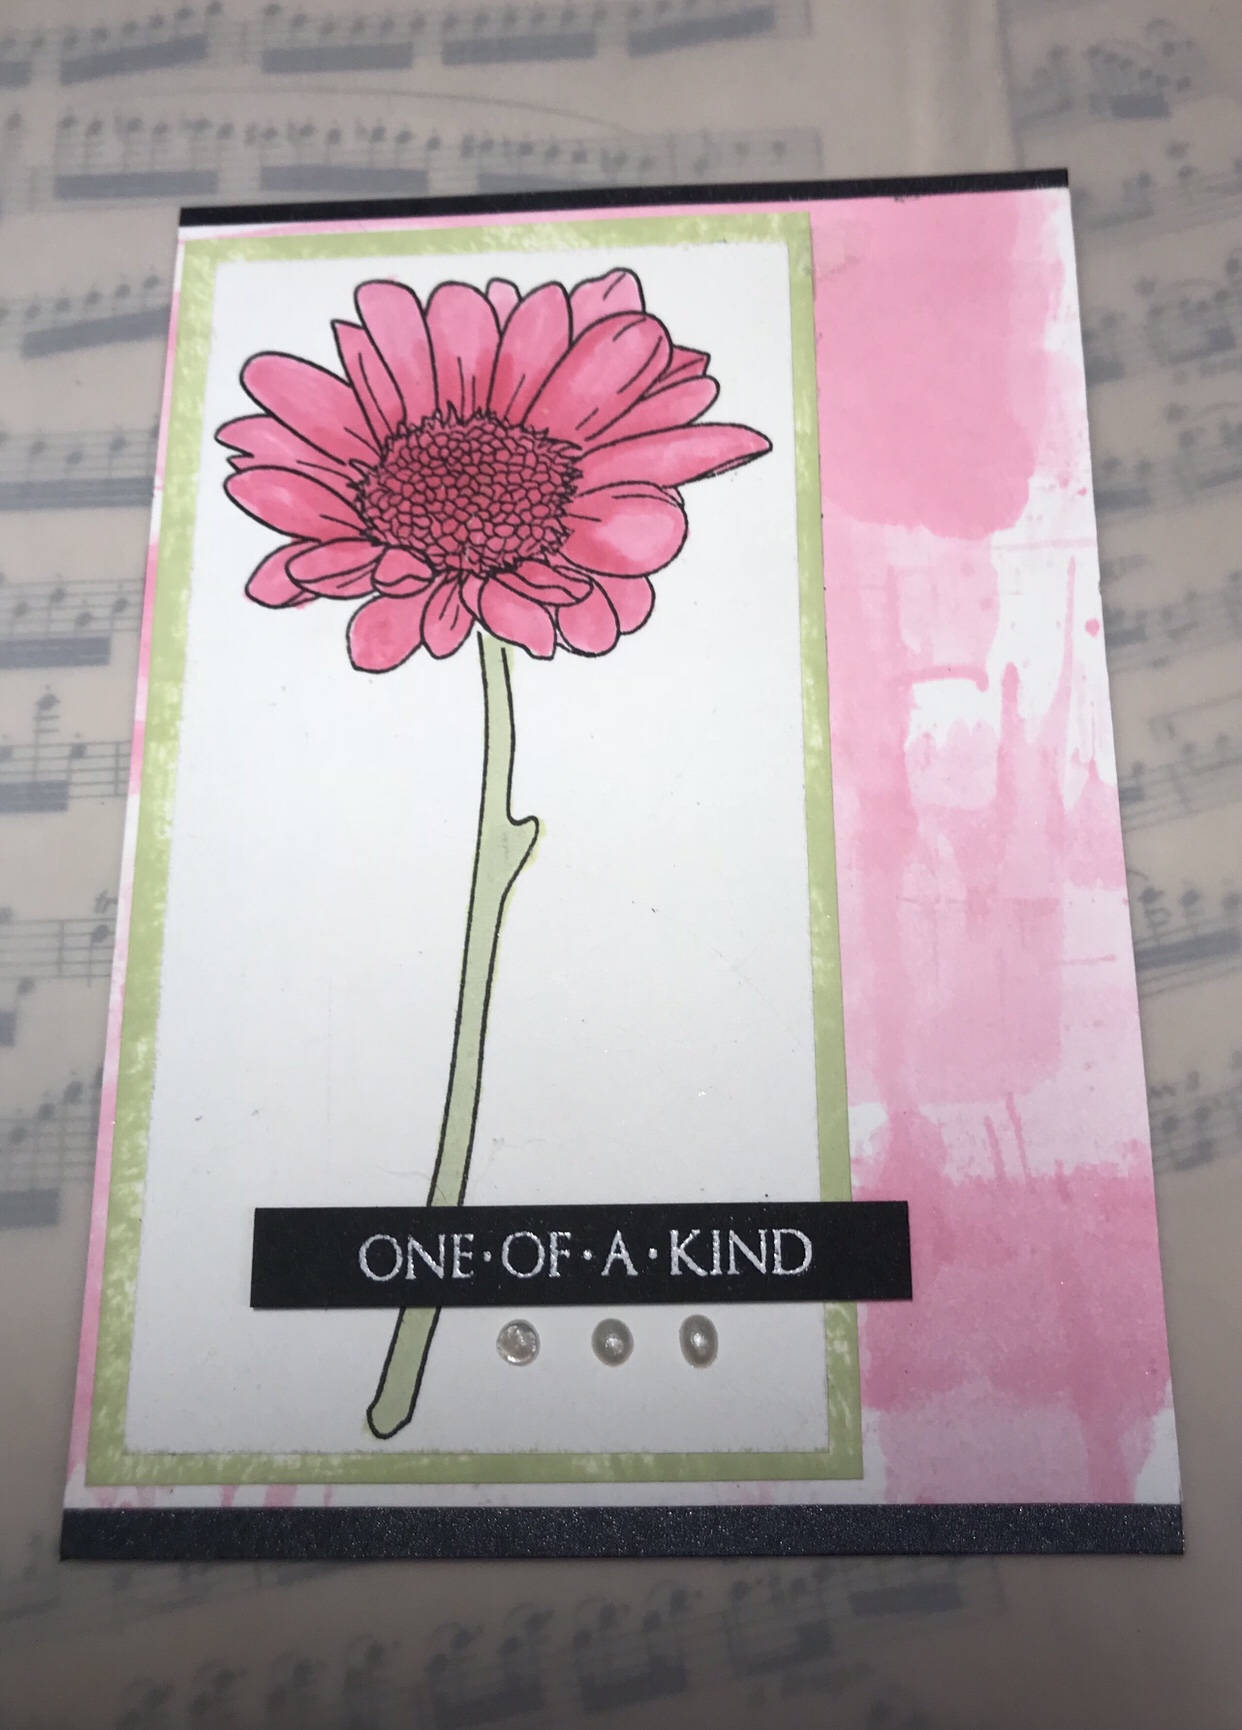
The last class used a brayer to apply ink to a piece of card stock, creating a soft background. I used Altenew Coral Berry ink for my background. I then stamped a daisy using Altenew’s Spring Daisy stamp set in Gina K’s amalgam ink. I painted the daisy using coral berry, building up color in places by adding multiple layers of ink. I painted the stem using Altenew’s Frayed Leaf ink. I created a frame for the daisy panel by directly applying frayed leaf to perimeter of a piece of Solar White card stock cut slightly larger than the daisy panel. I adhered the daisy panel to the green card stock I had inked previously. I then attached this panel to the Coral Berry background I had first created, but I offset this to the left so some of the cool pattern left by the brayer was visible. I mounted all of this on a piece of black shimmer card stock from my stash to give a bit of a frame to the entire card. I stamped the sentiment “One of a kind” from a mini stamp of the same name made by Altenew on black onyx card stock using Versa Mark ink, coating it with white embossing powder (Sparkle ‘n Sprinkle) and heat setting it. I attached the sentiment to the card using tape to give it some dimension. I enjoyed “painting” the daisy image very much. I will try this technique again!
Thank you for reading, and as always, I hope this inspires you to go out and make something!!
You May Also Like
AECP: Clean and Simple Boutique Cards and Altenew January 2019
January 31, 2019
Beautiful details
July 14, 2019